Herzlich willkommen bei
![]()
![]()
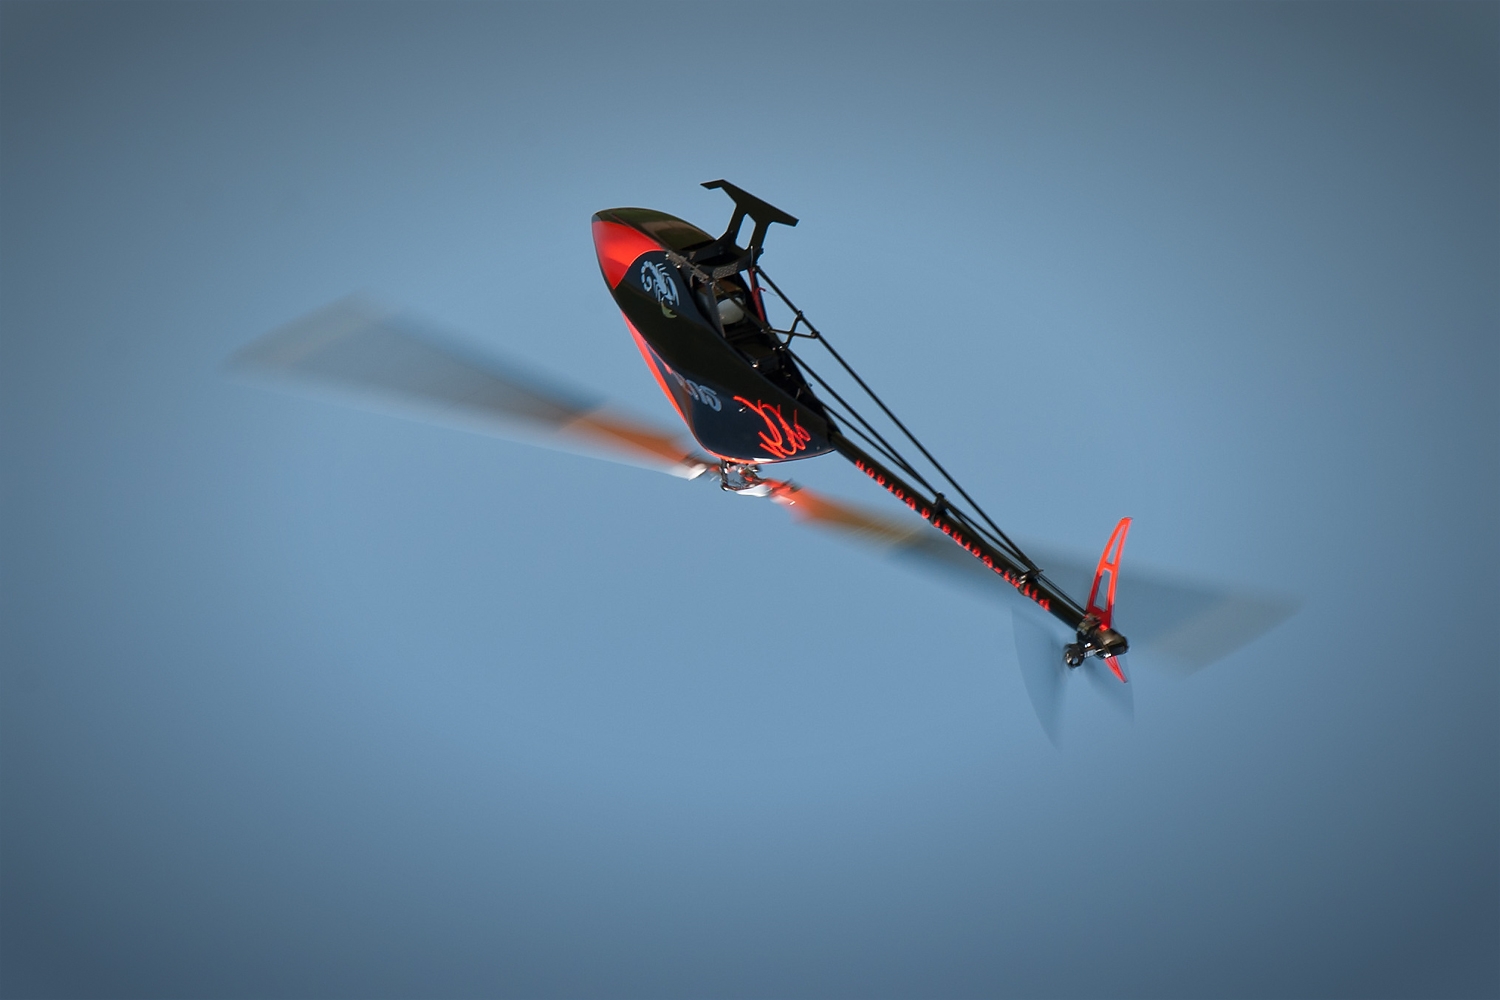
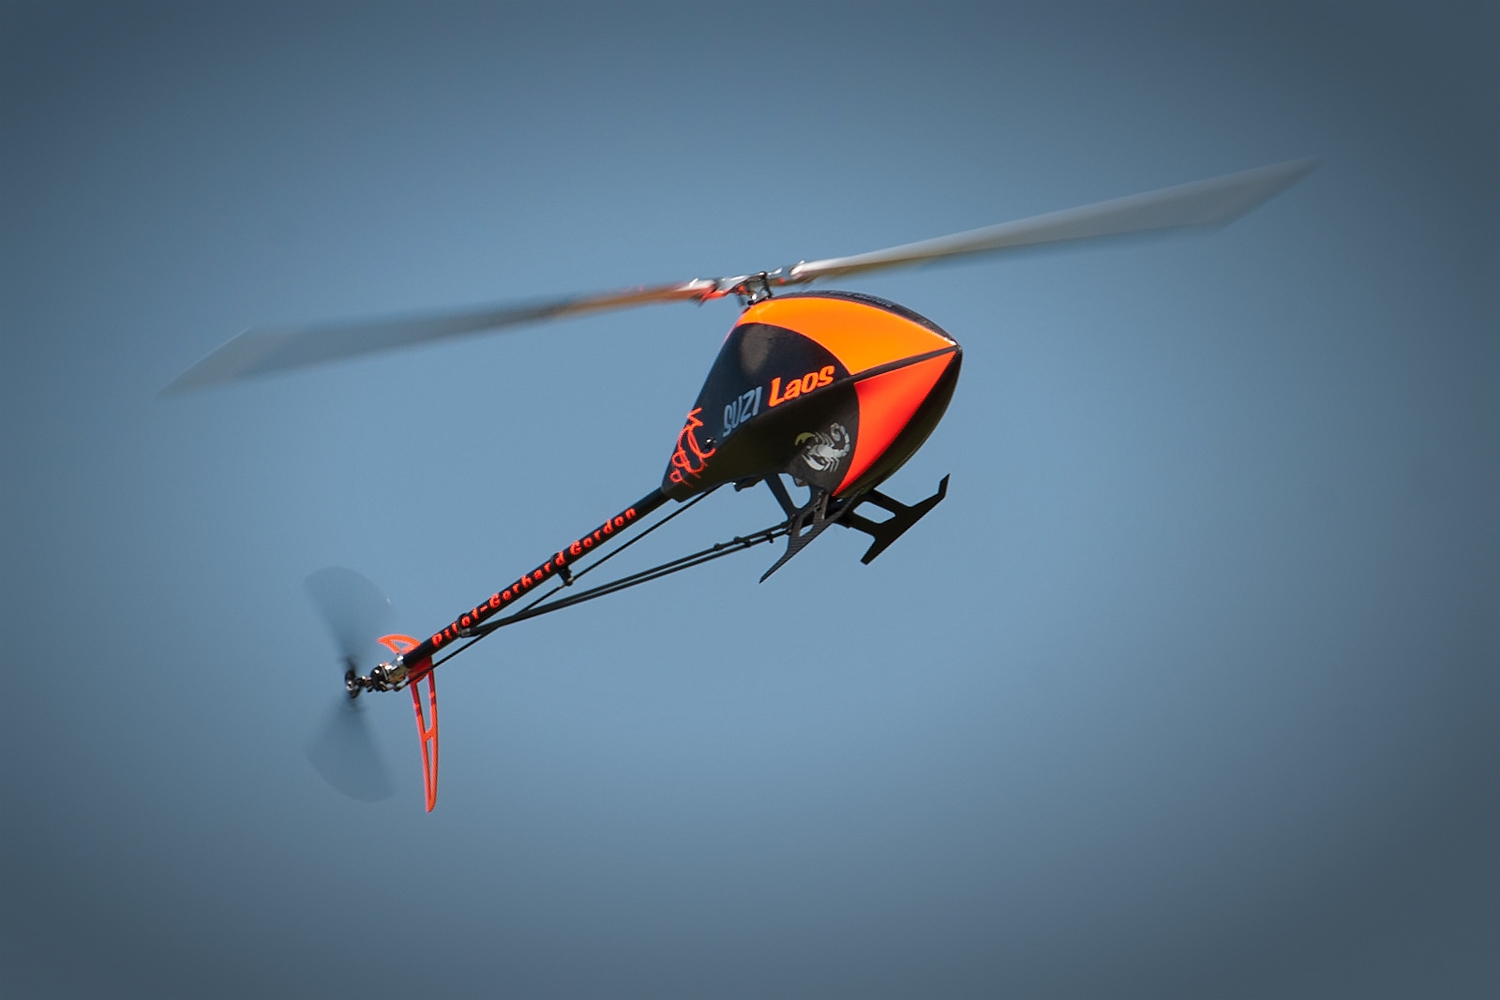
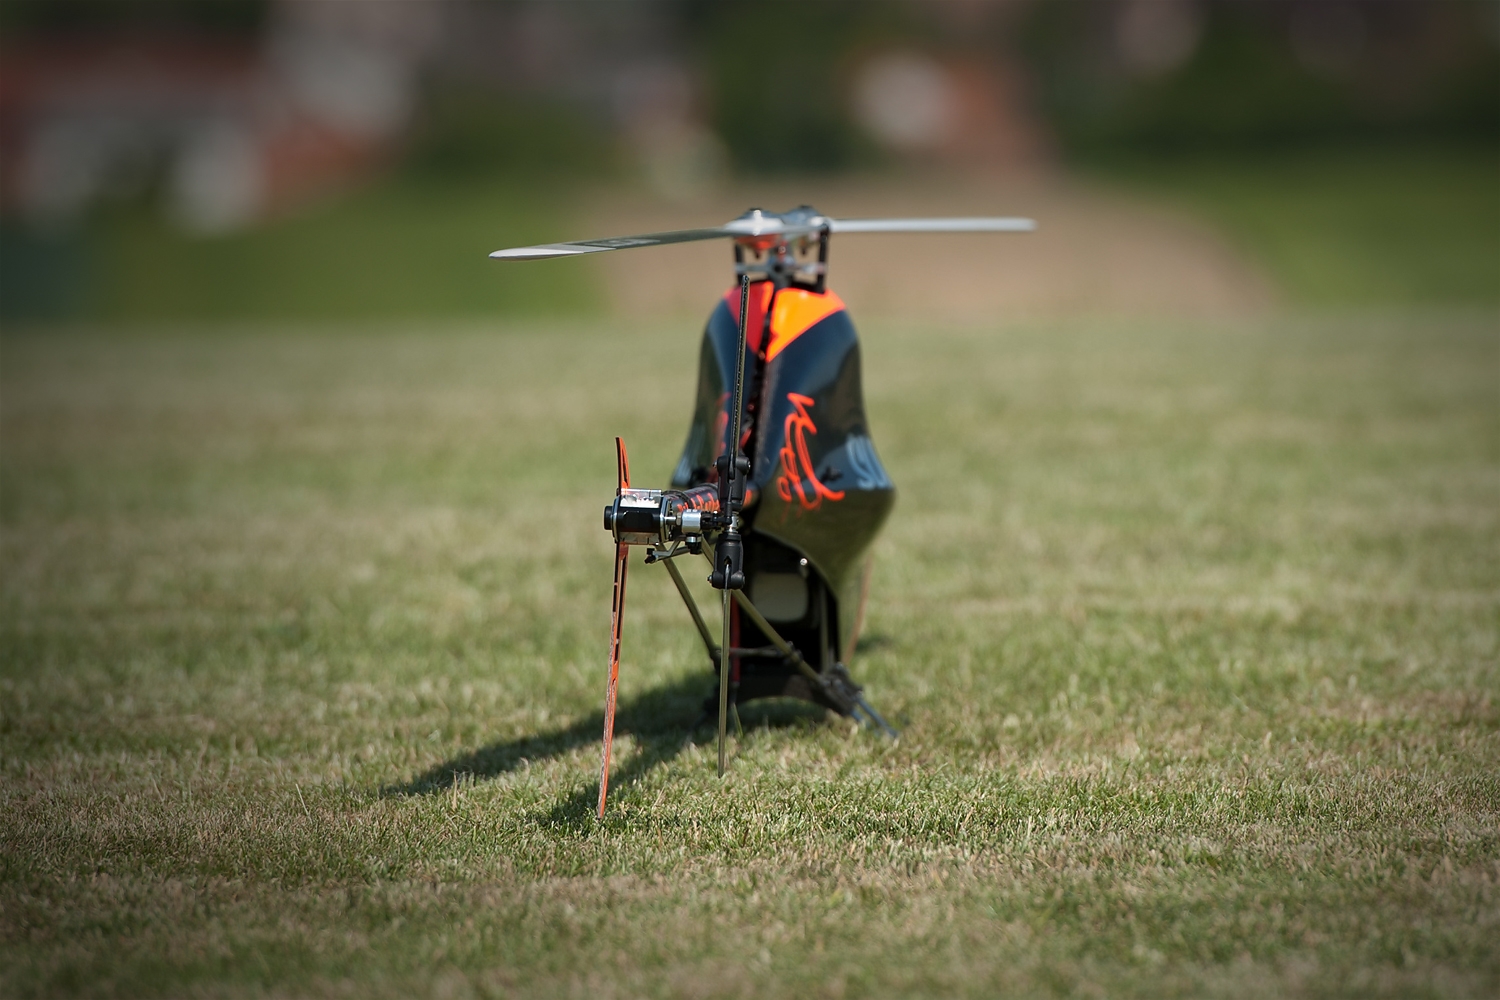
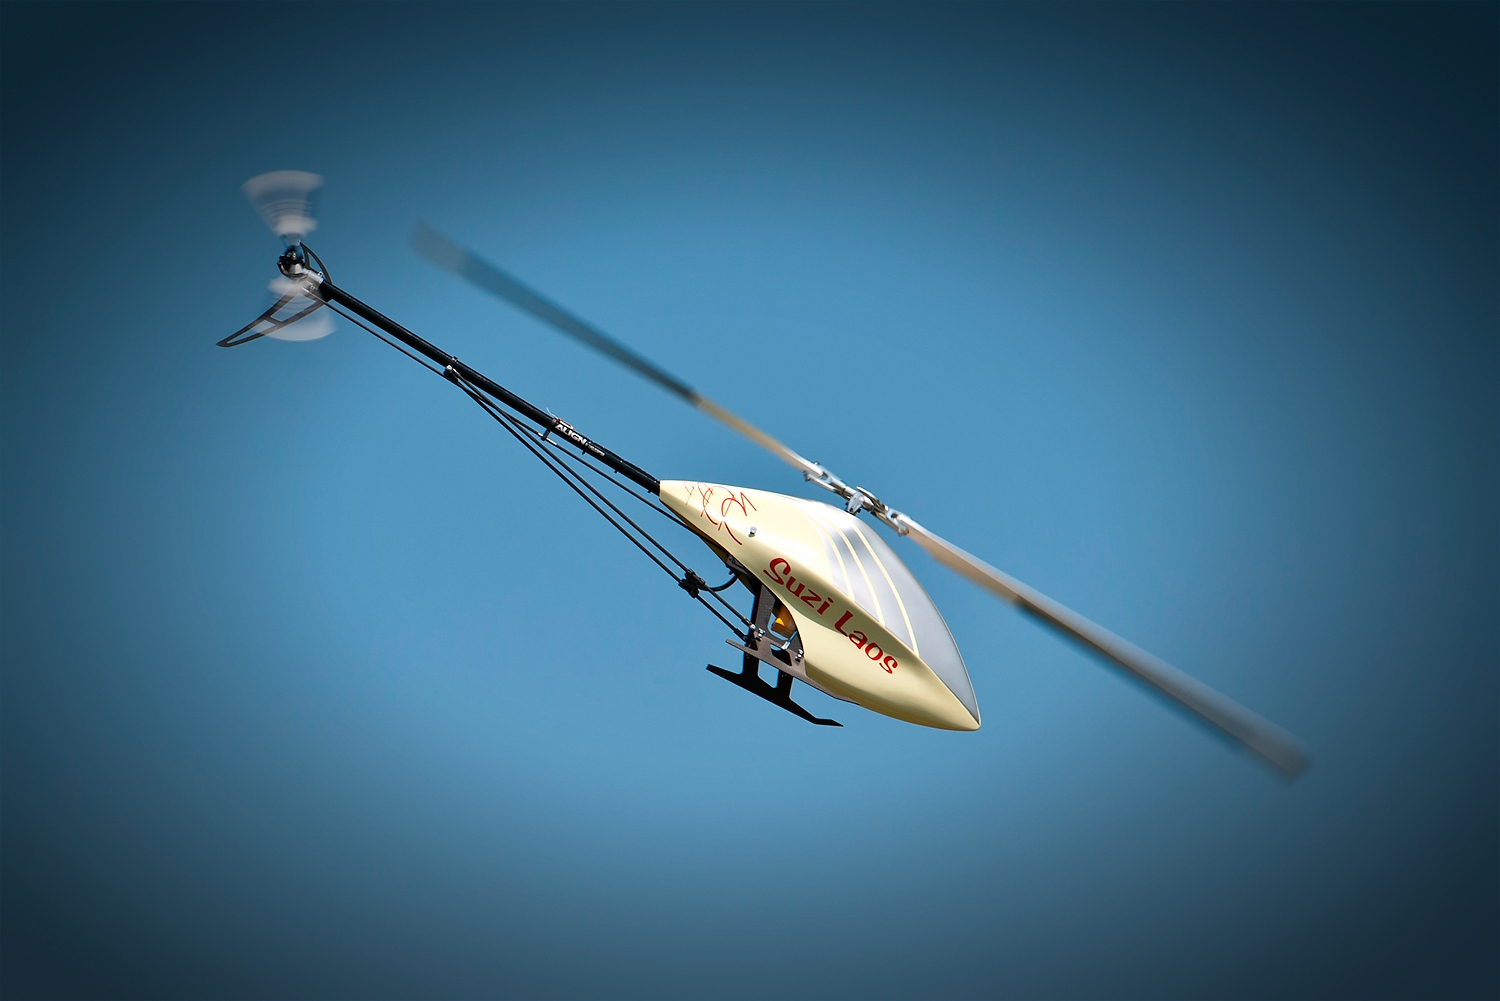
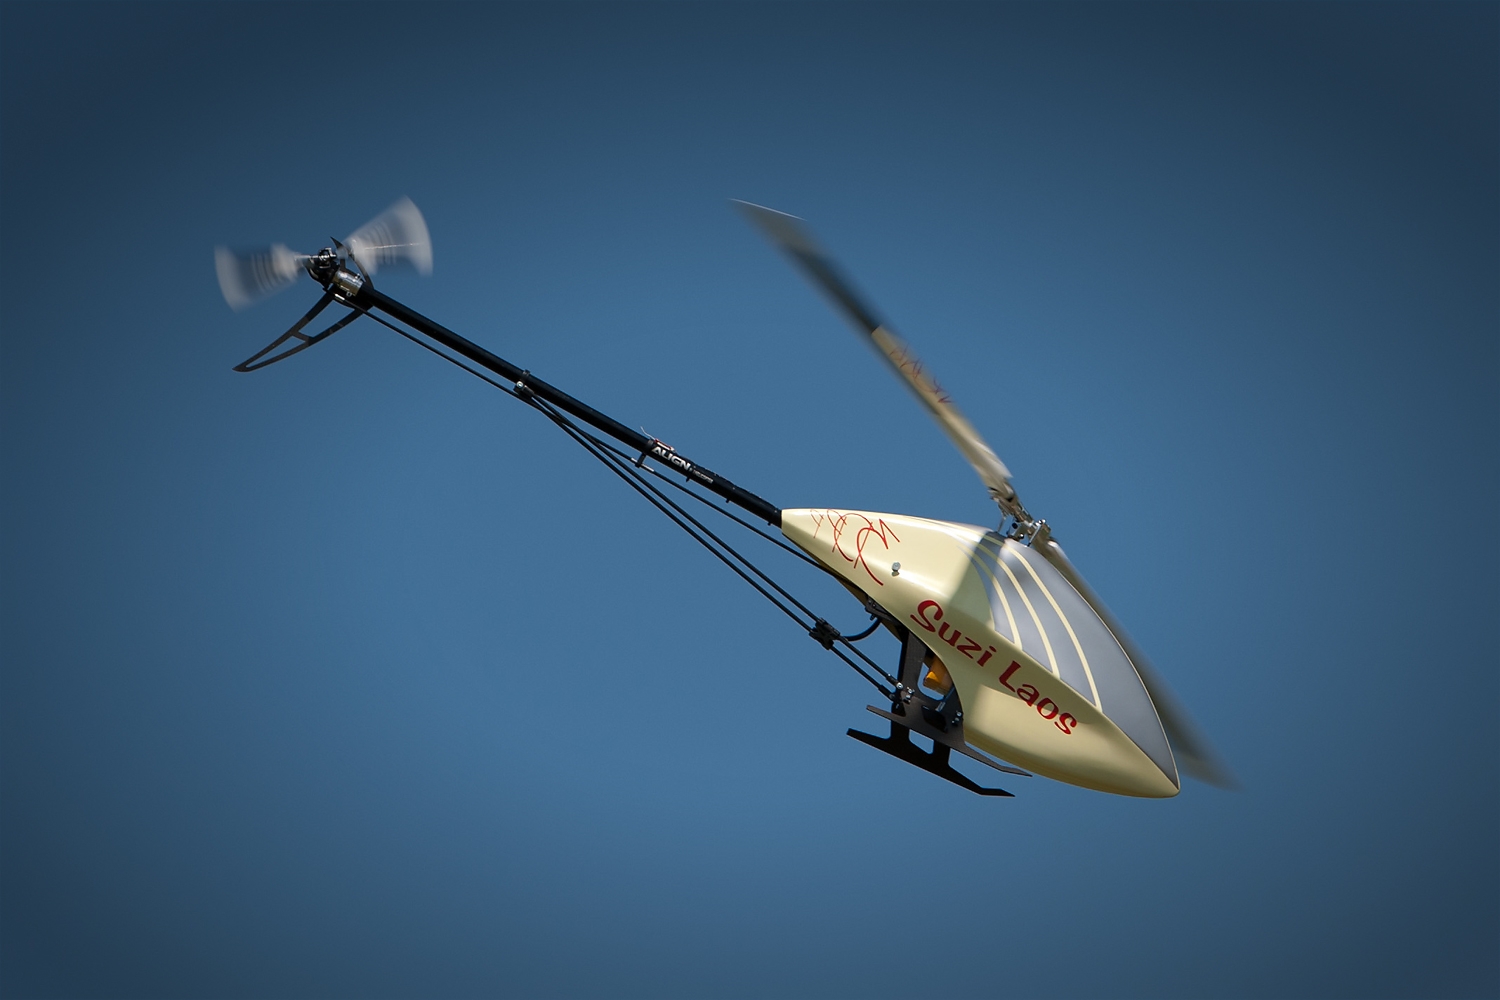
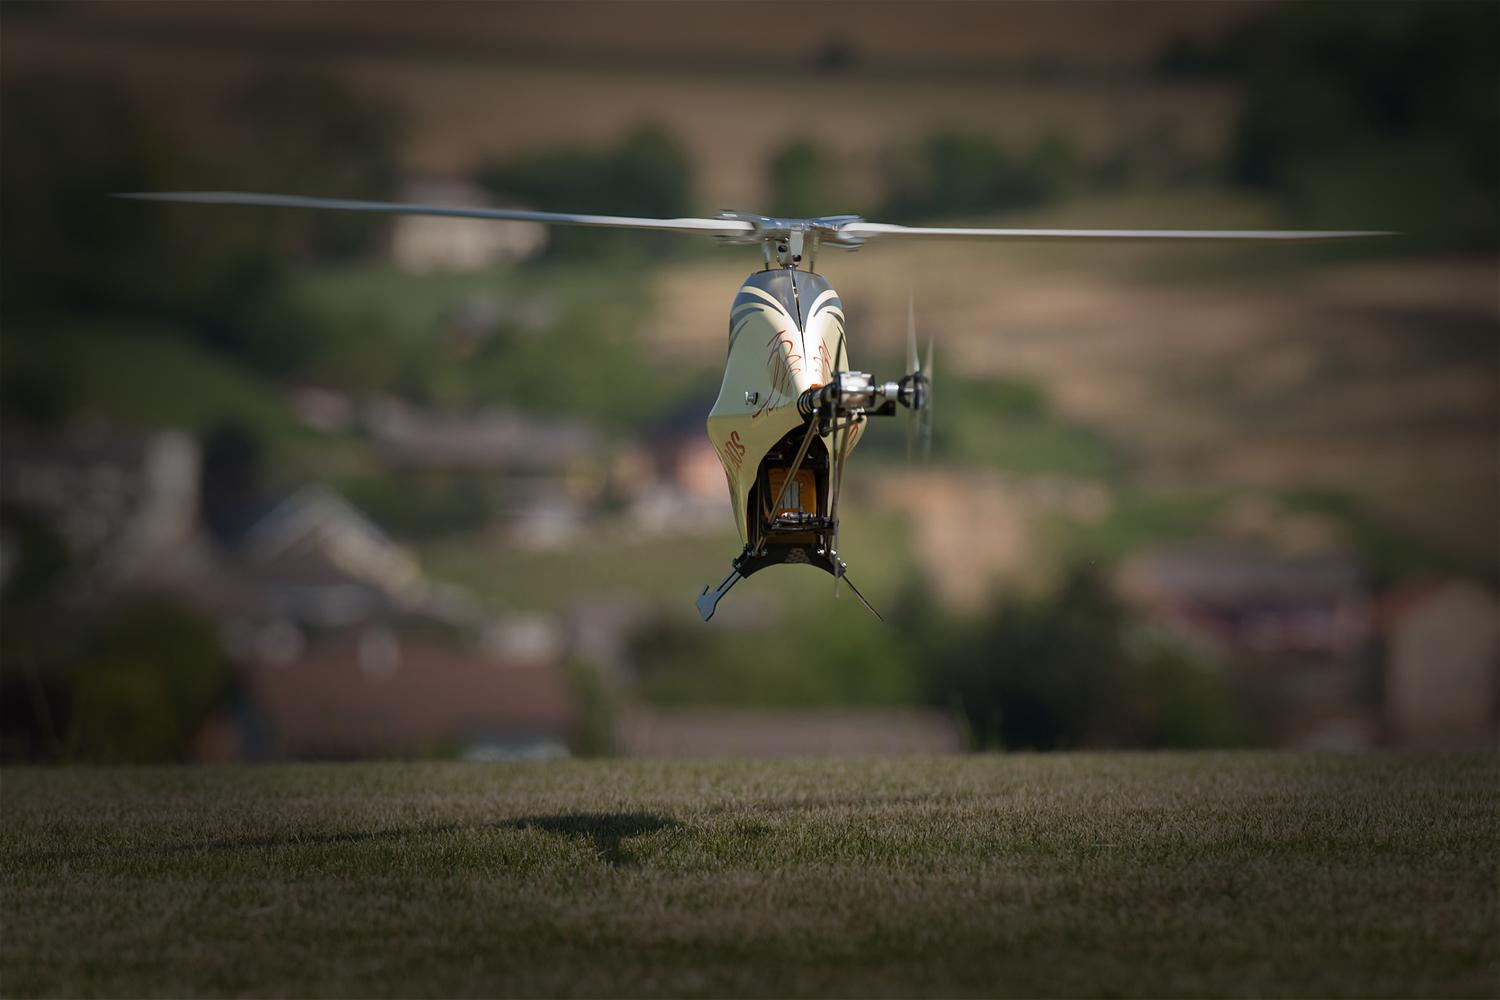
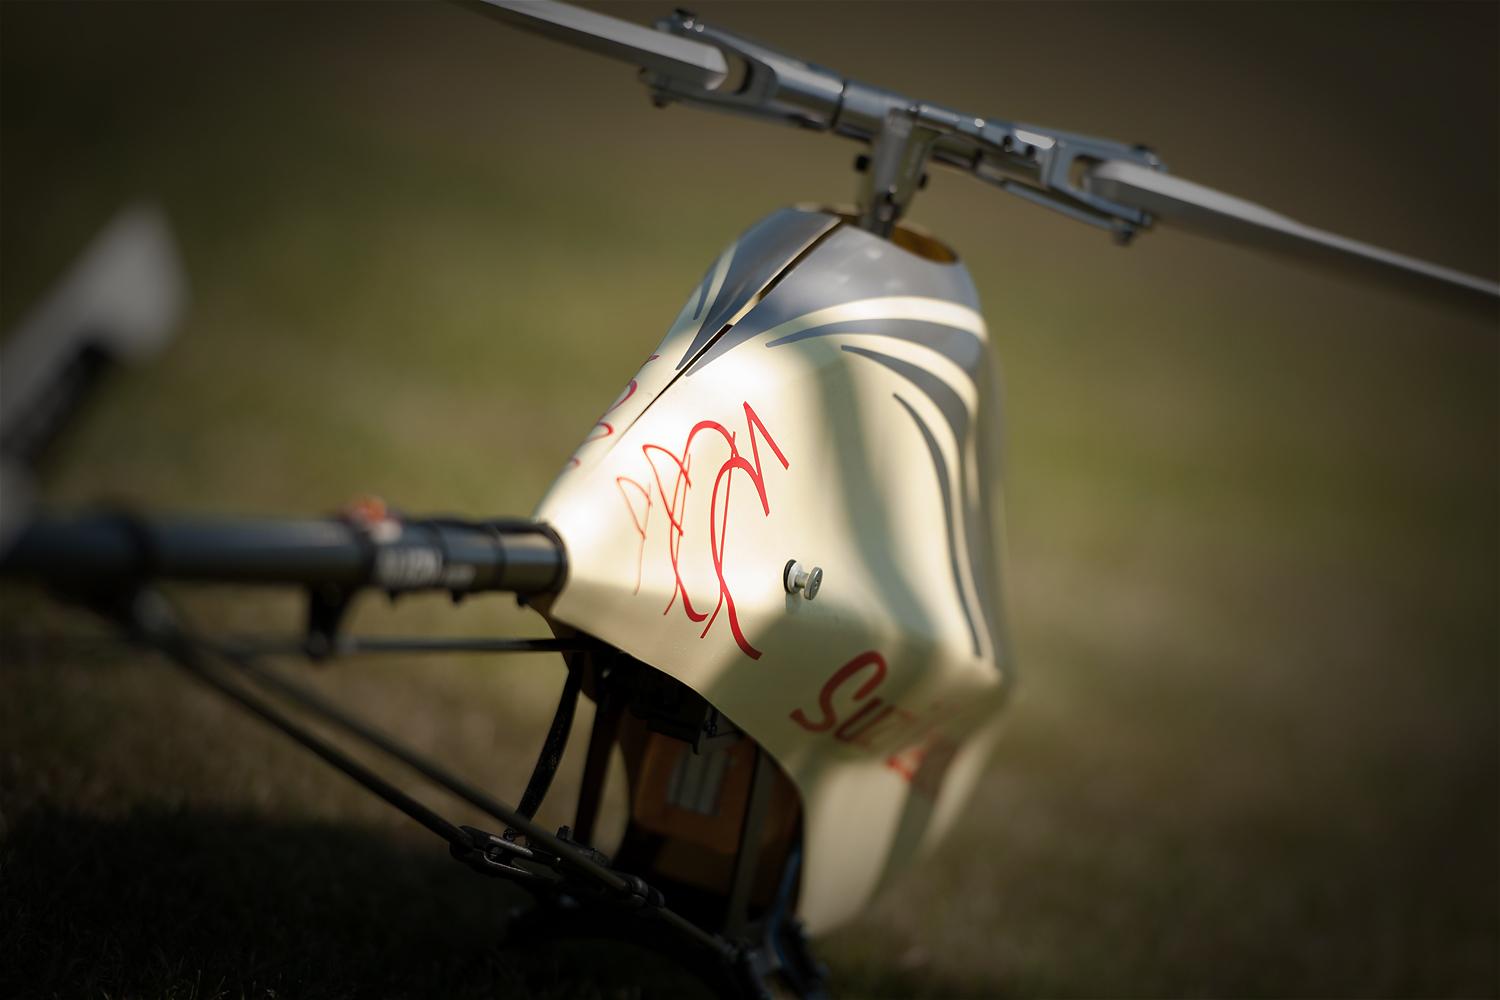
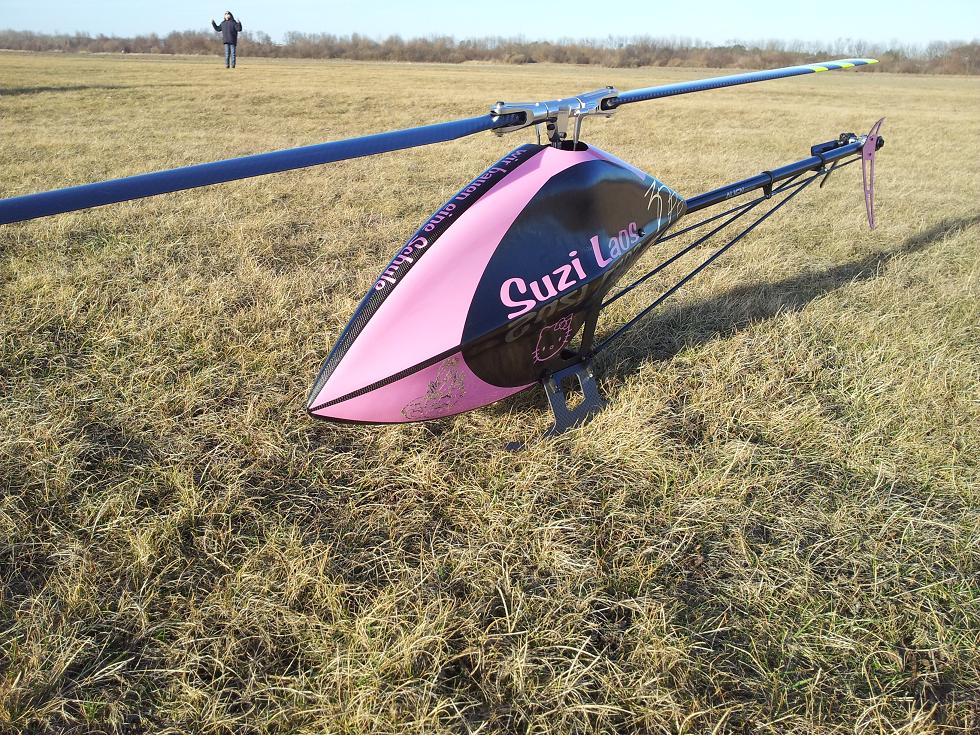
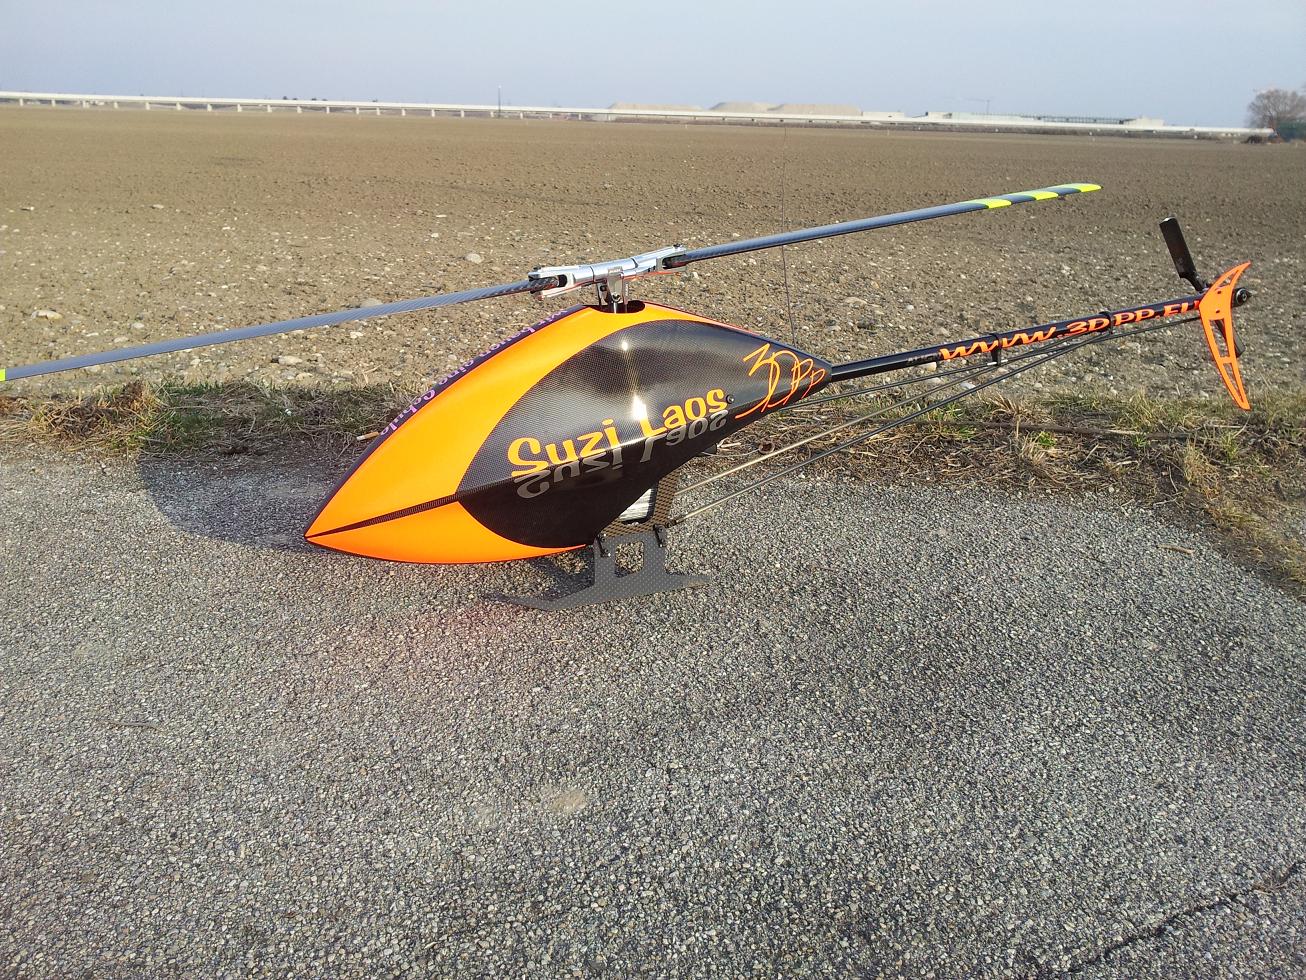
Suzi Laos "we build a school"
Herzlich willkommen bei
|
|
Suzi Laos "we build a school" |
like my home made conversions is my english also homemade
I promise, to write not more as needed
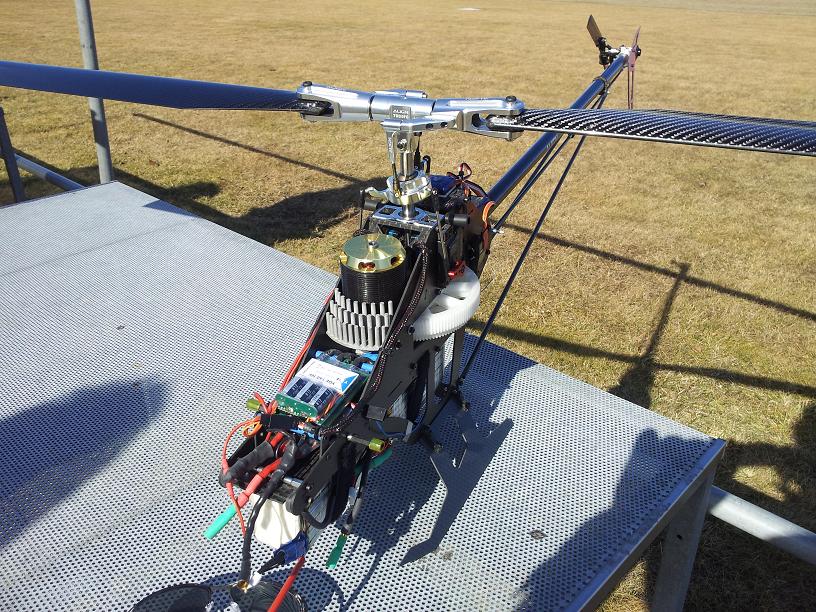
OK the story about this copter isn't a long one, but like to tell it, because it's not built to earn money
one day Doc mailed me that he has some motors which he want to sell for a charity project
at this time I want to stop all my activity by tunning helicopters, but thought it's a good thing and started in RC heli de
"we build a school"
At first we, thats Hans, Marcus and me, thought, we will put the motors in our Suzi Janis, but the year was long and I have built many protoypes.
on this basic, I thought it is time to cook a new soup
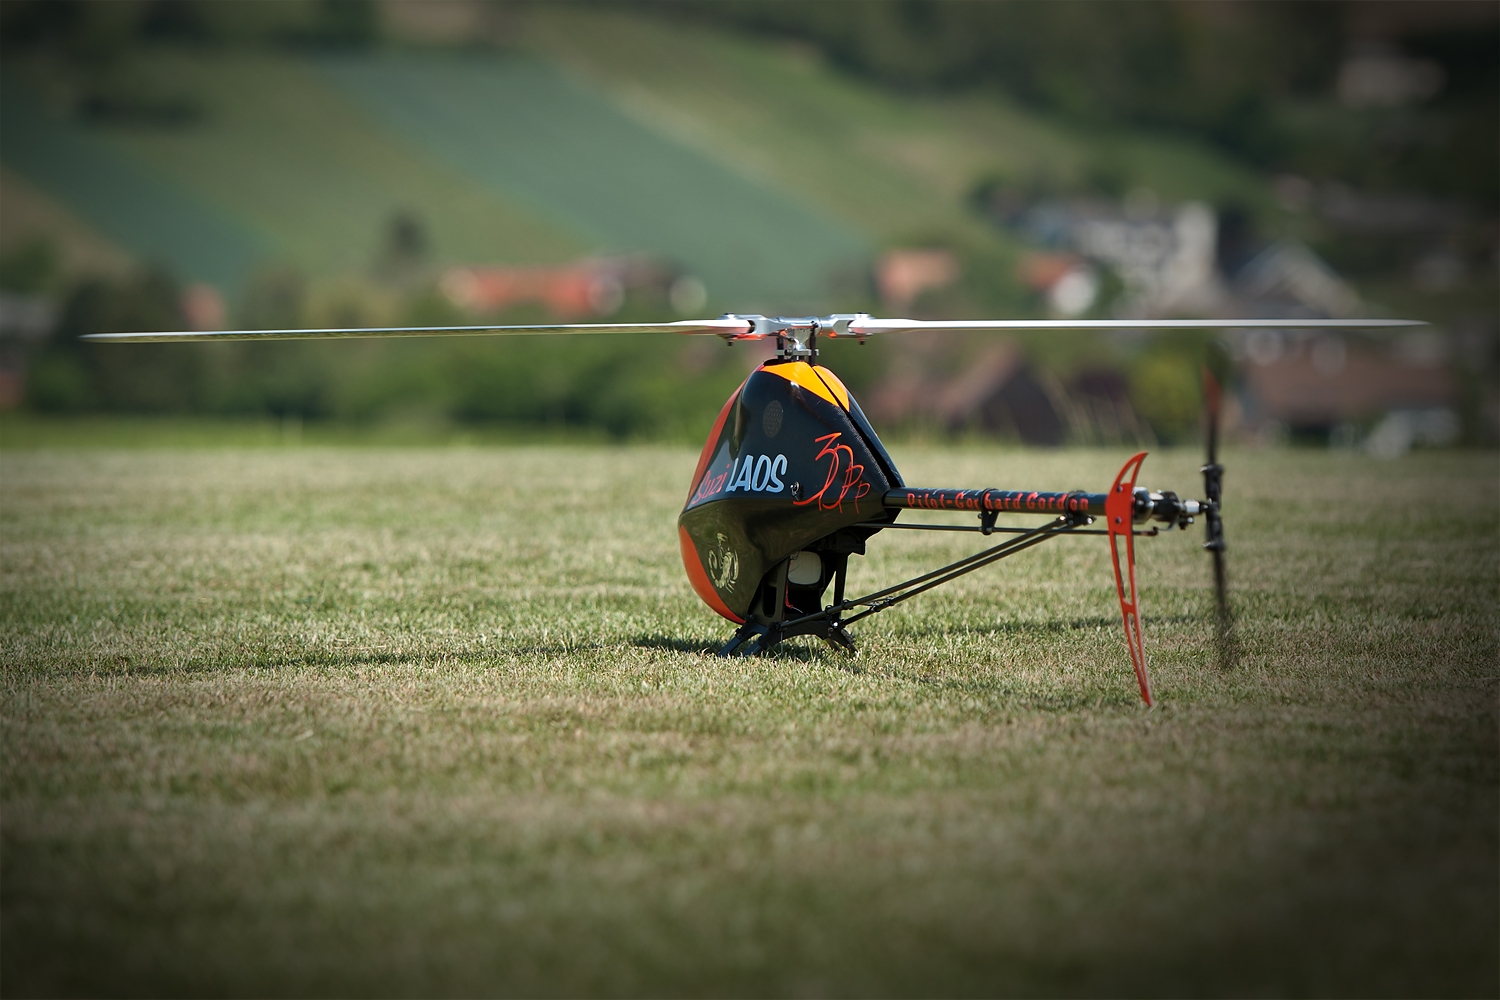
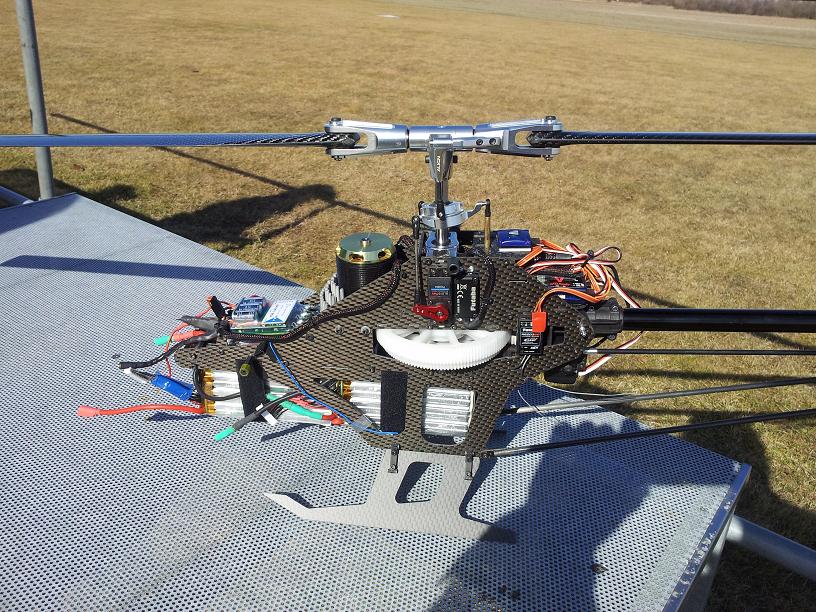
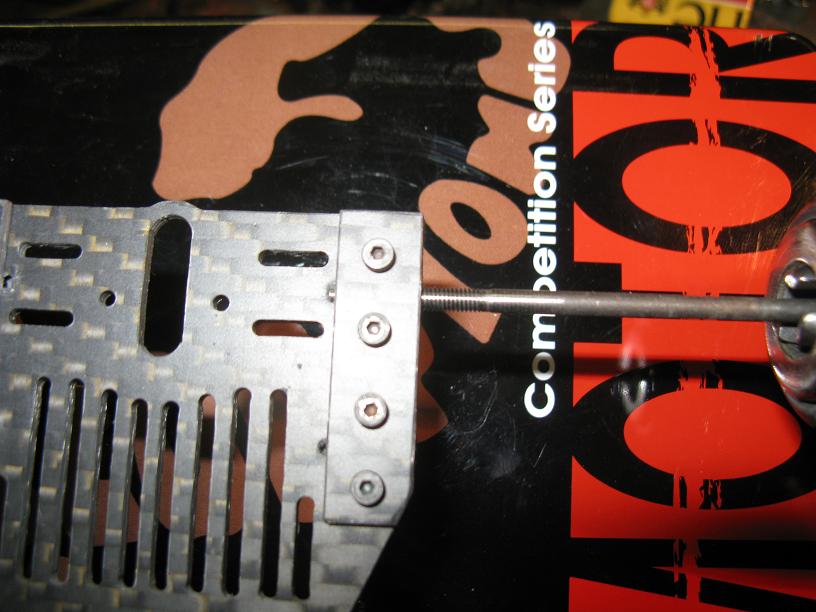
first what I did was to build a canopy, a real 800 one, not to big to have a monster, but big enough to get all needed things inside
Oh my loved one holidays in Hellas, thank you for, relax me so good,
six weeks now I was under preasure
not only it was enough to make a new canopy, we saw a need to change the gearing too
Hans and my ears at this time were running hot from all the time the handys on it, but thanks god, it was a great time for us
sometimes if I was to tired but didn't want to stop working , I was thinking at the childrens which will go to this school also if I'm six feet under
yes I'm able to motivation me, he he
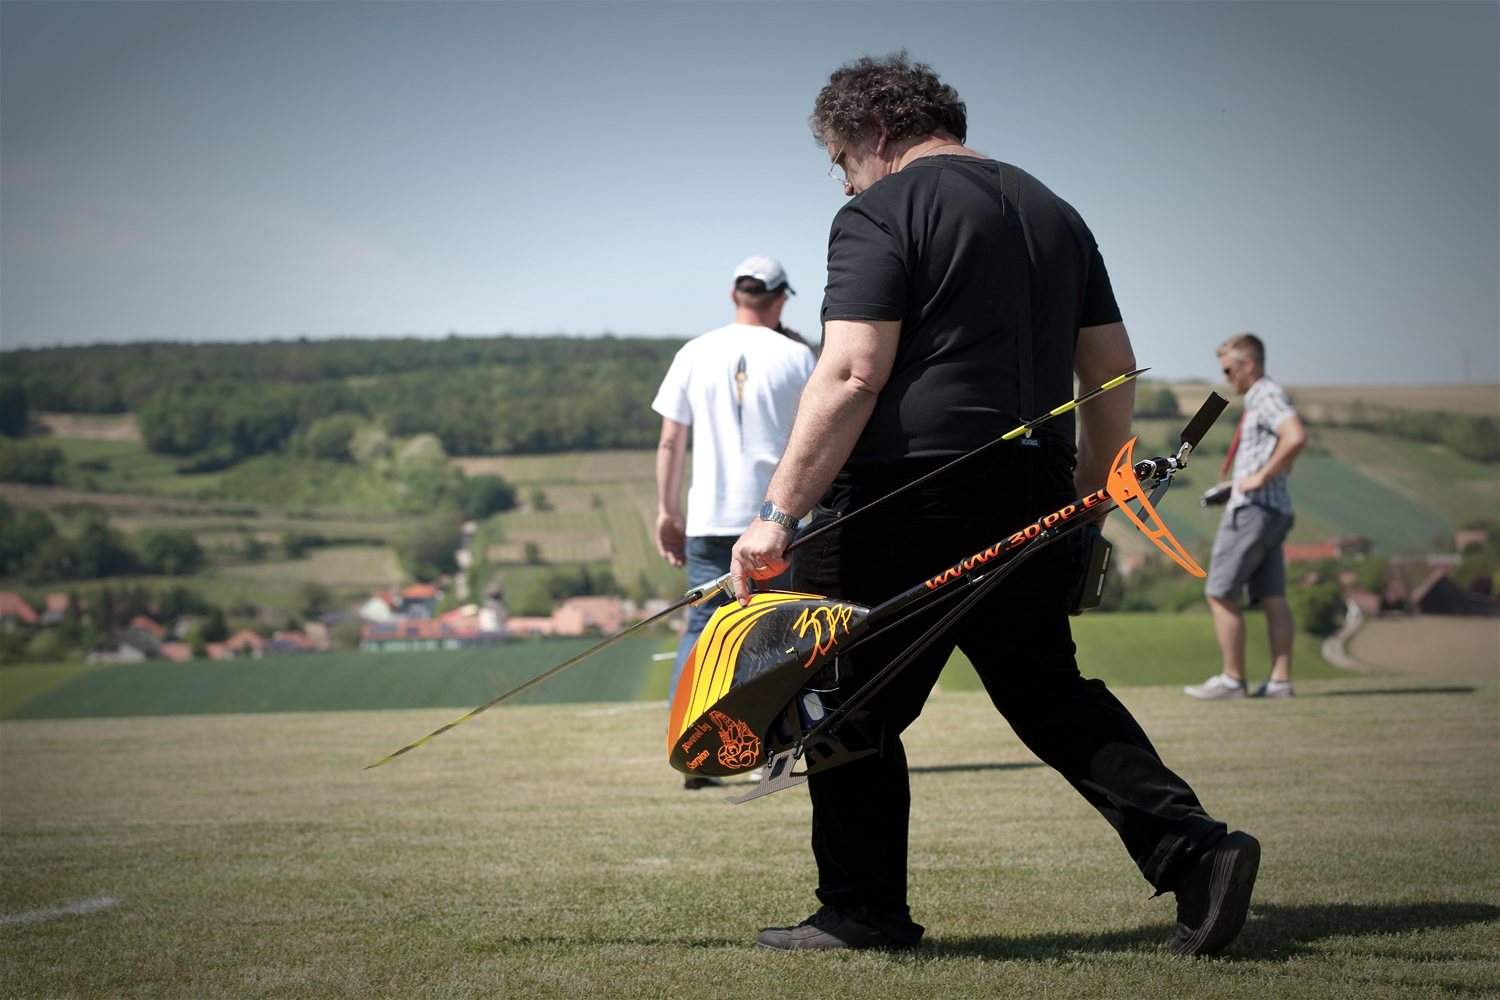
OK the school will be build in Laos on the country so we had a name too for the copter
Suzi Laos
here webside from Doc over the project
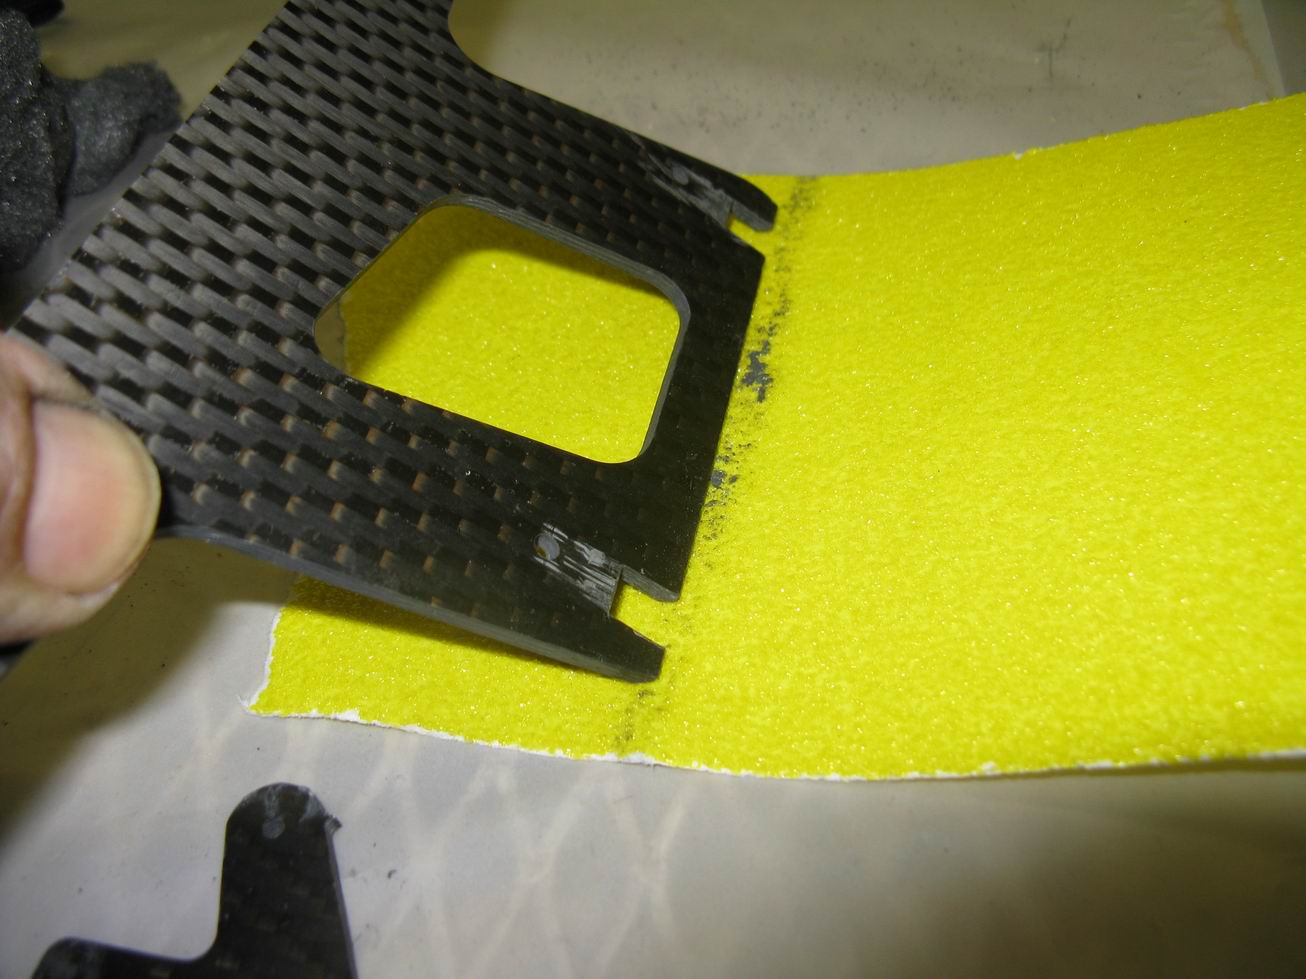
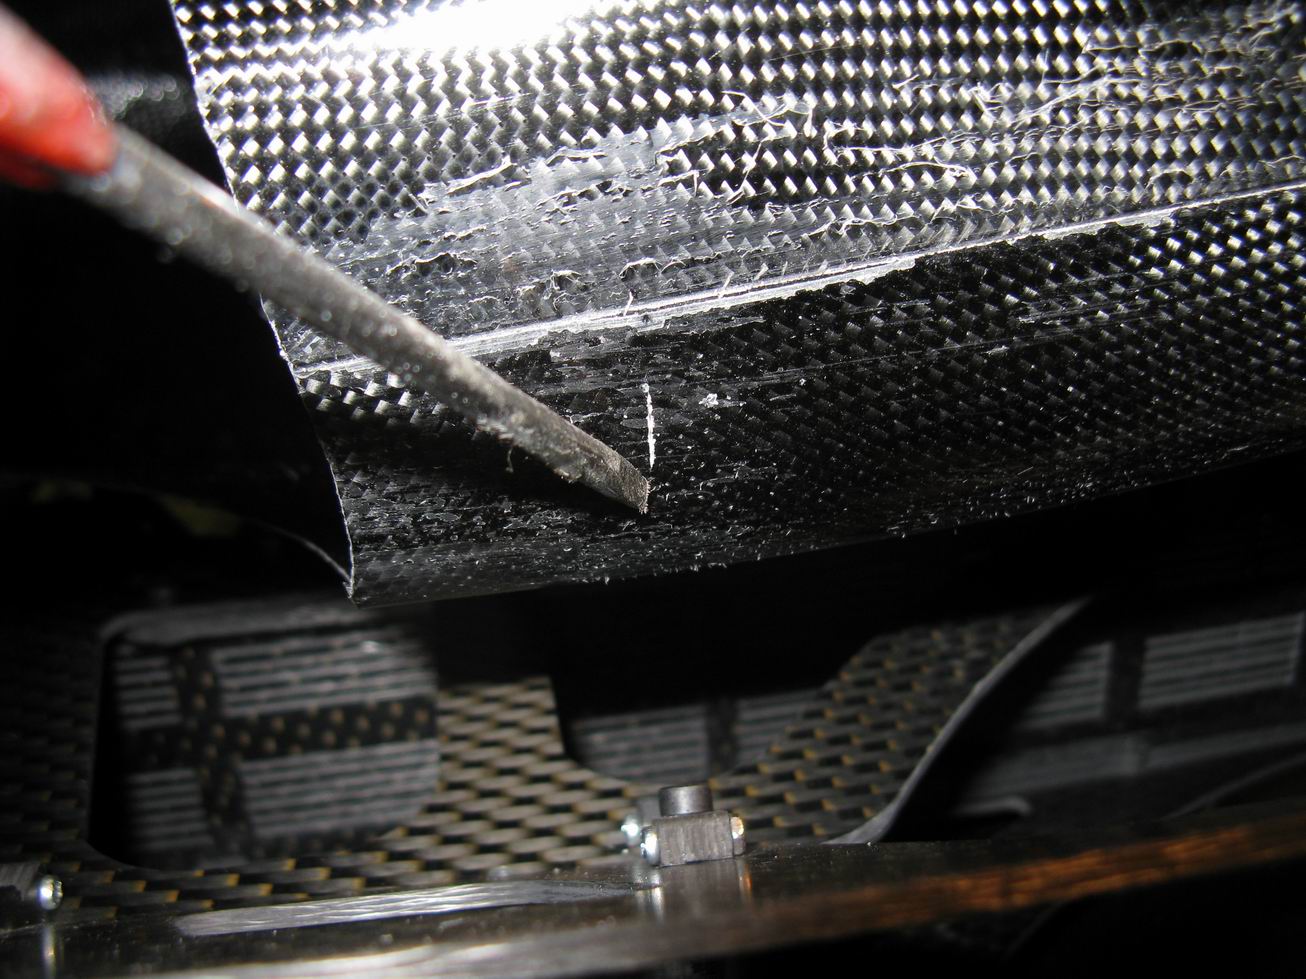
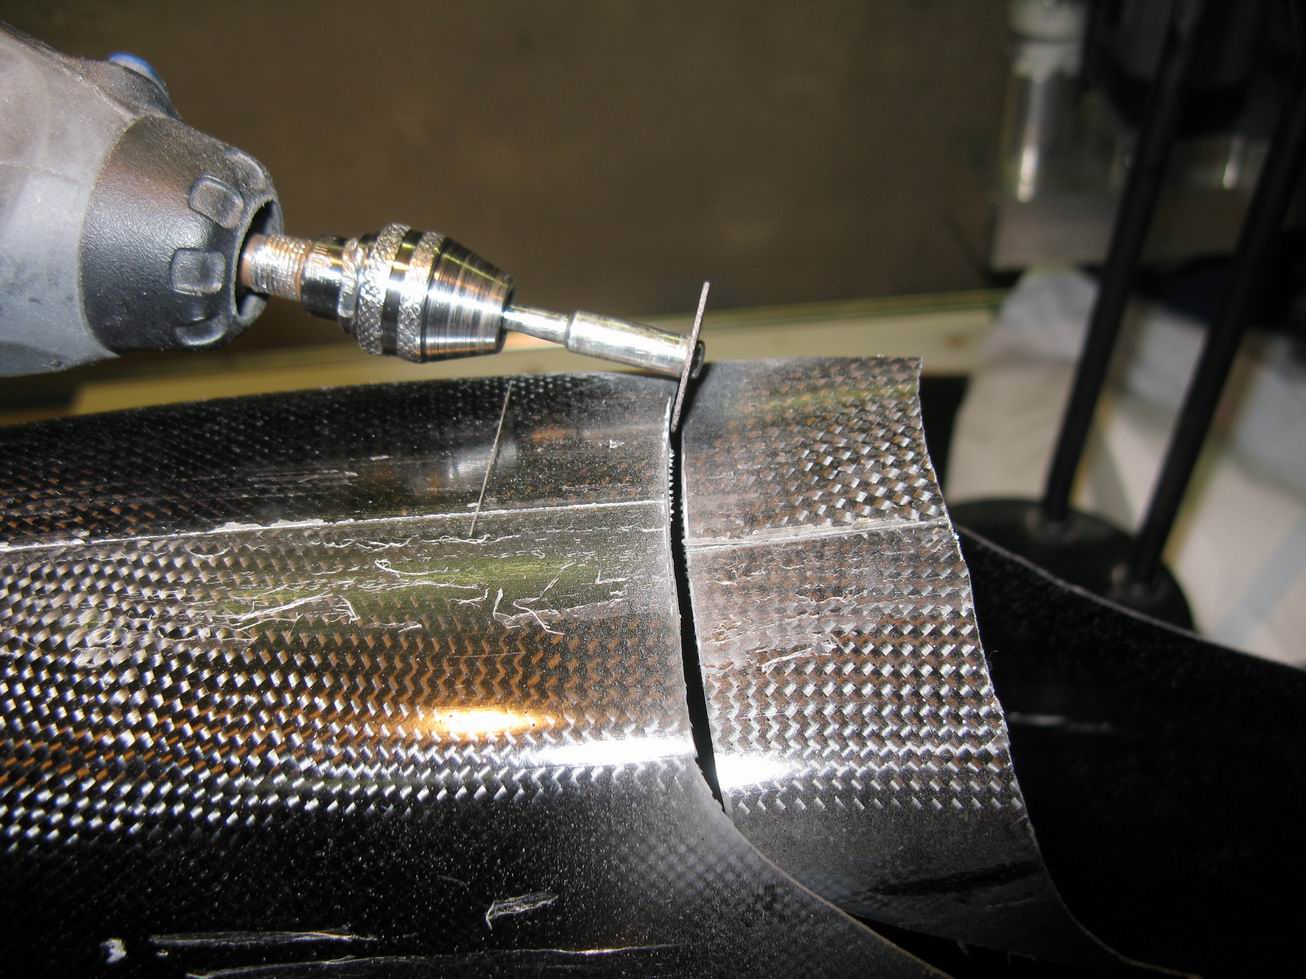
don't like, don't like, don't like,
yes, the "intruders" job, he he :)
have a look that your arms are not naked by this job
and use glows because of the smal black intruders
which are then for long time are under your skin and makes you pain
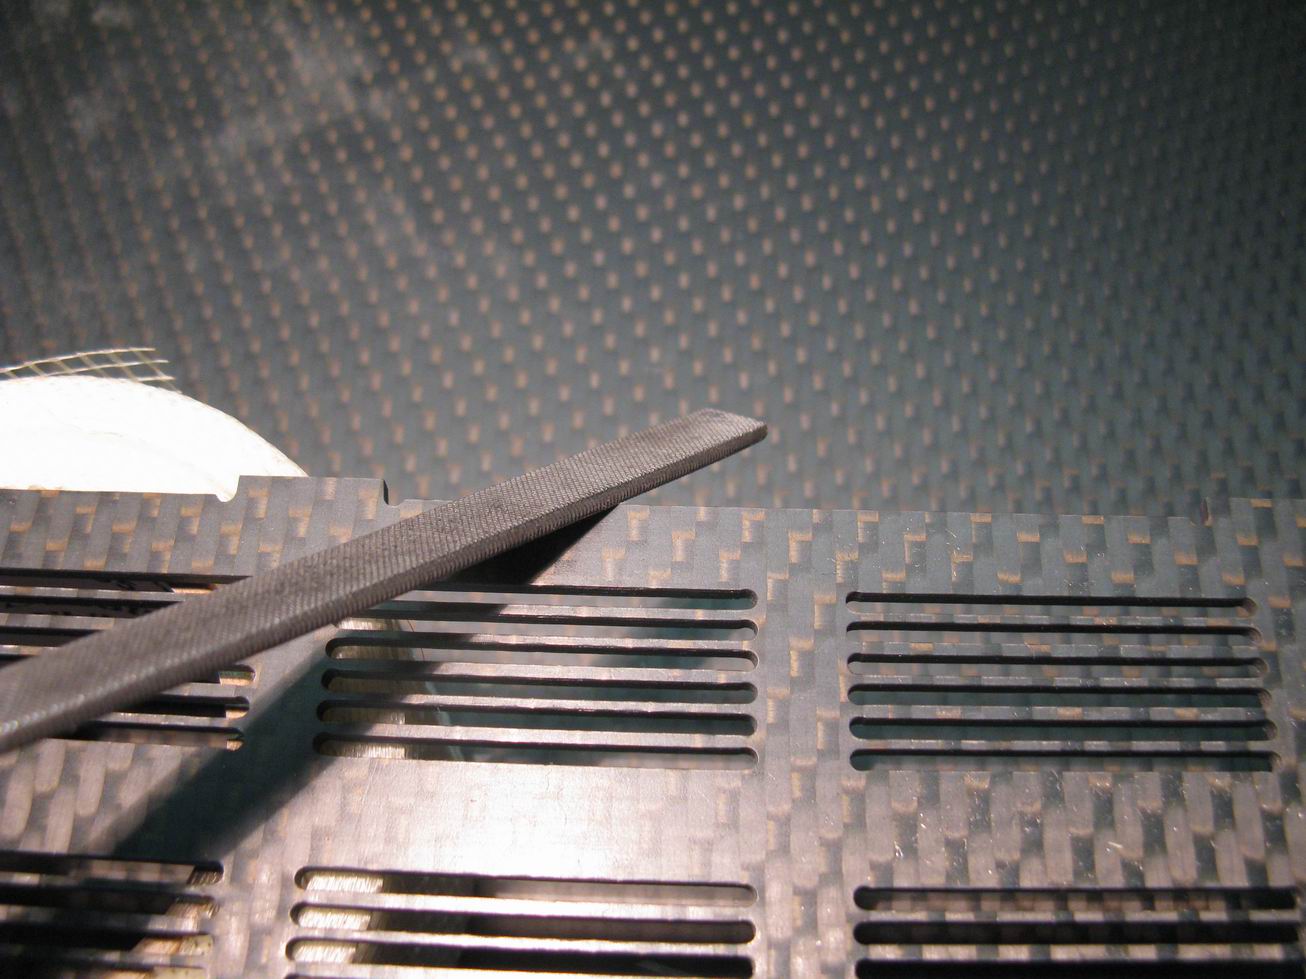
with a small file an endless work
but no problem in our time we have many well tools and this is one of them
steel wool

little rubbing and all looks well
but don't use it on all places of the frame
especial where your leads and wiring will stay,
there use a file to get the edges well broken
don't worry, I will not write to much, every one of us knows that the Laos is built for a charity, but, it's a man tool
and not a toy, so guys use your experinces
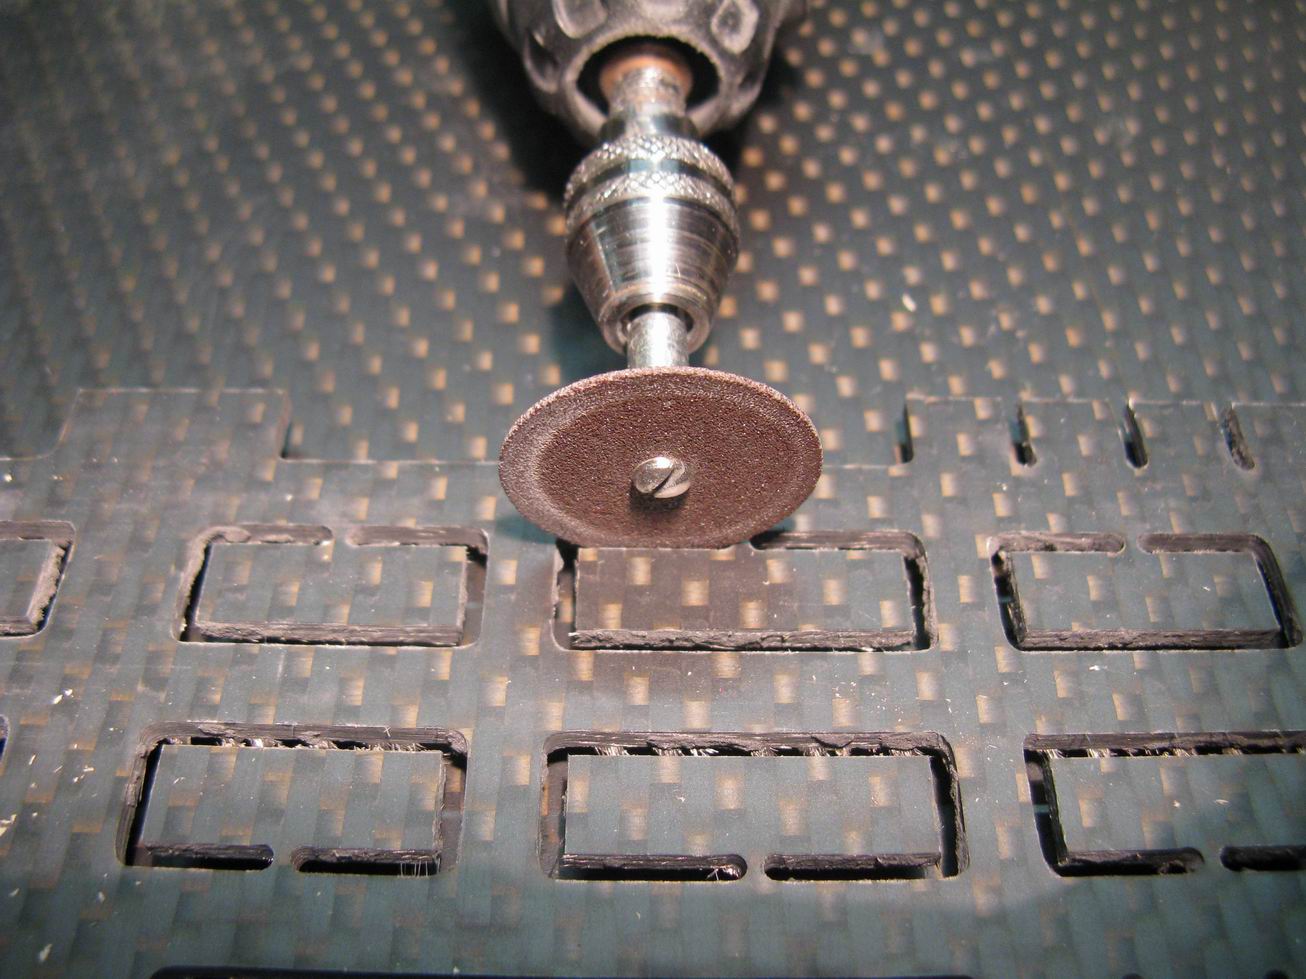
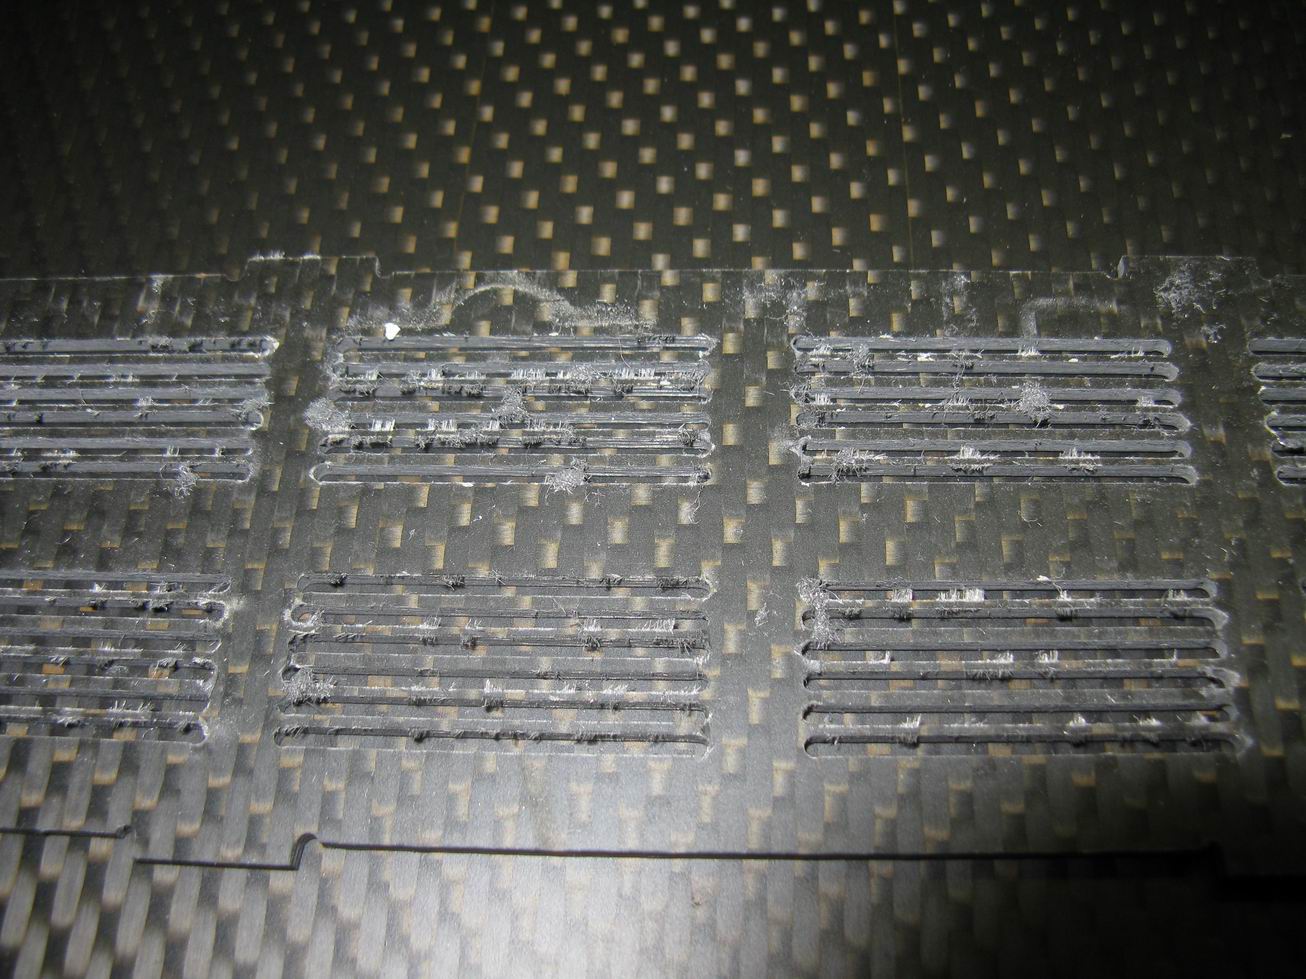
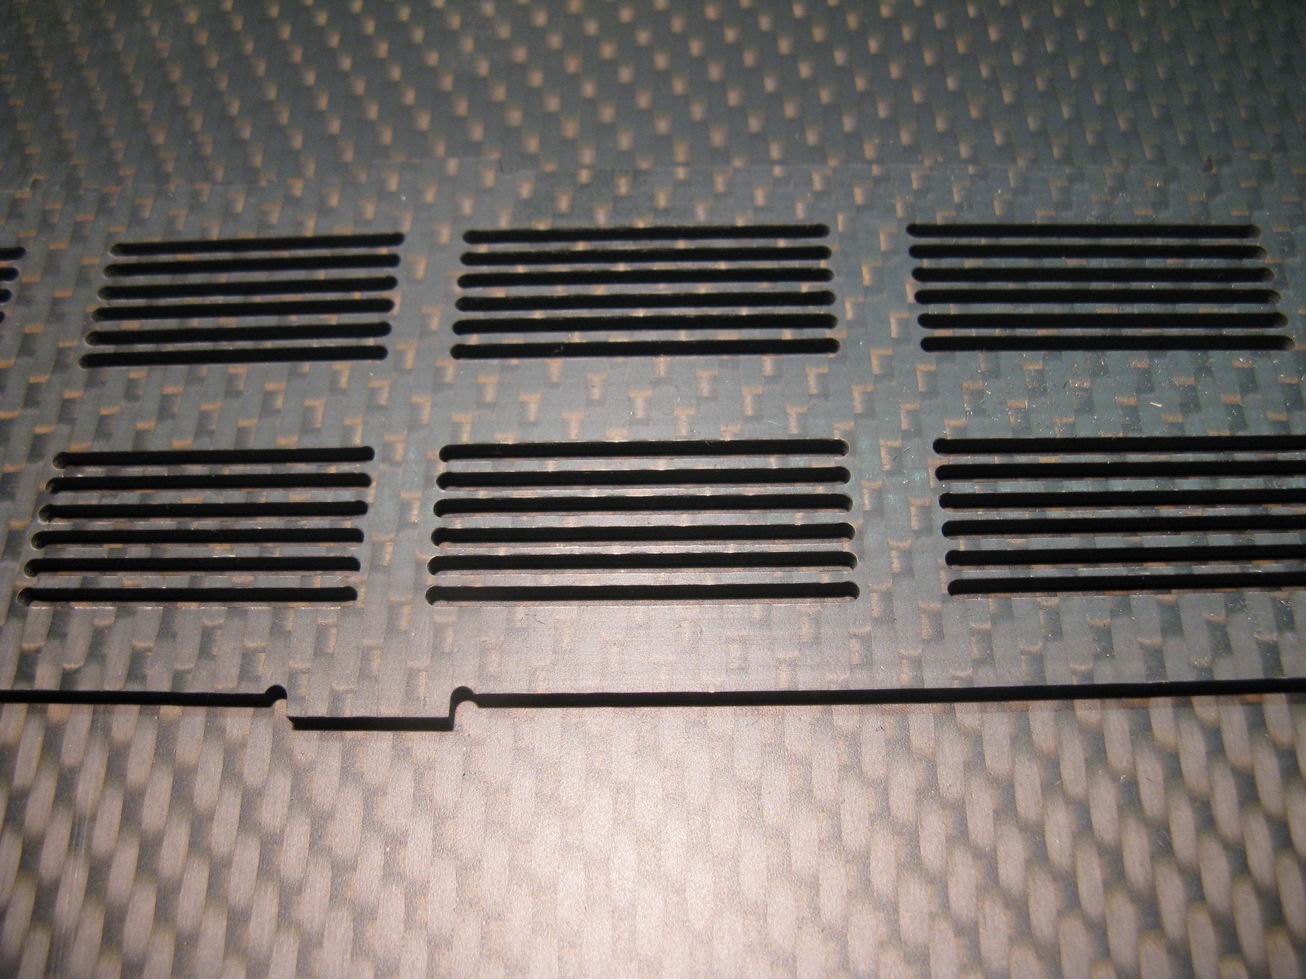
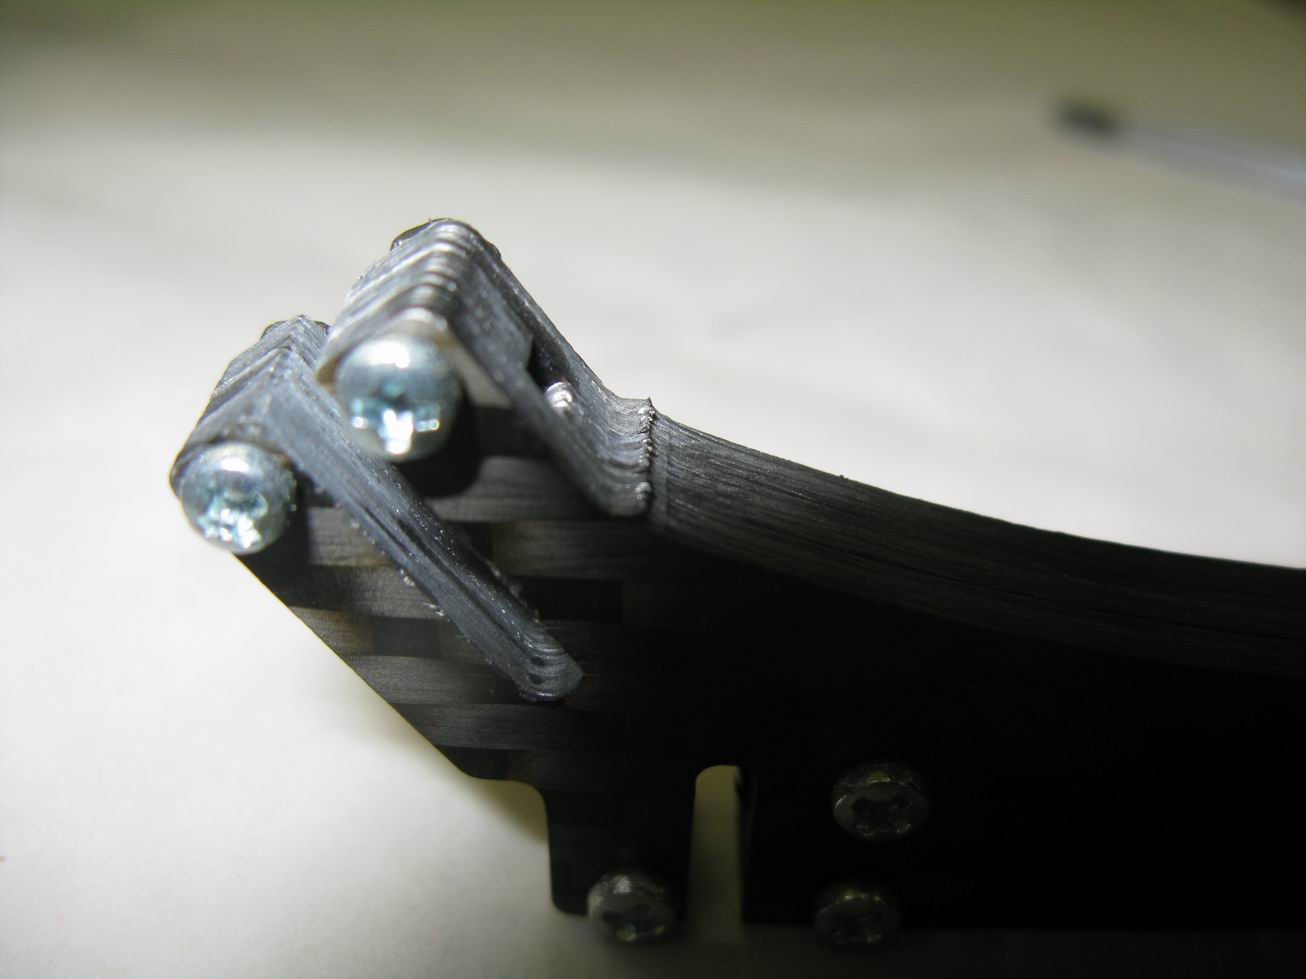
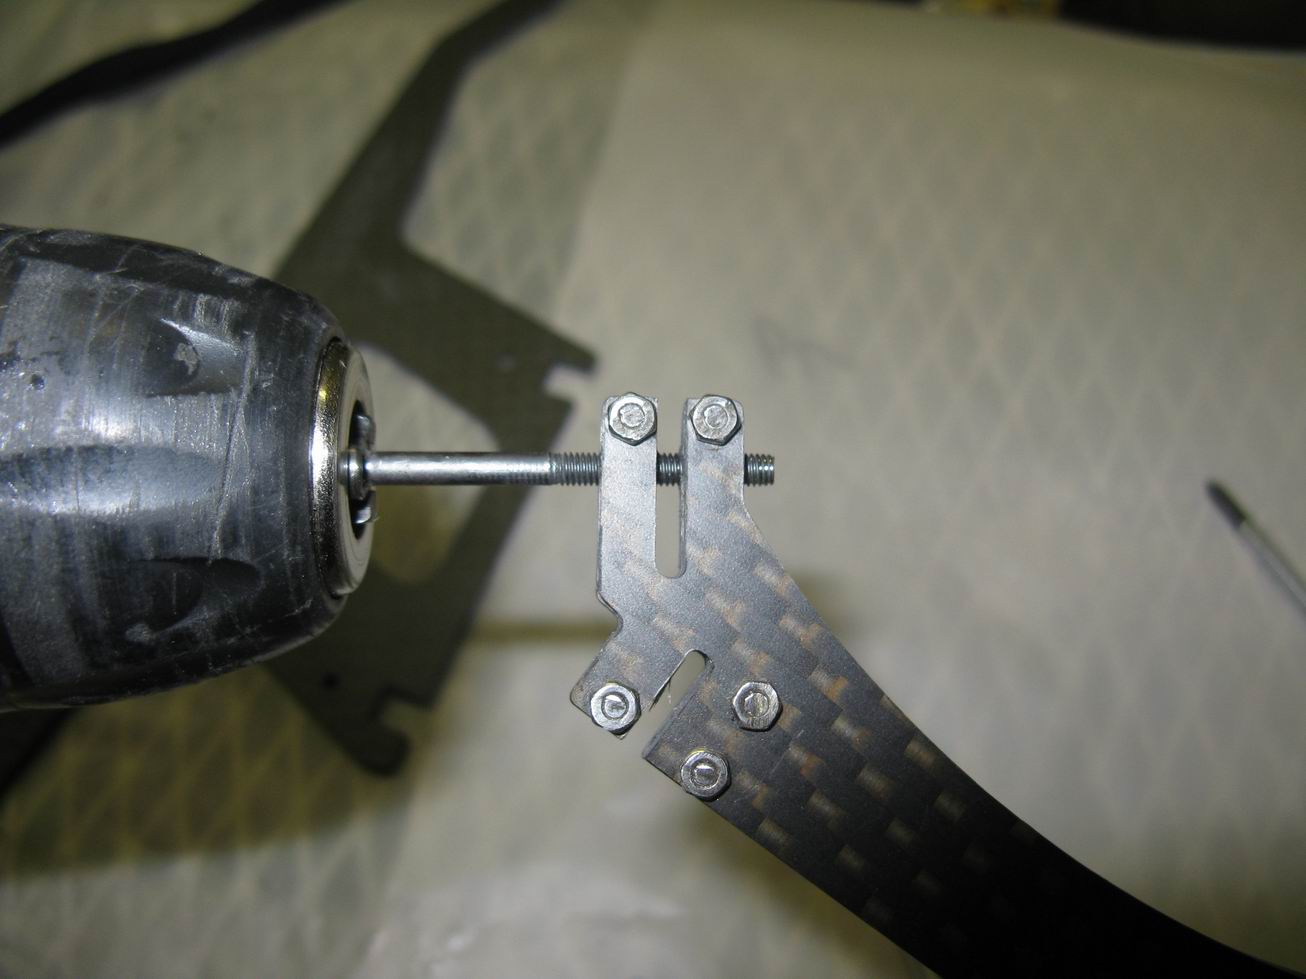
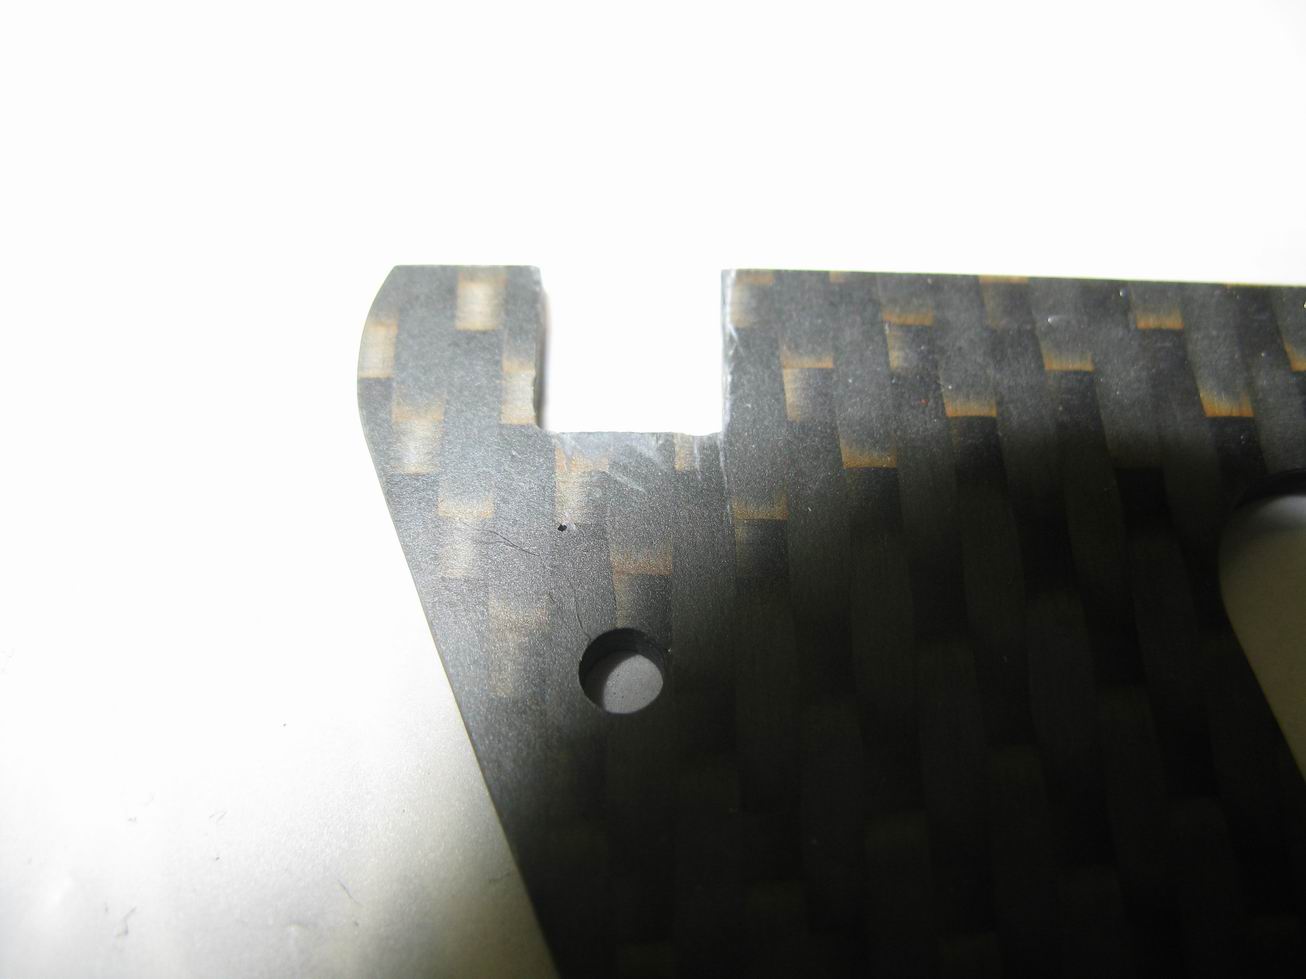
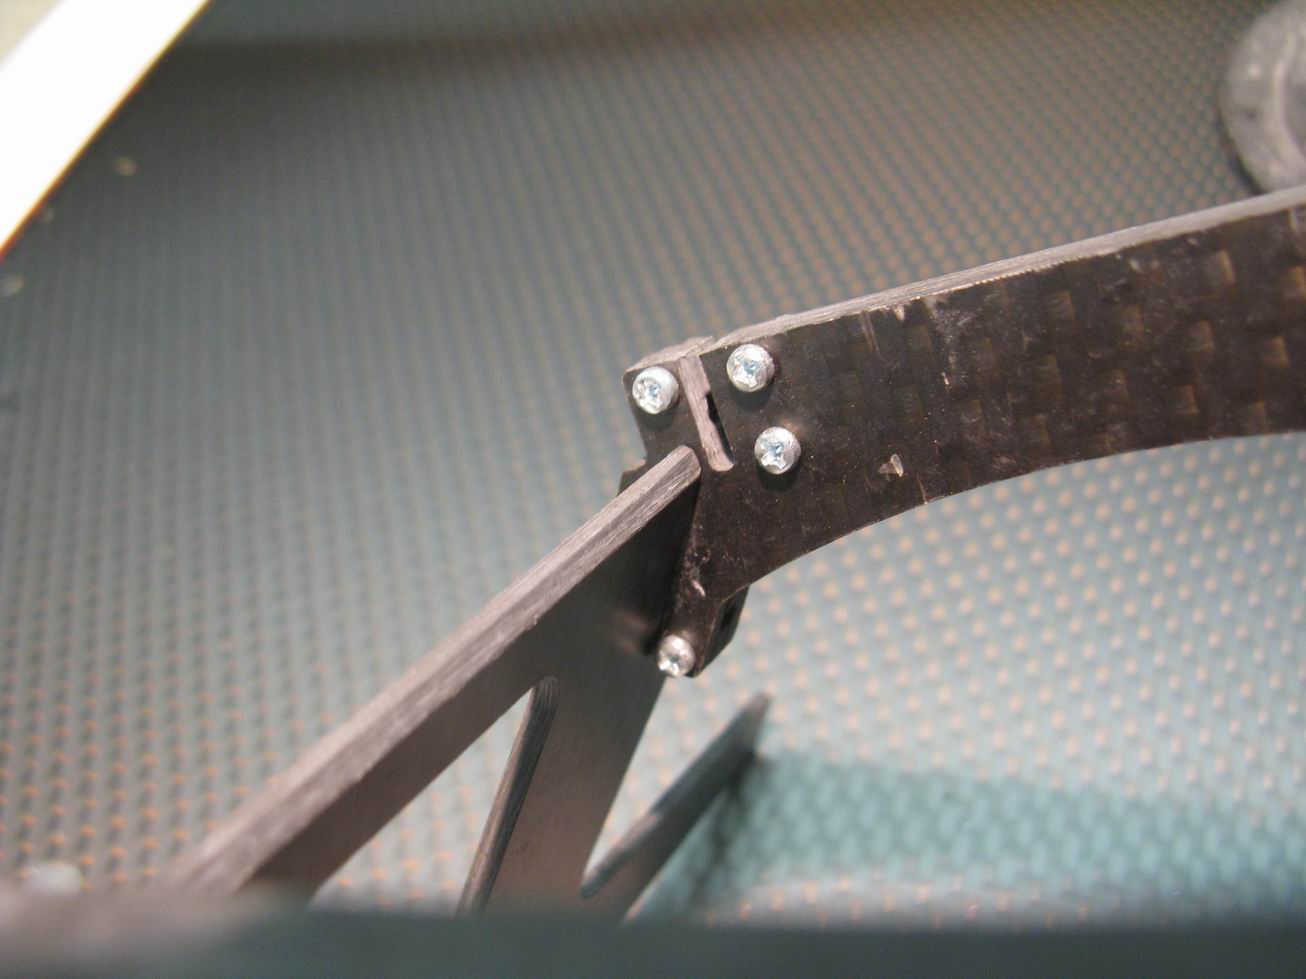
landing gear
have a look at the marks from the mill by screwing parts together
so you will get best results
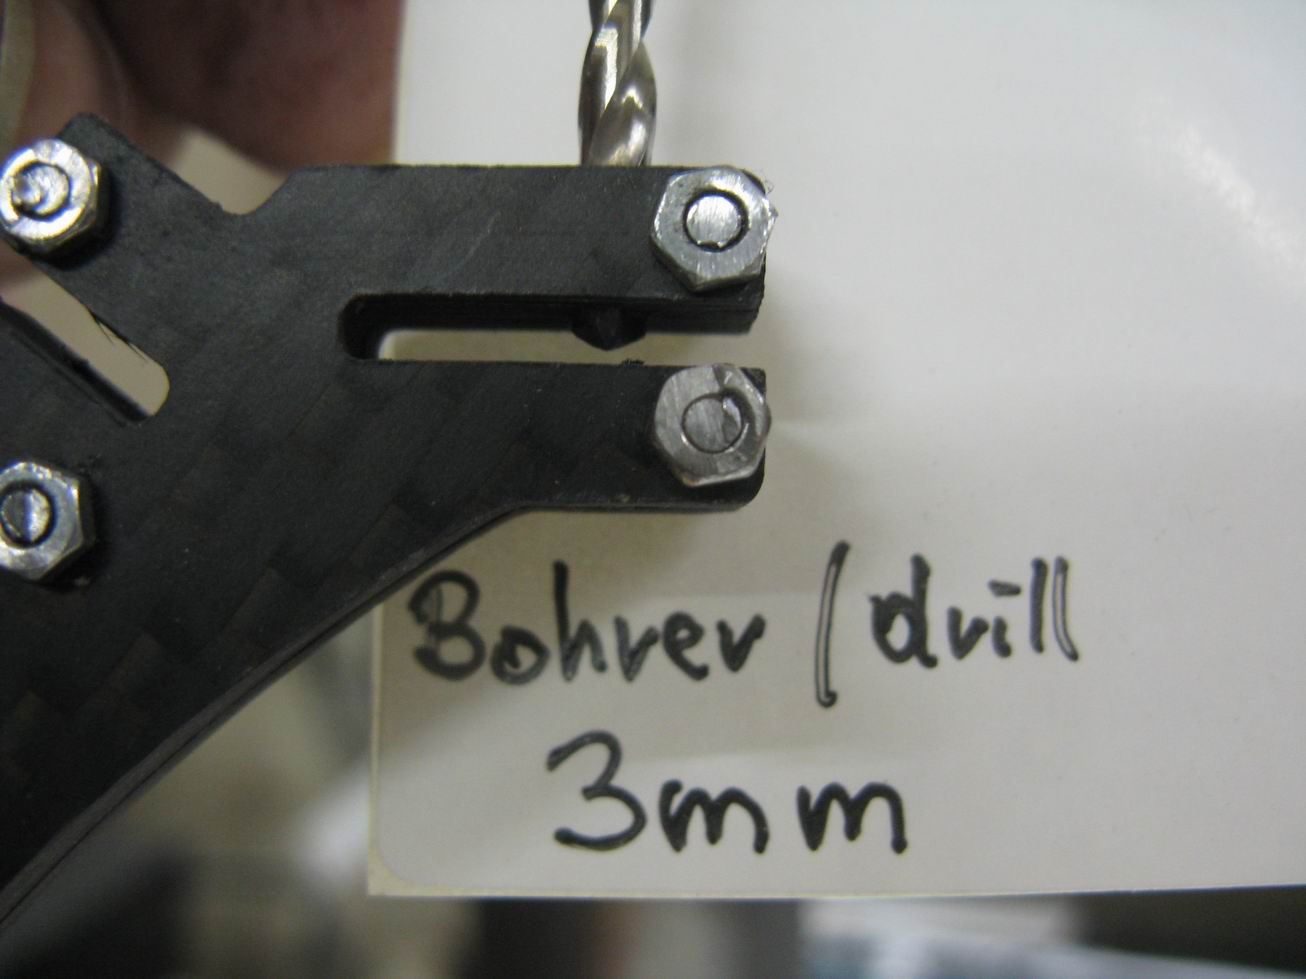
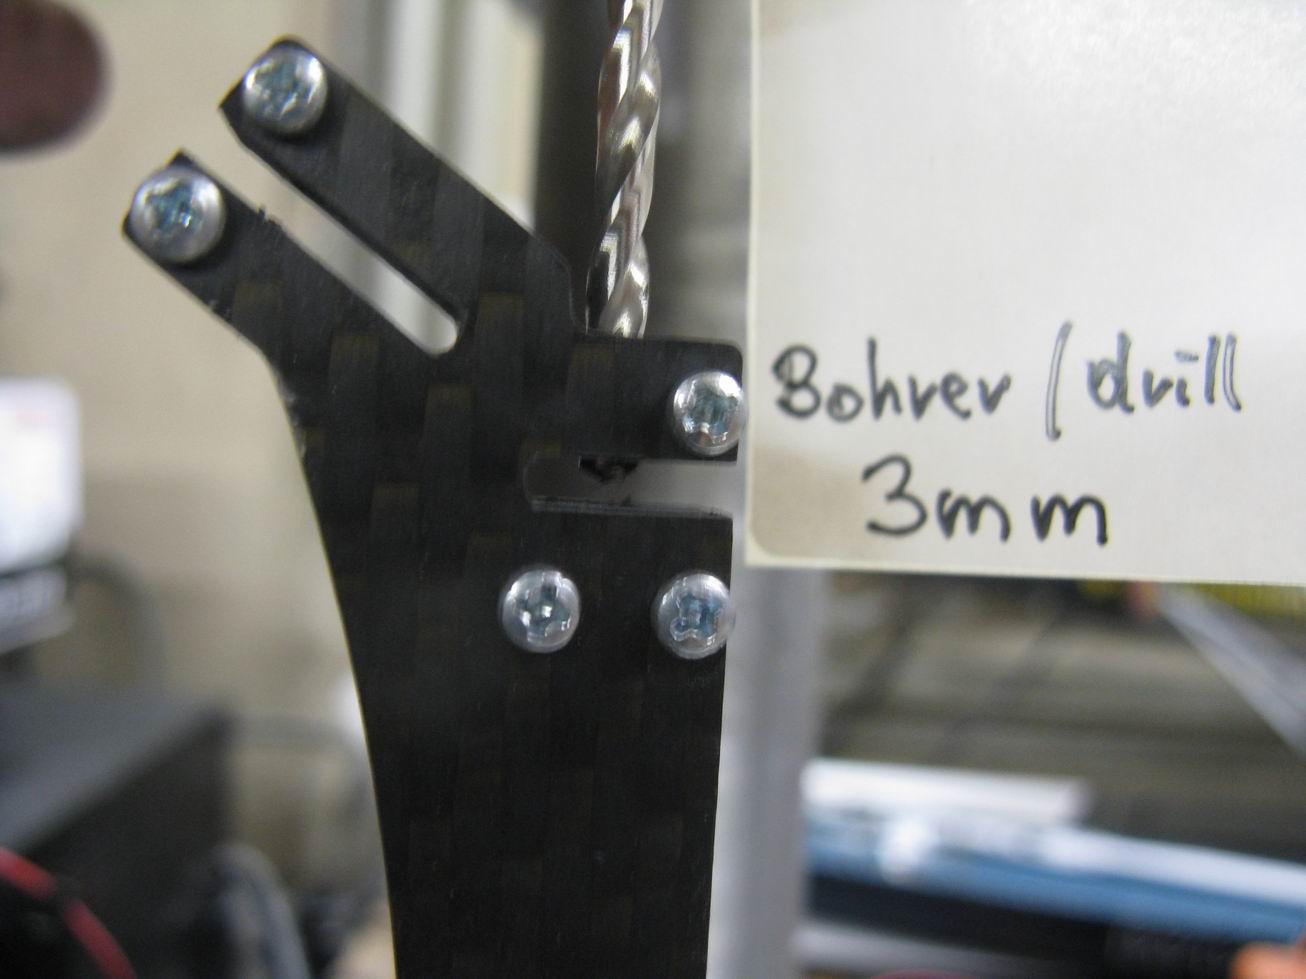
use 2,4 or 2,5mm drill
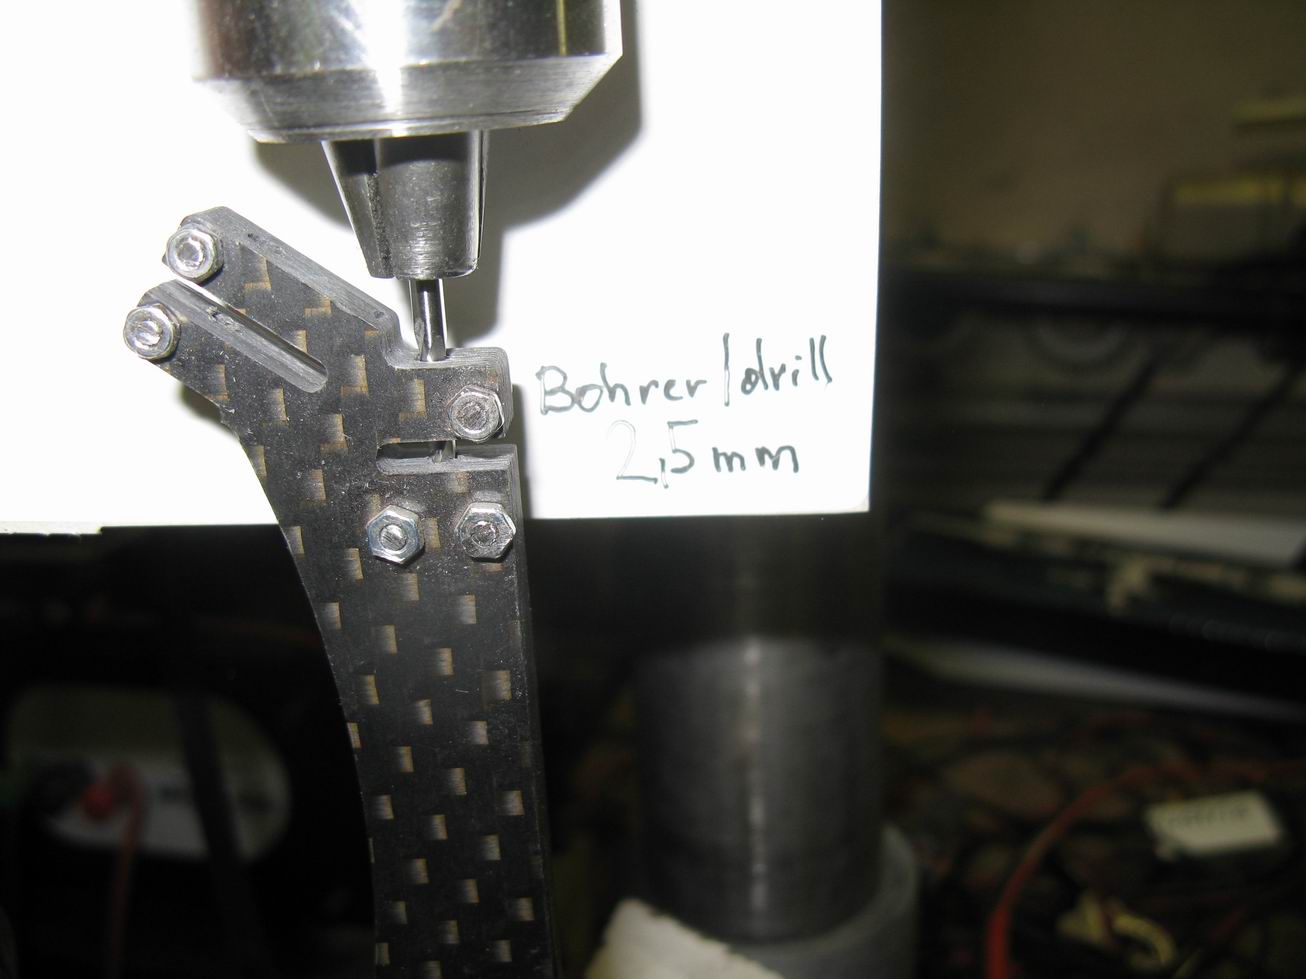
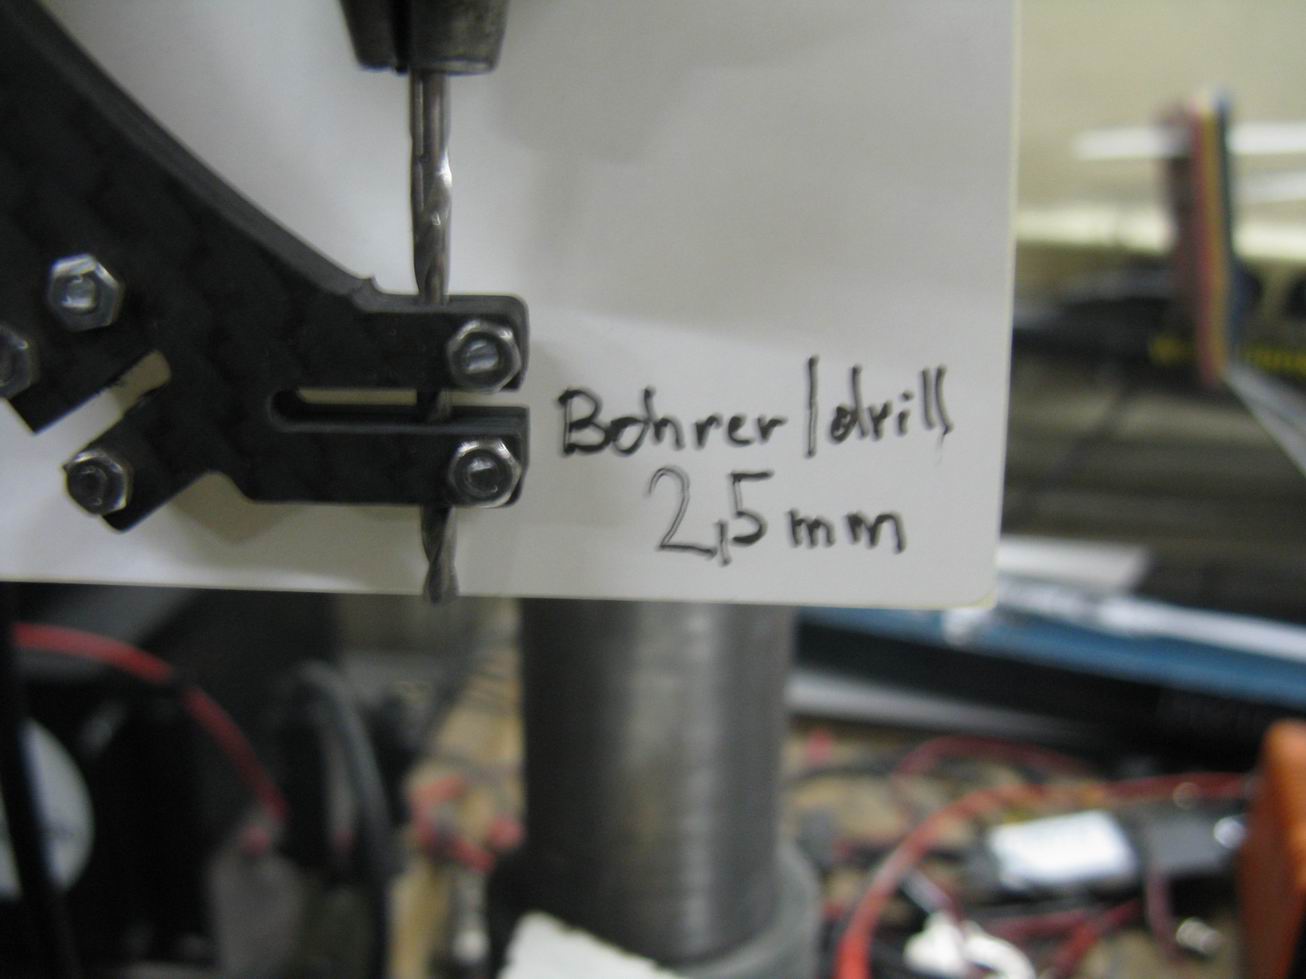
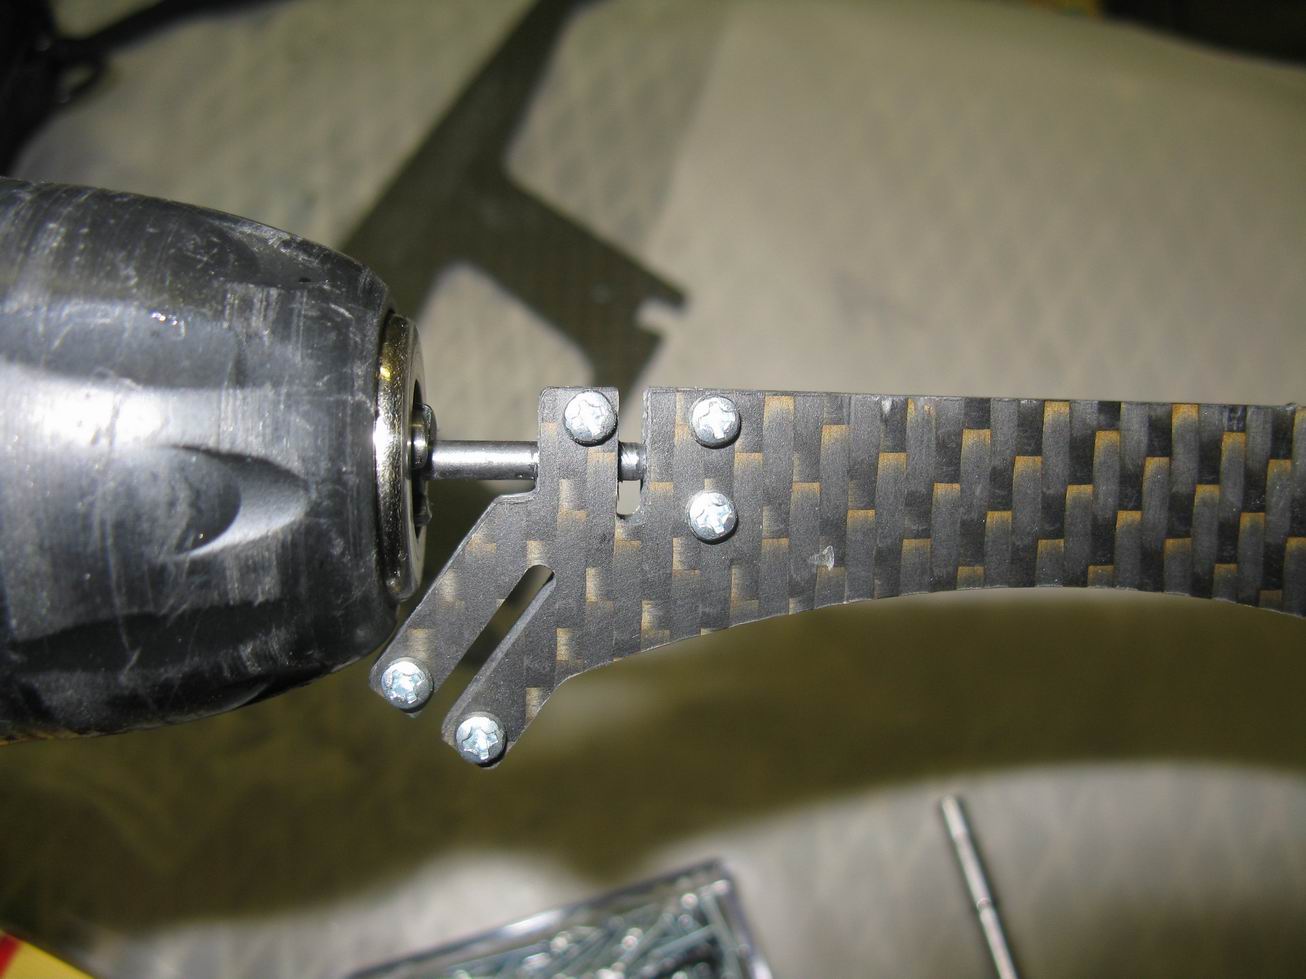
notice
have a look and drill only where no thread is needed, use a 3mm drill
tool time, make your own tap
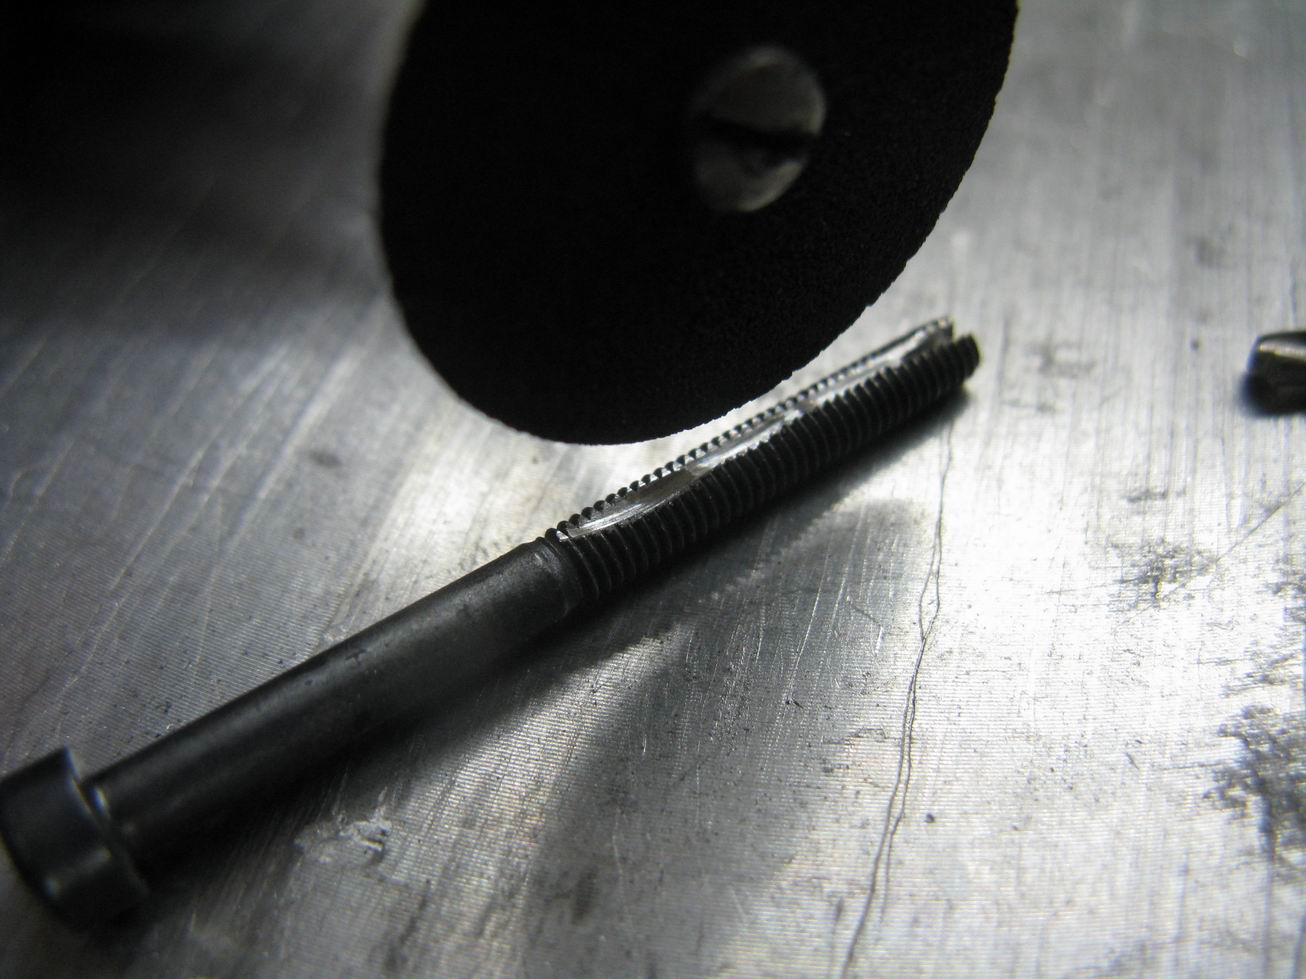
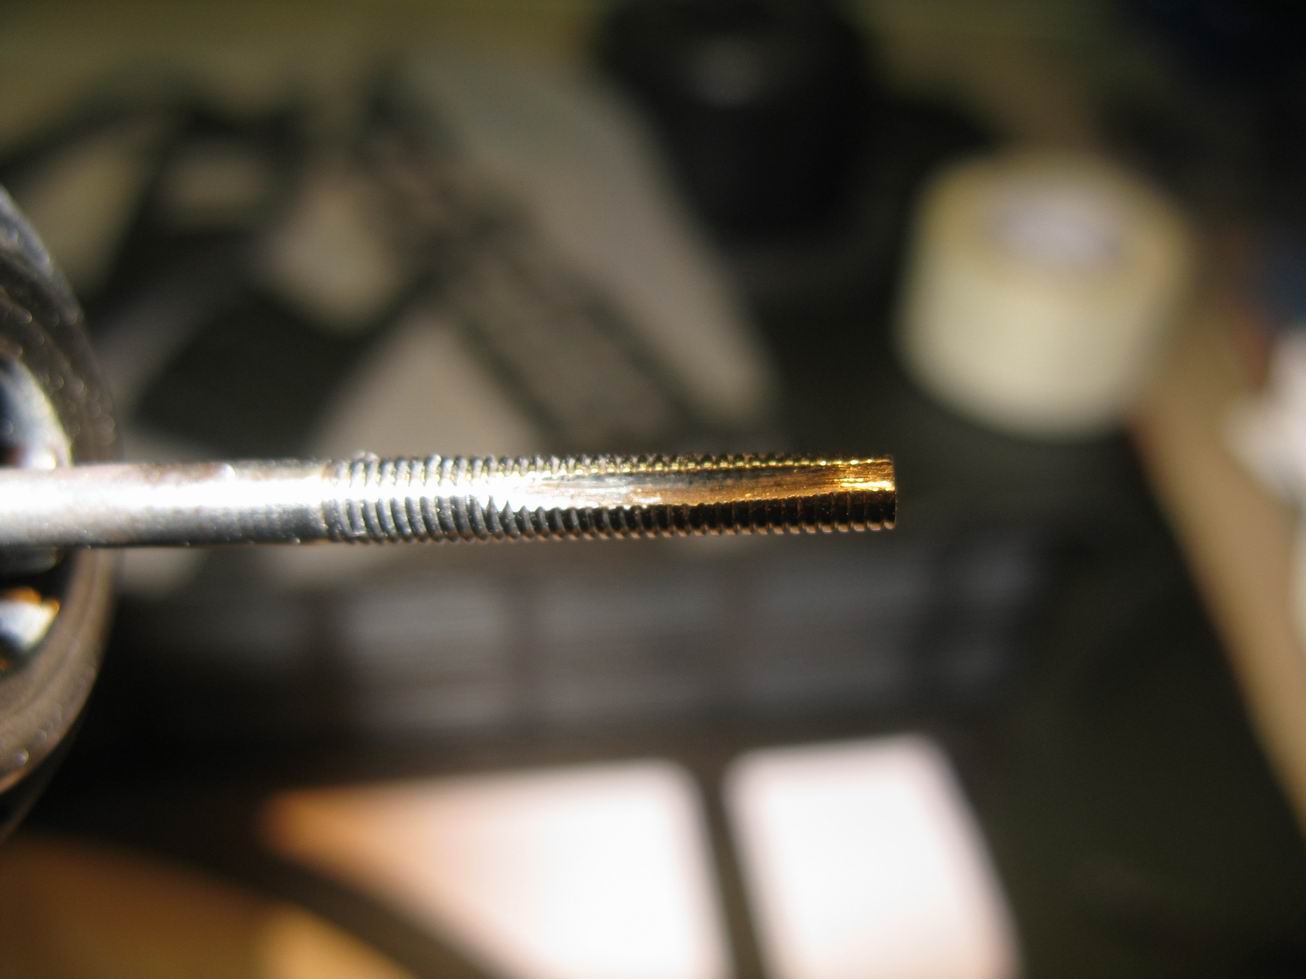
perfect threads you will get by this tool
for easy sliding inside break the edge

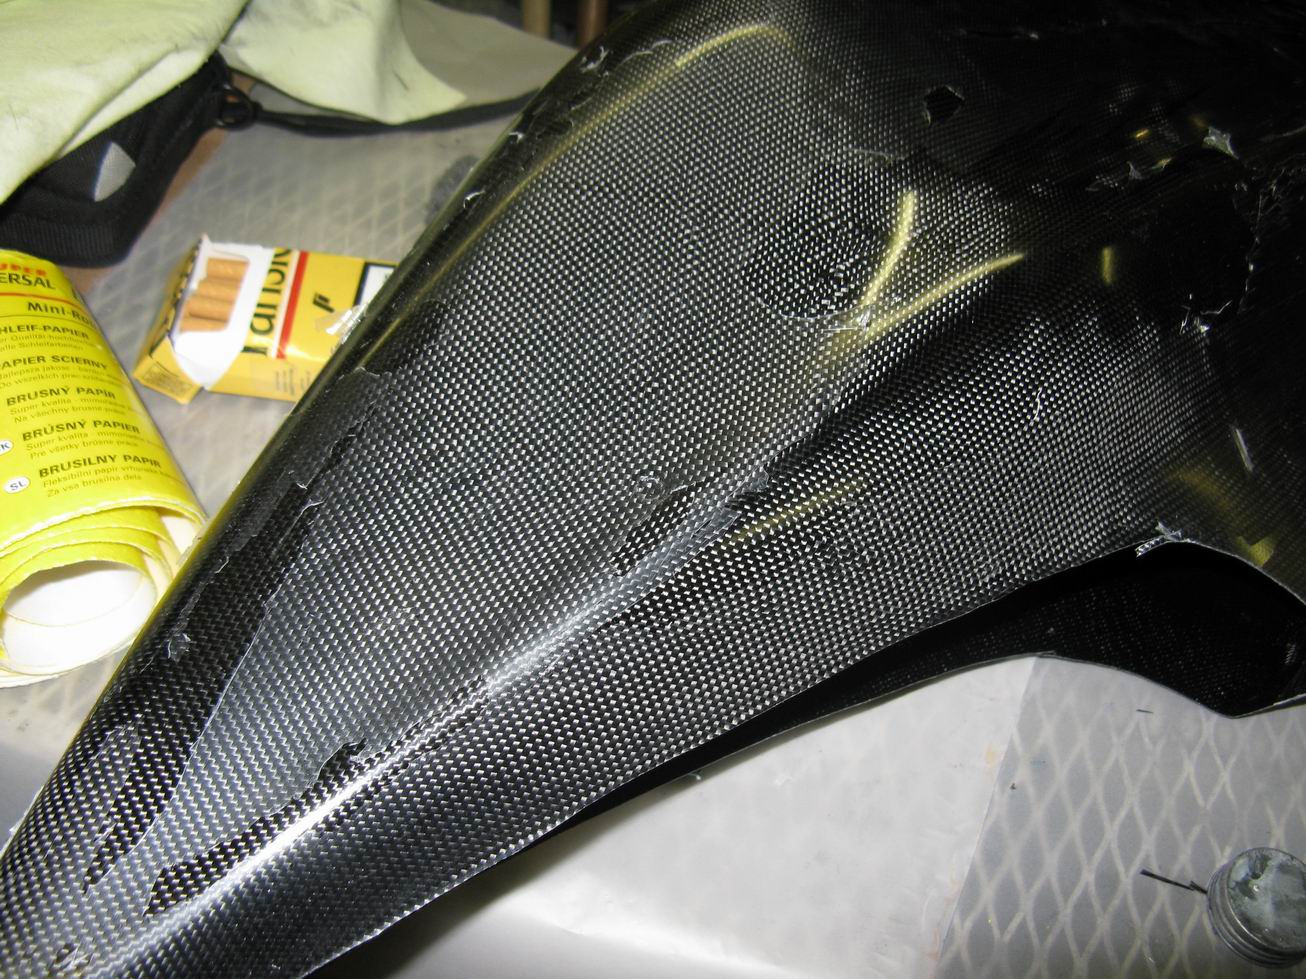
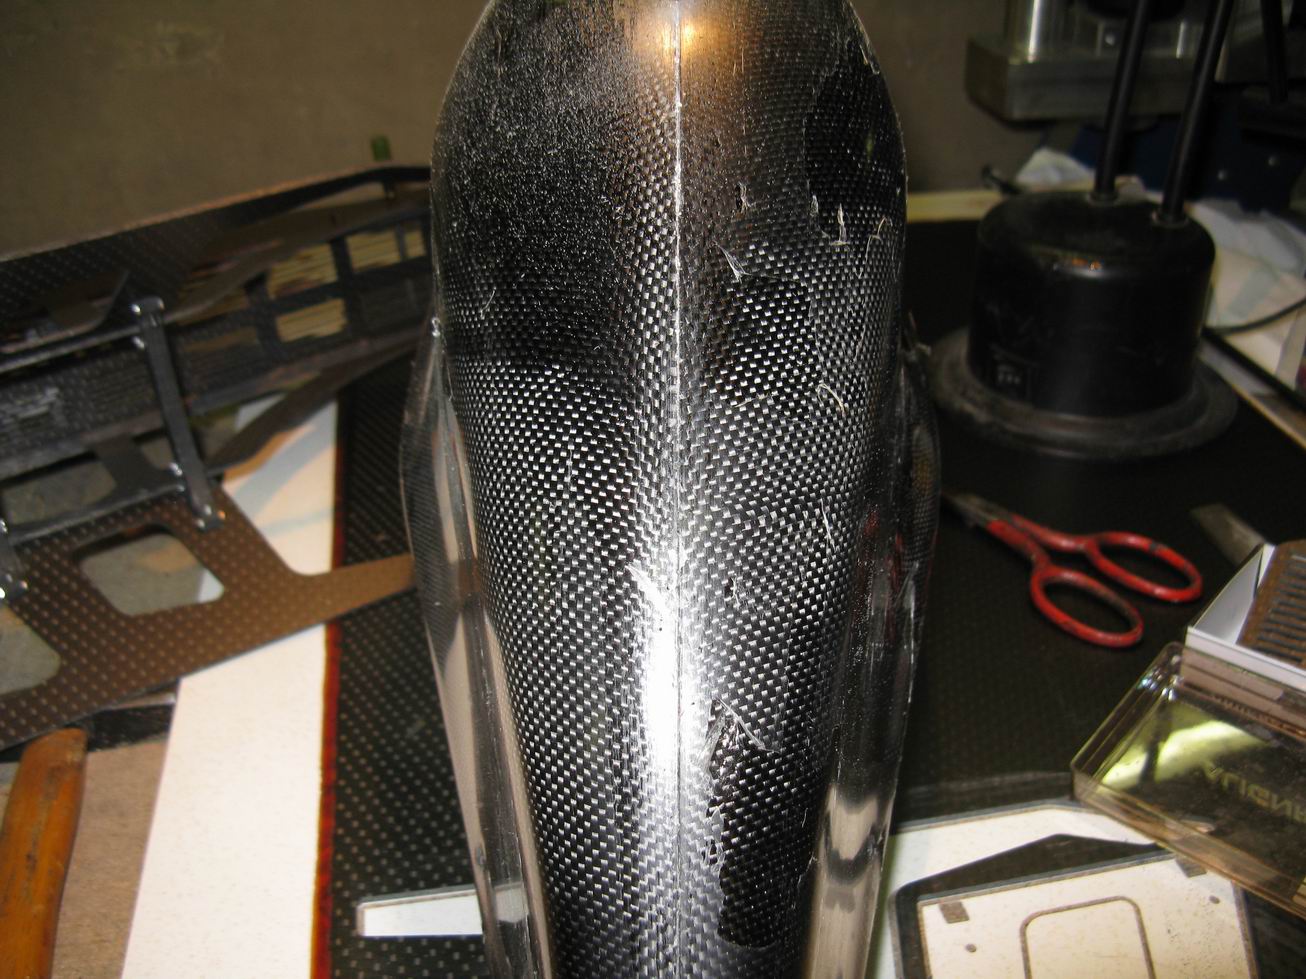
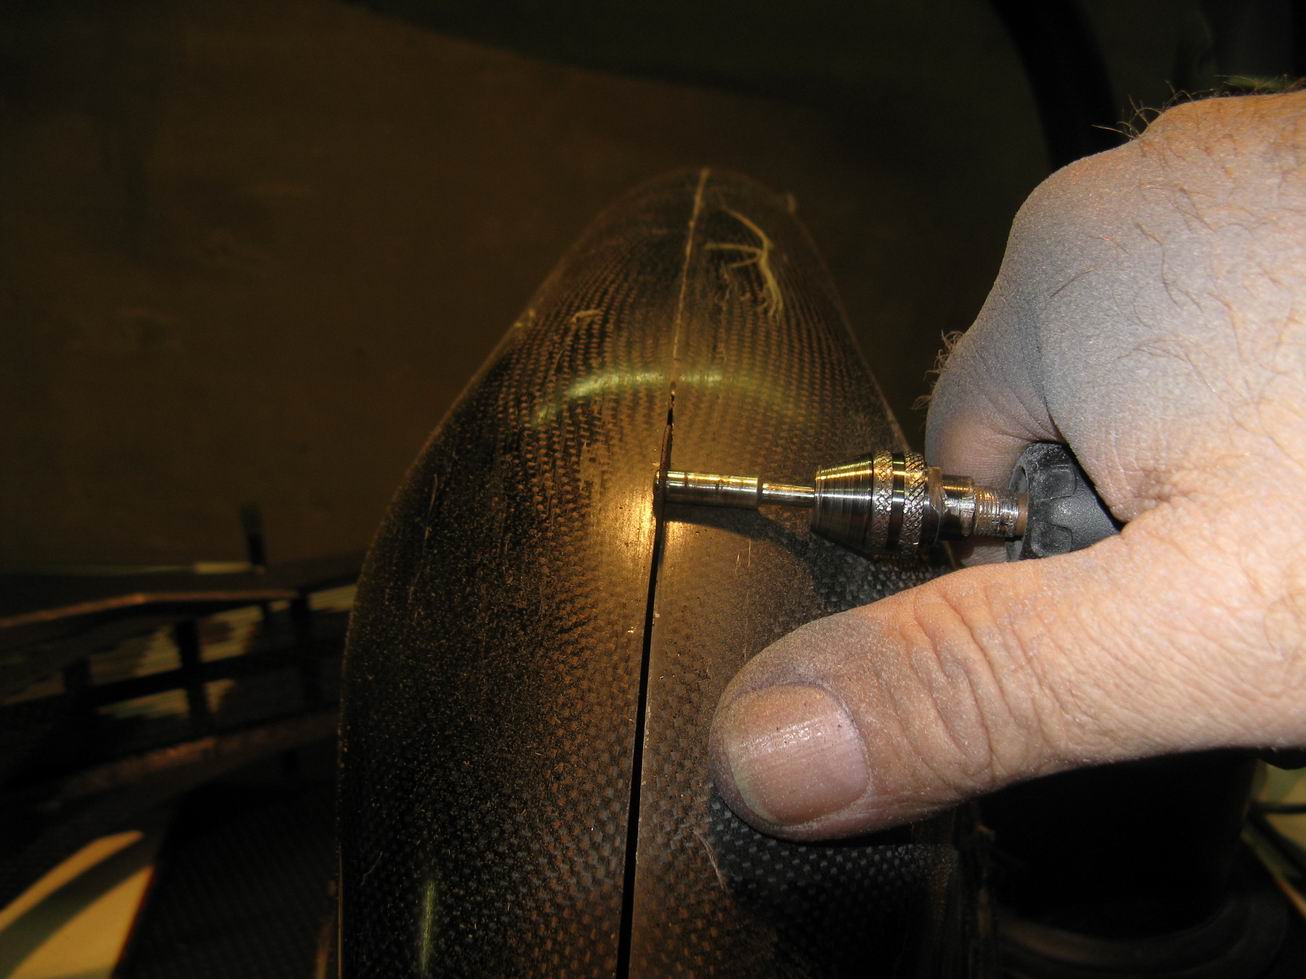
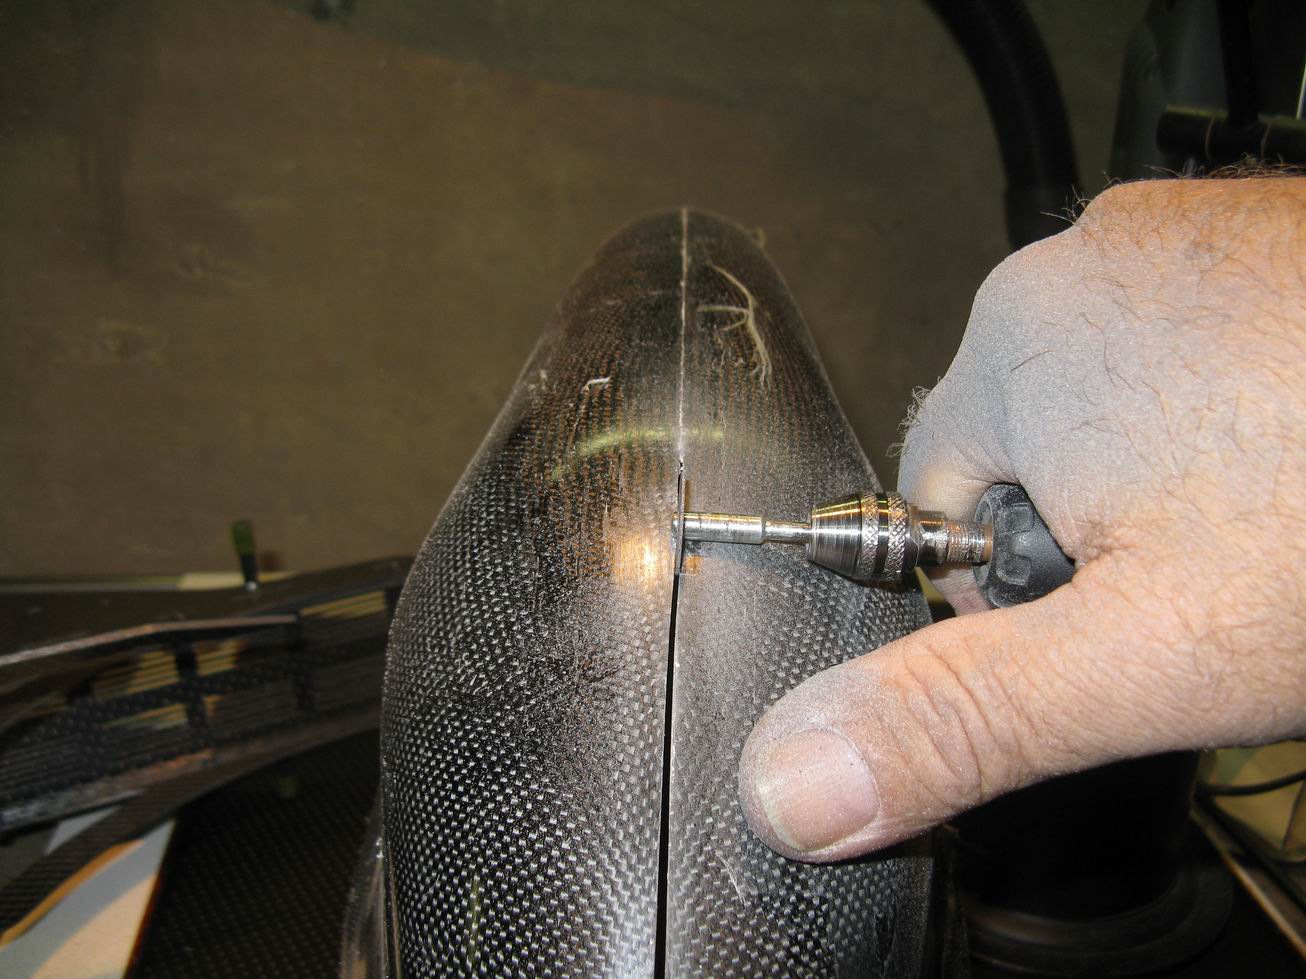
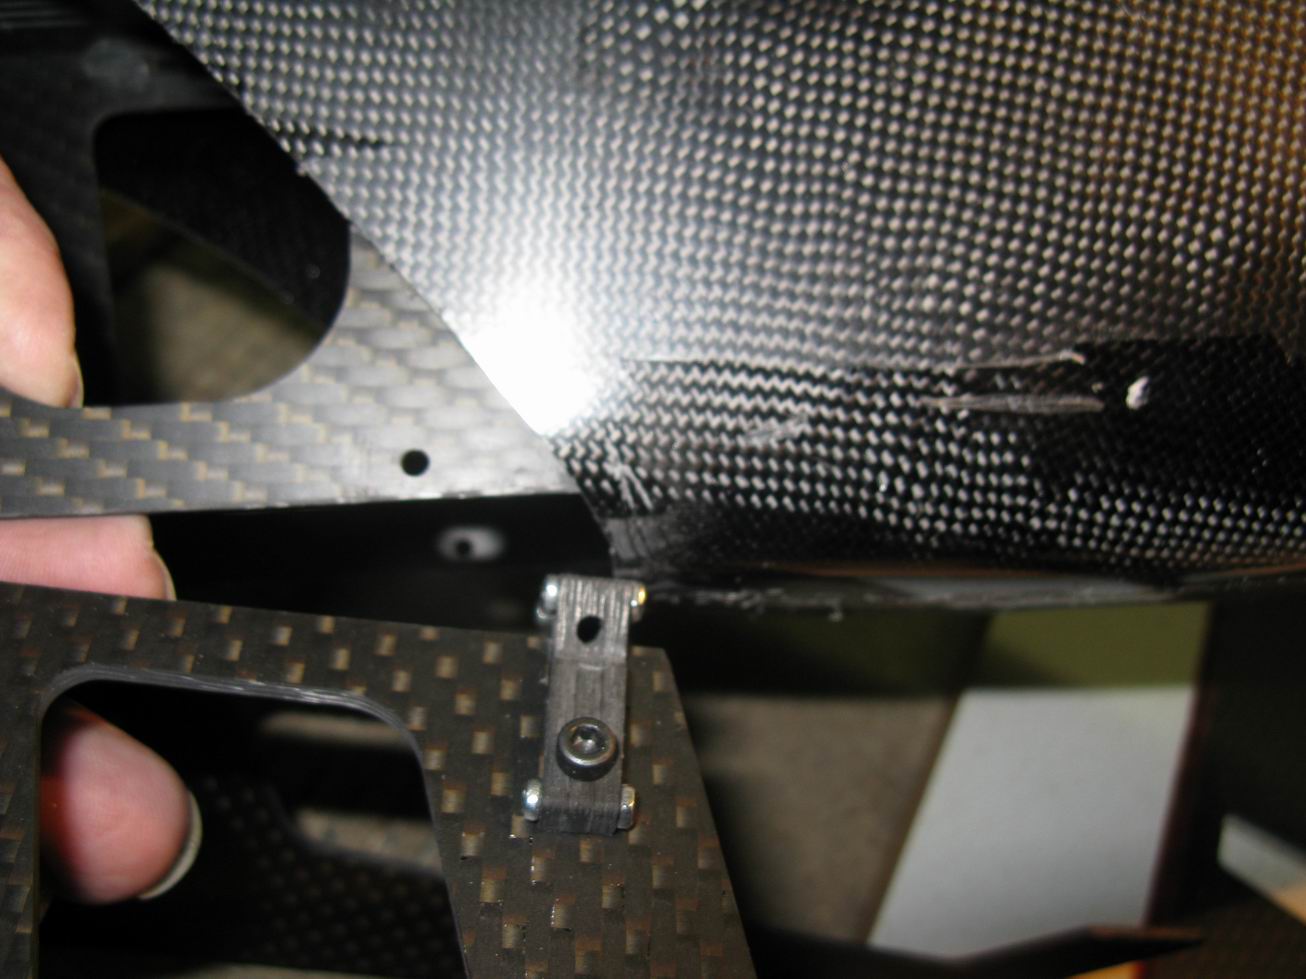
Canopy
drill a 3mm hole in the smal mold

press it from side to the frame, like it will be mounted if cuted

now it's good to see
where to make a mark
mini tool time
to put it on, open it at the back side, mini tool time again
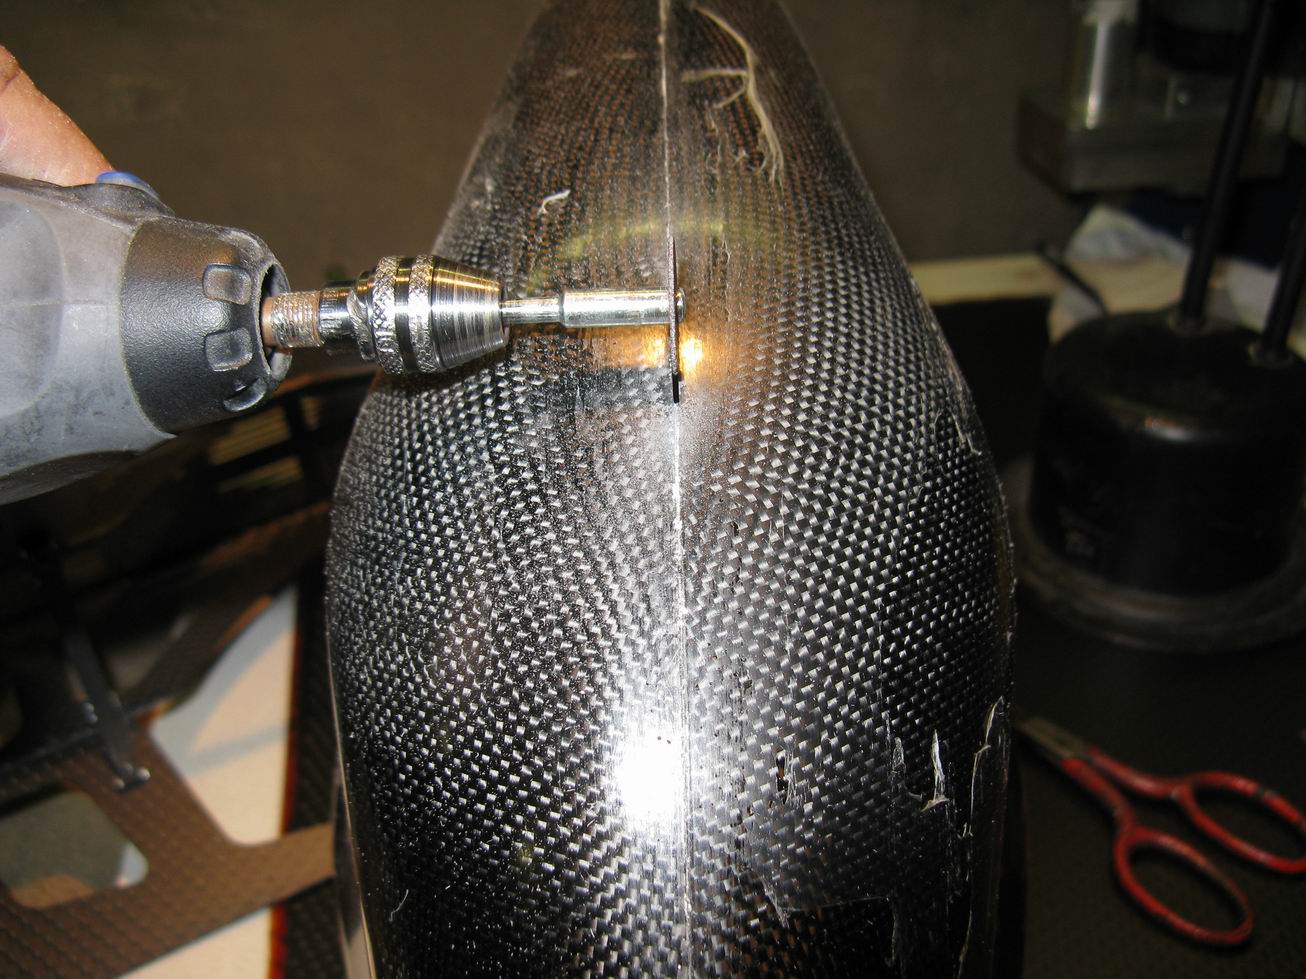
don't be angerous it's only a trainer
press mini tool inside
bring your thump in aiming position and drive down in one step
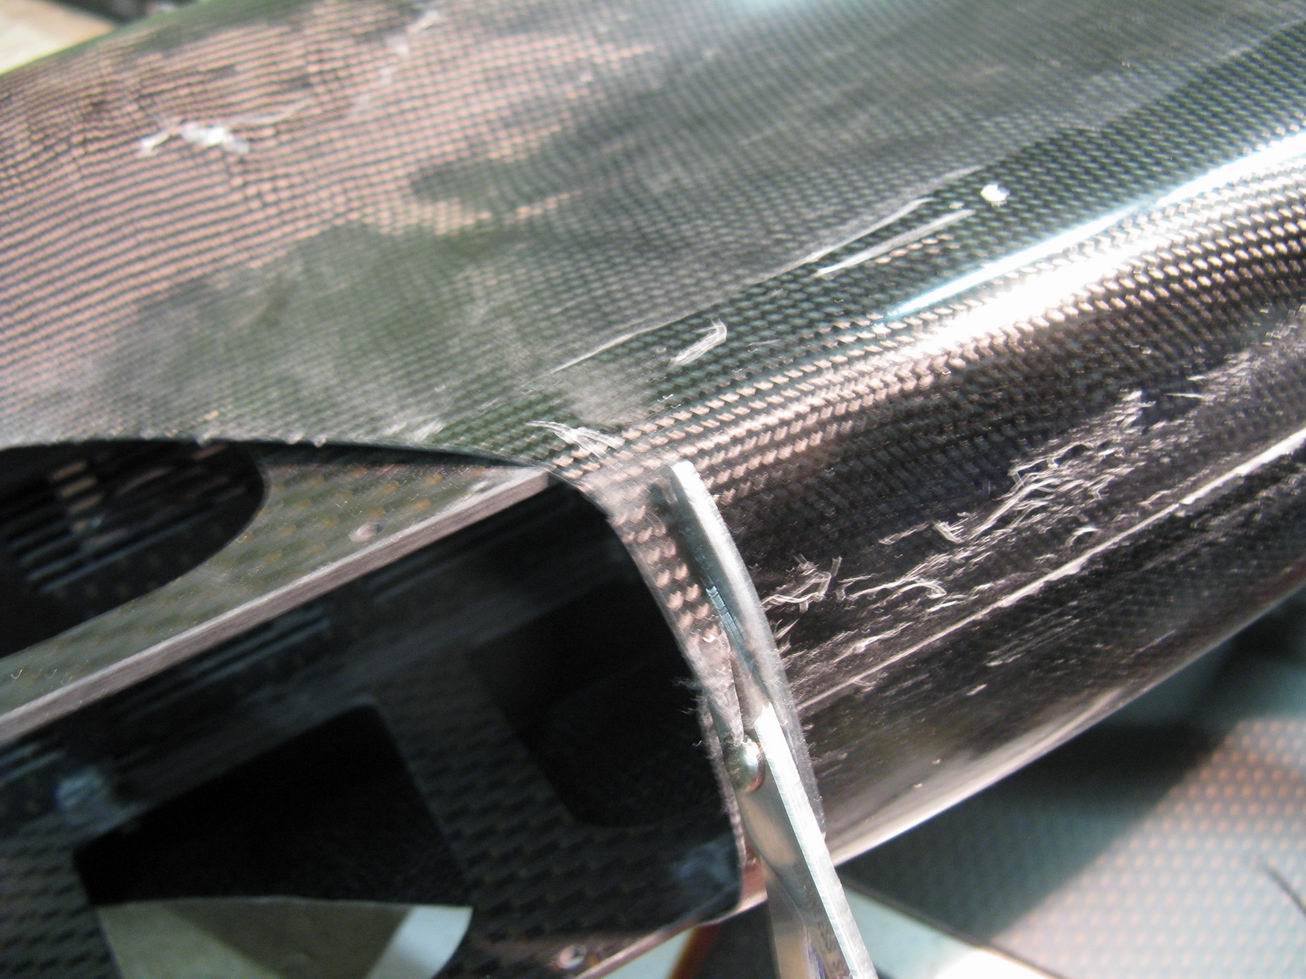
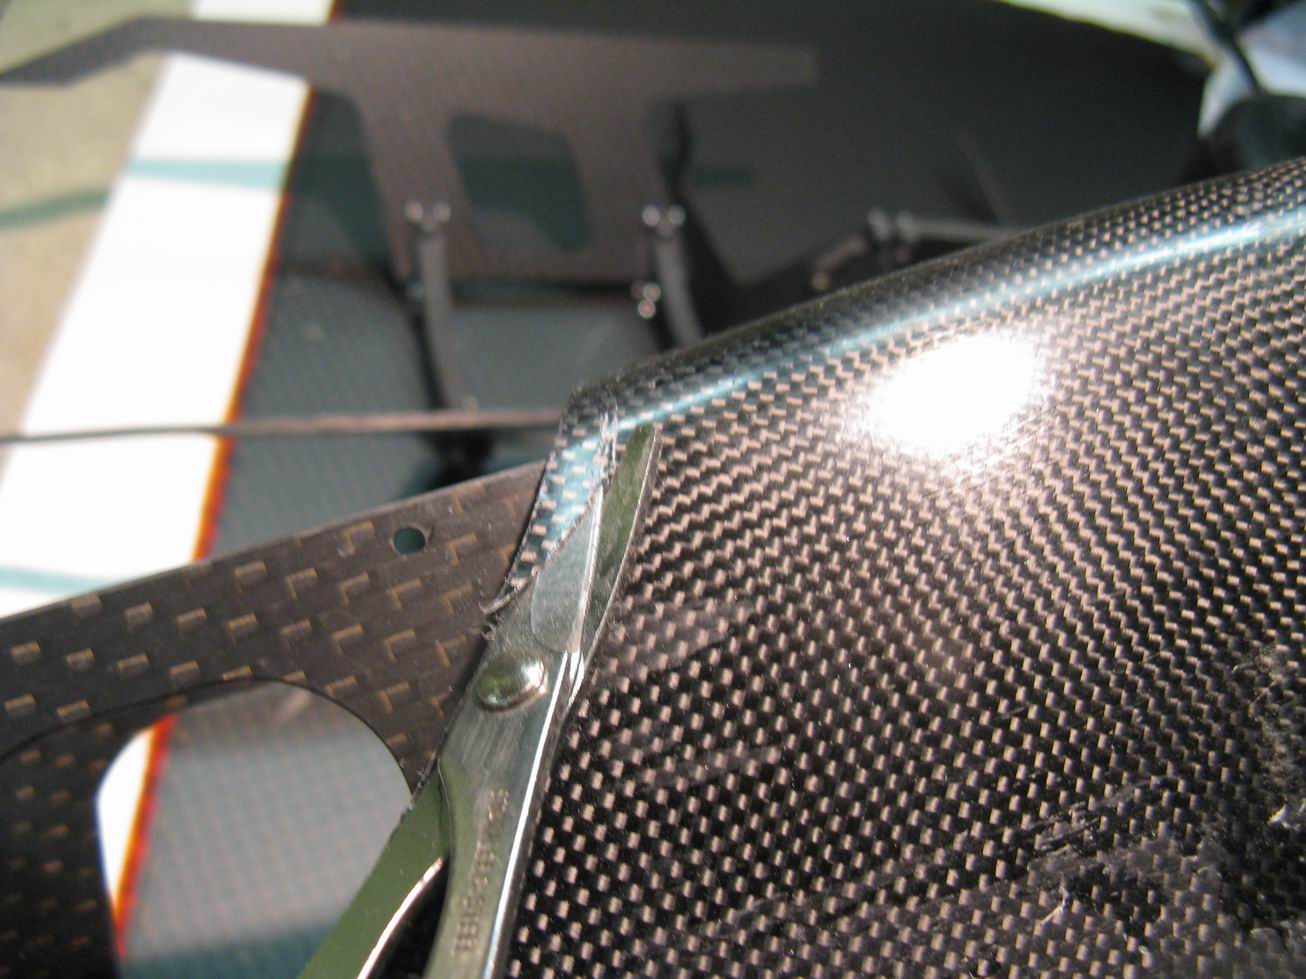
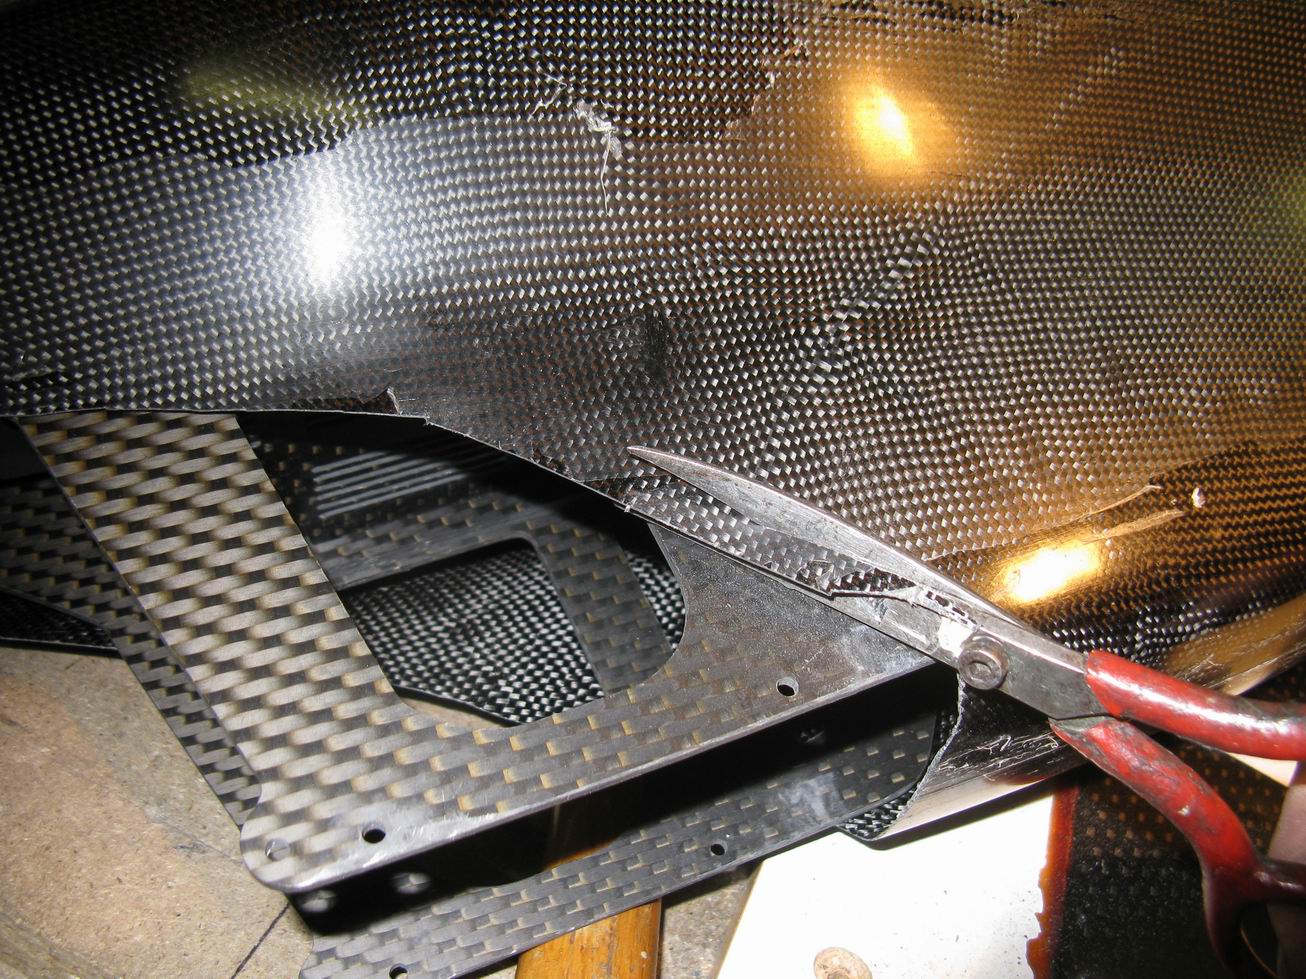
if canopy on the frame you will see where it's again needed to cut
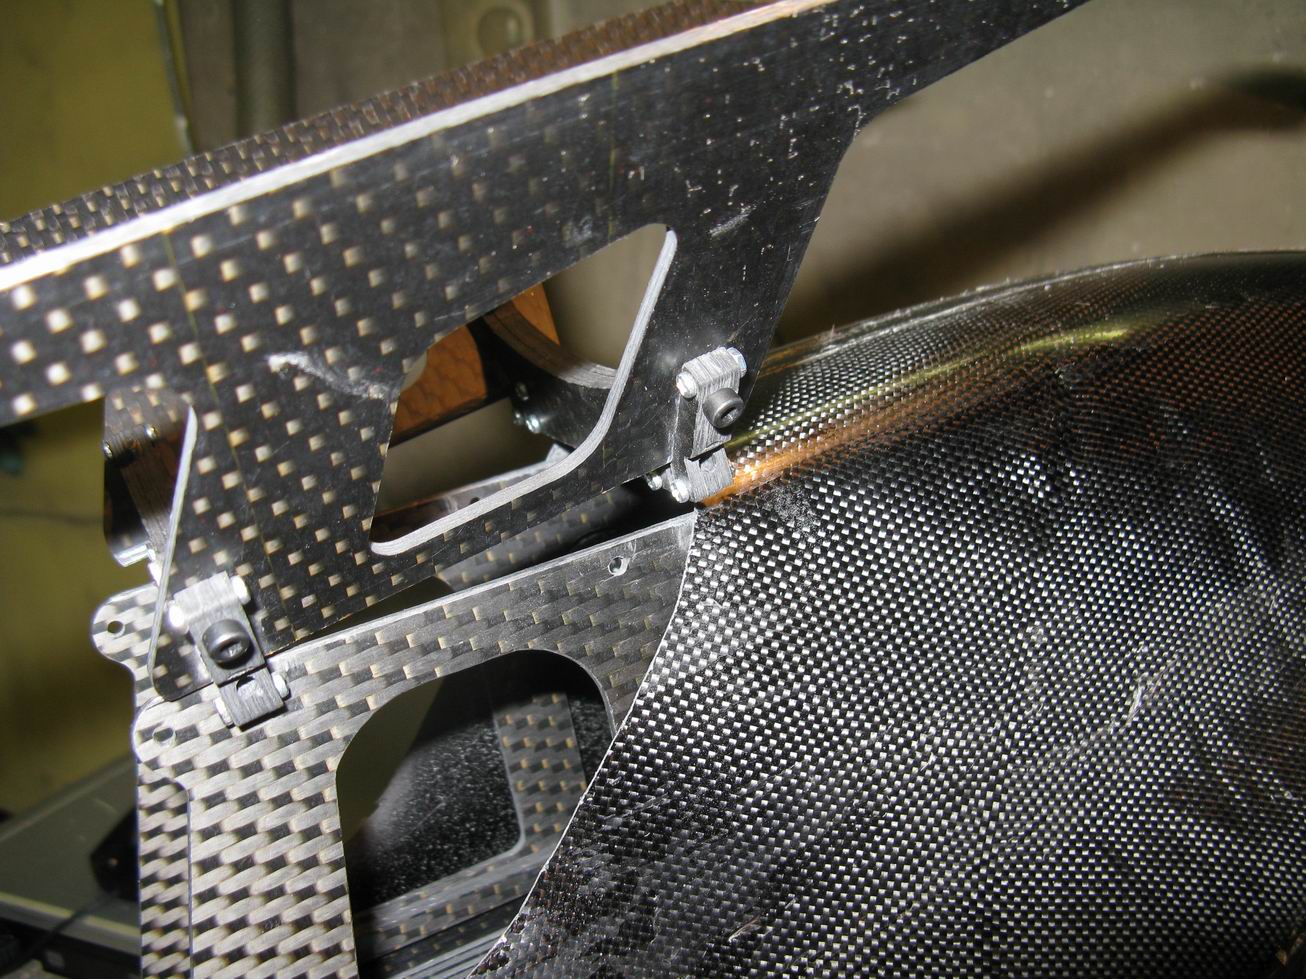
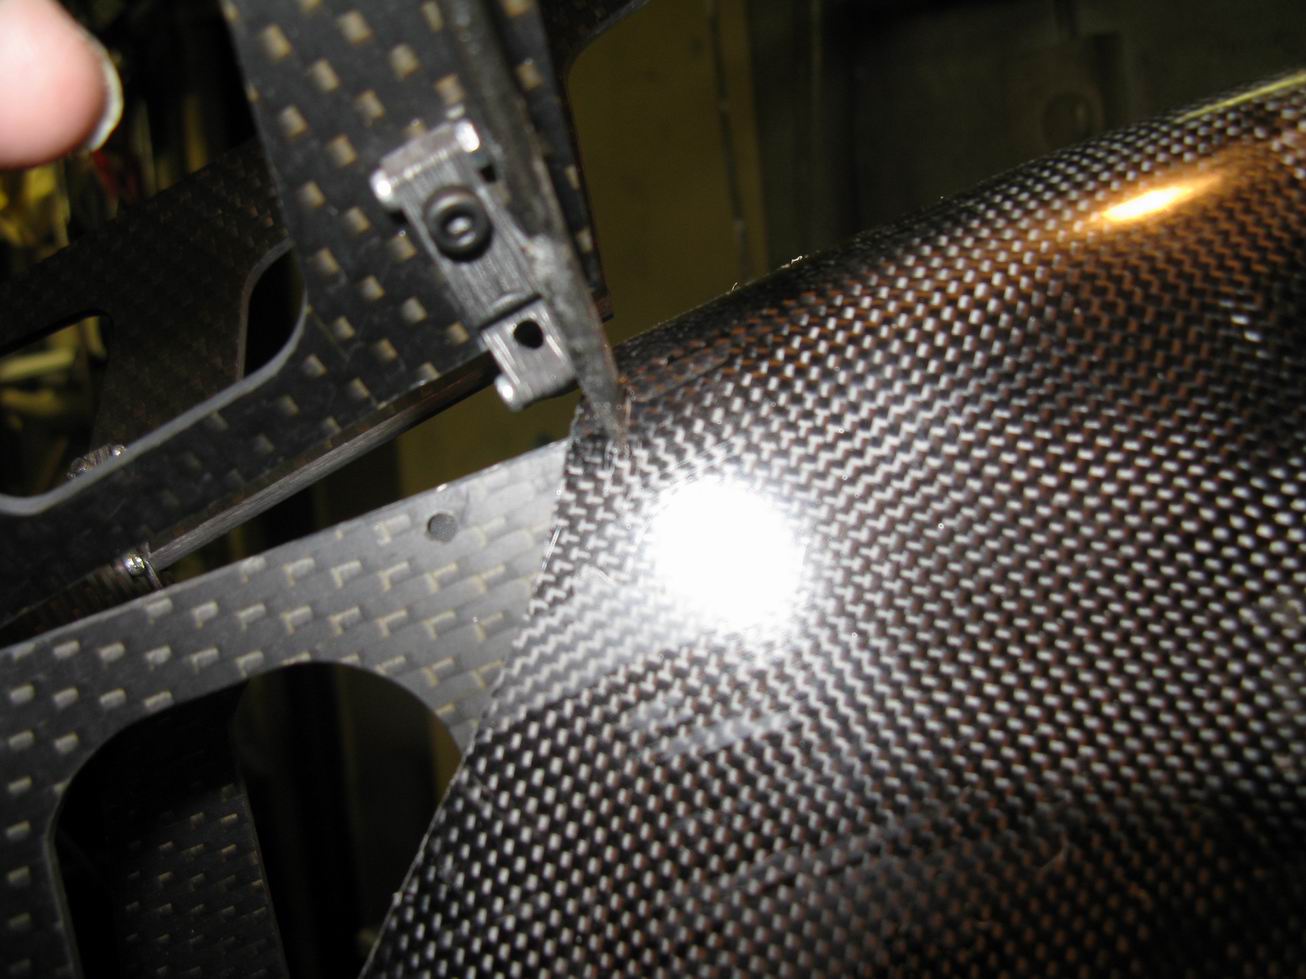
use lexan sissors from thundertiger they are well and cheap
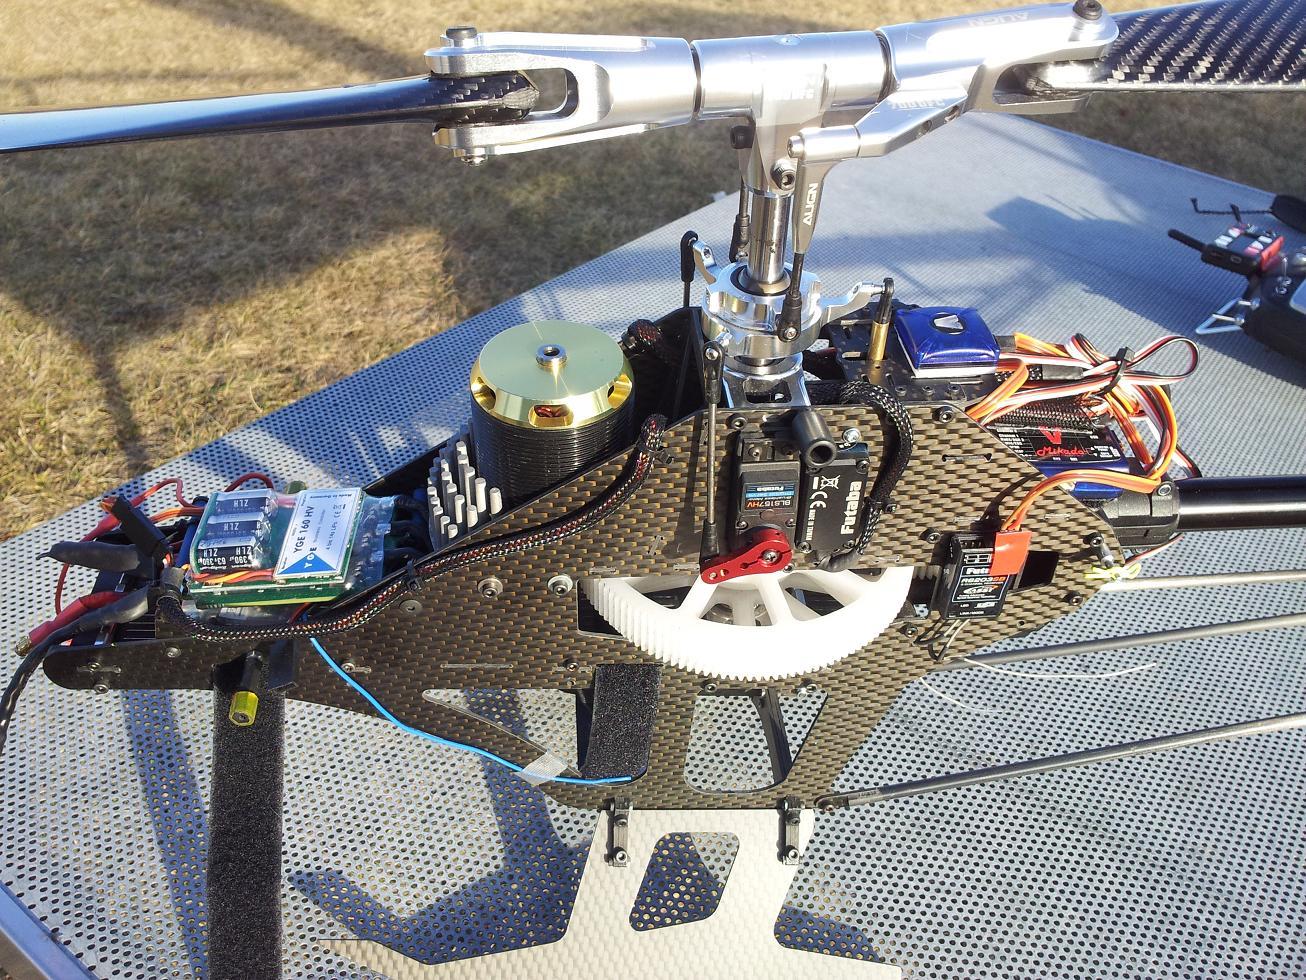
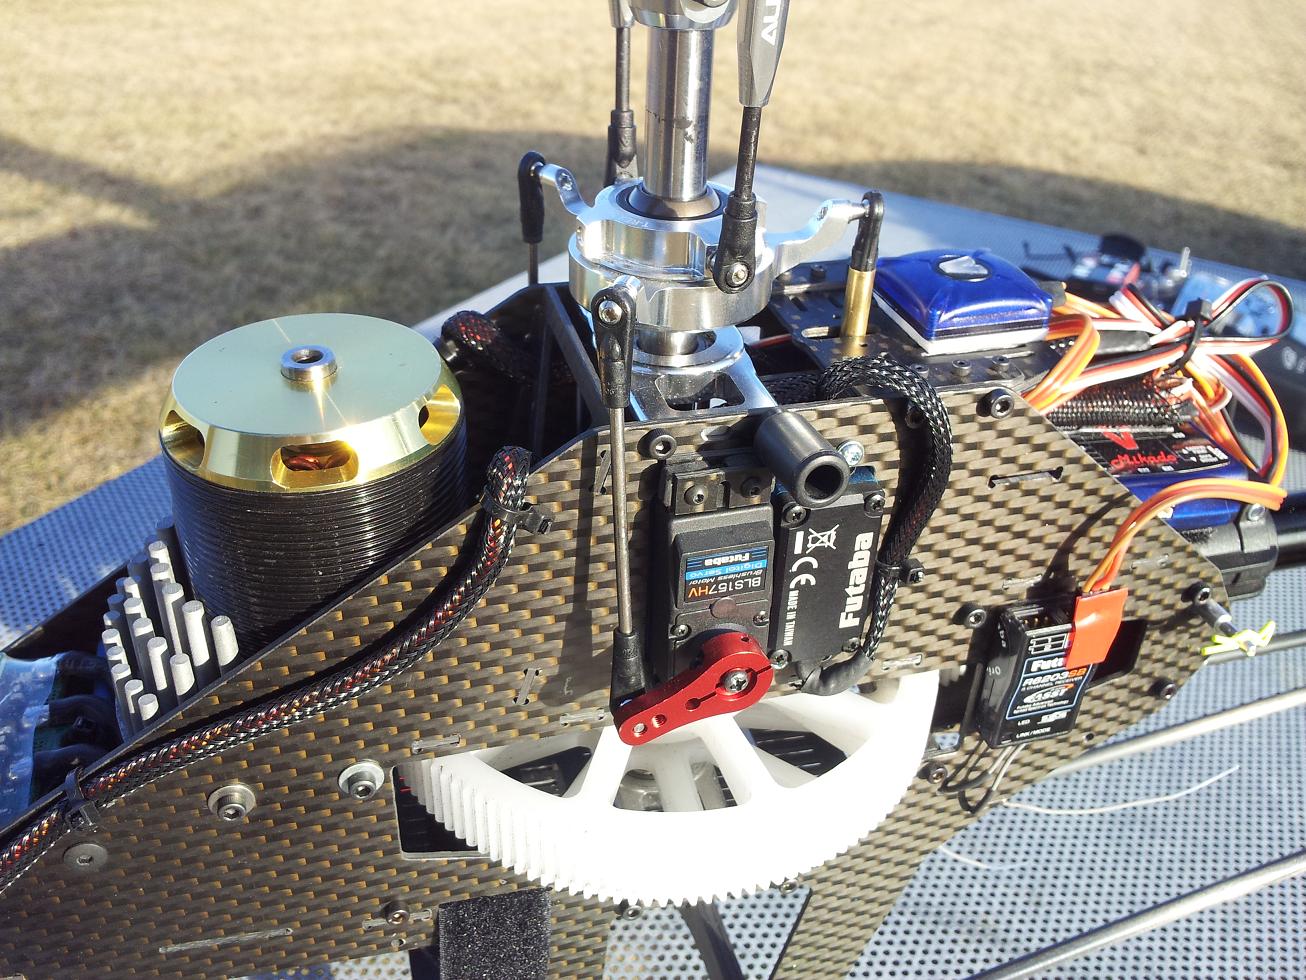
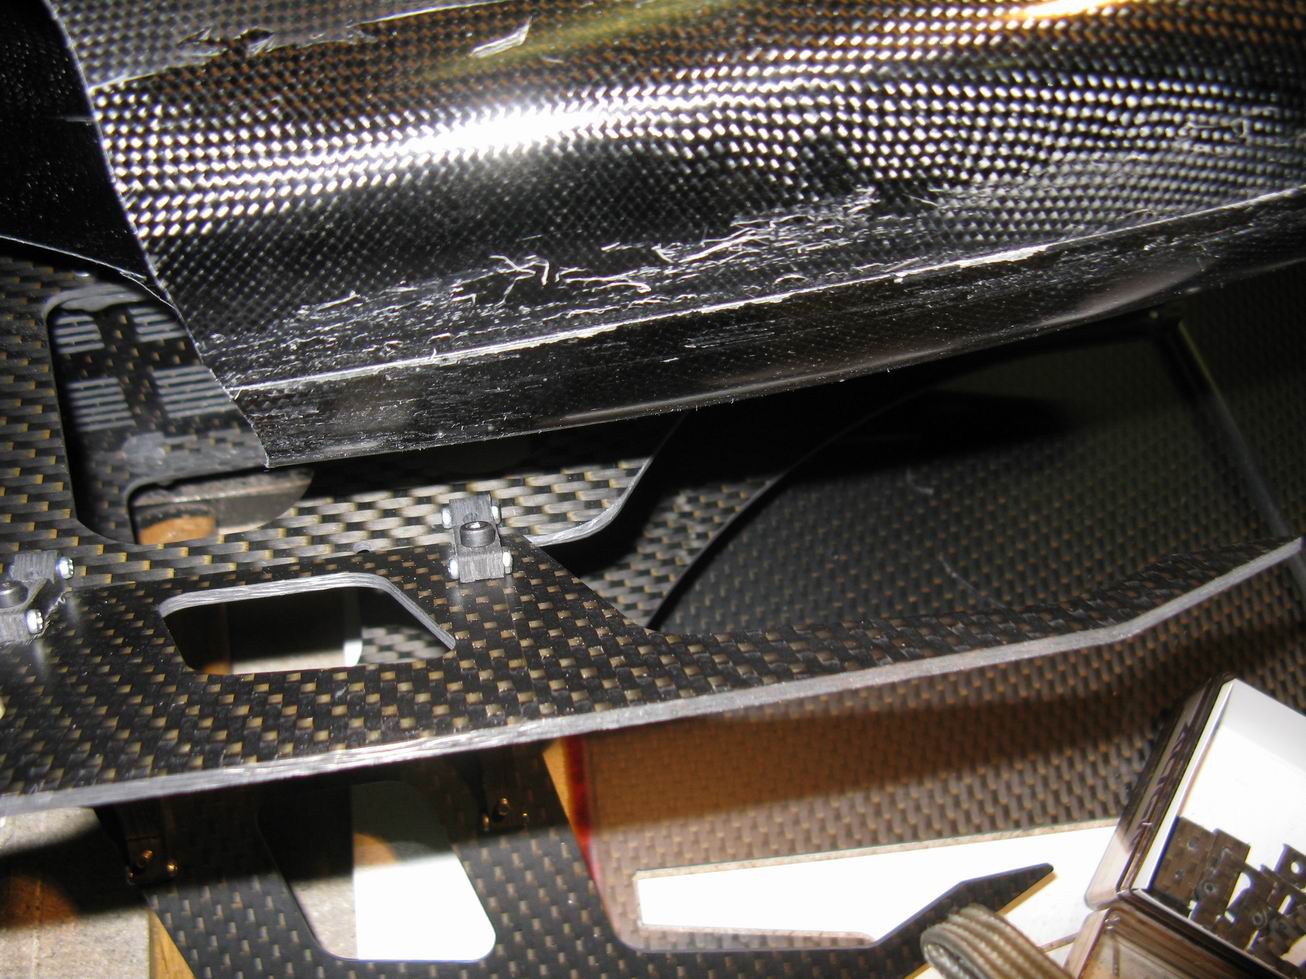
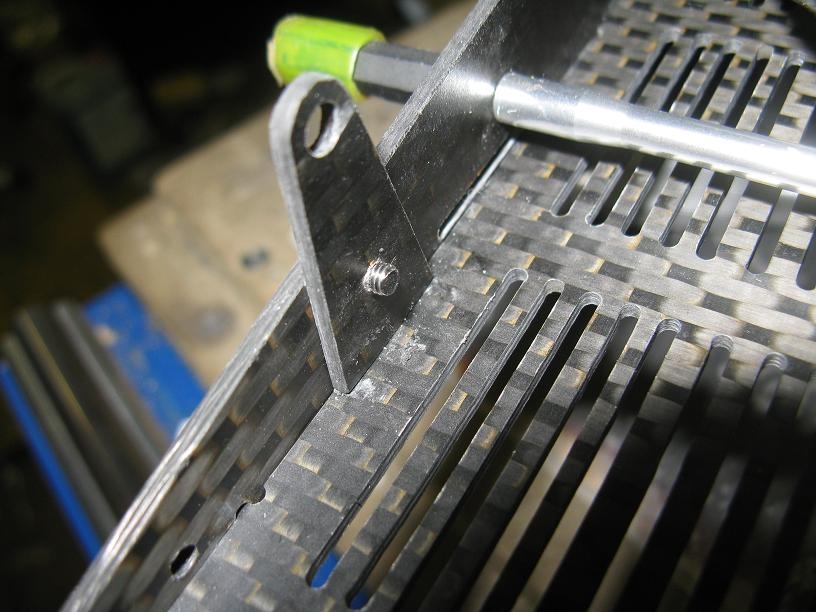
tail drive unit
bevel gear is fixed with a bolt but he is looking out to much for our gear
so upset him with a hammer that he get a little more under preasure
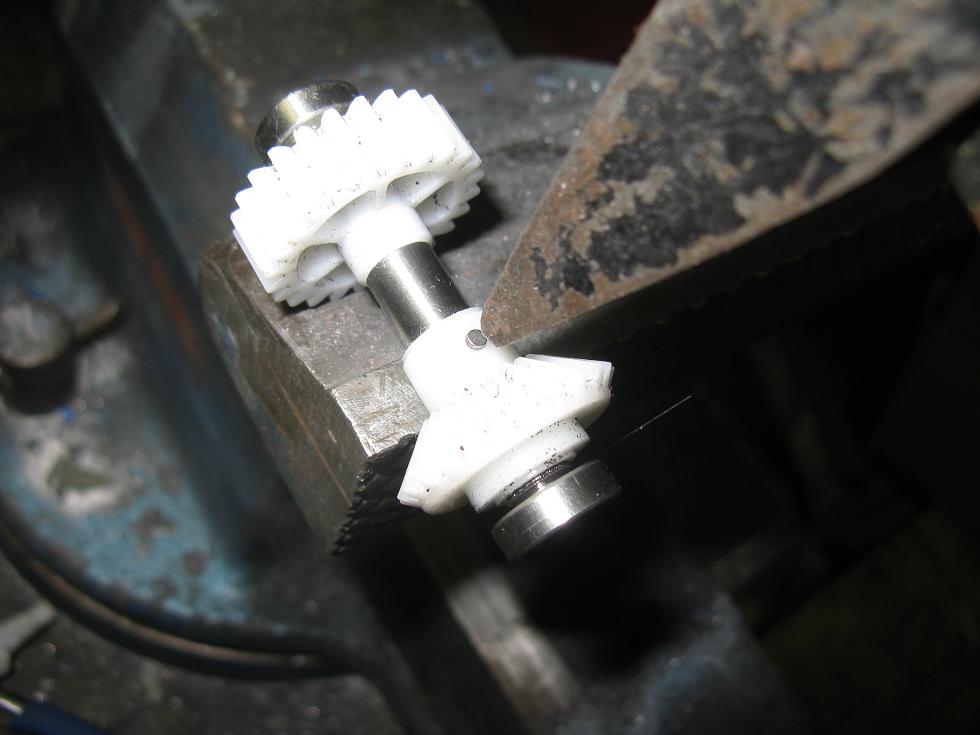
mini tool time
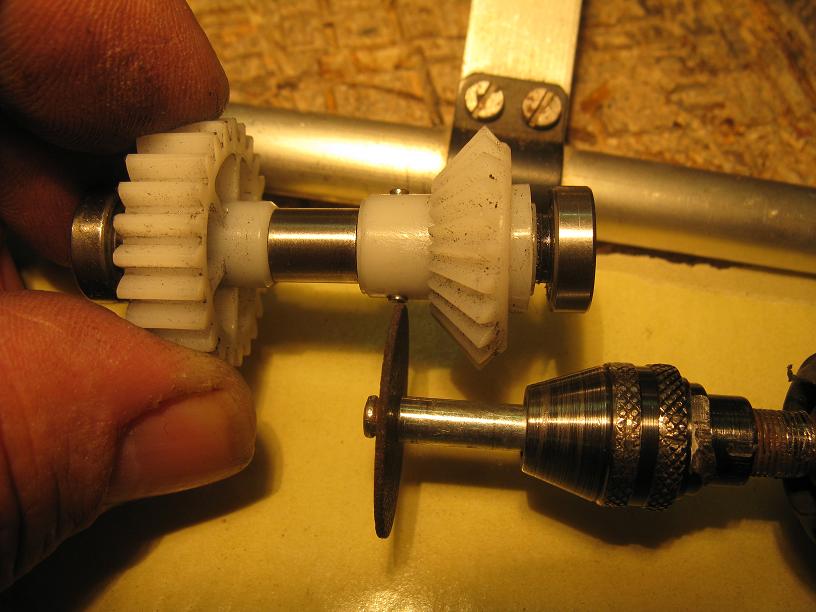
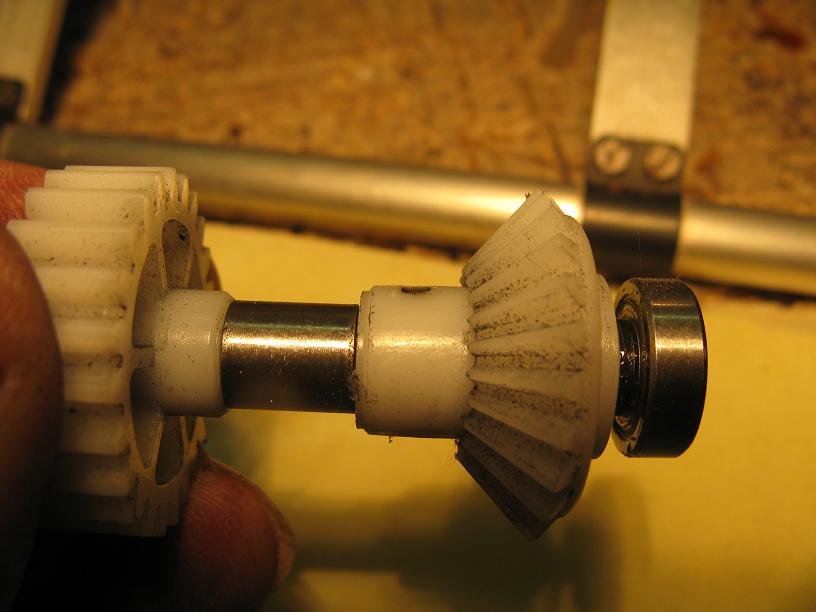
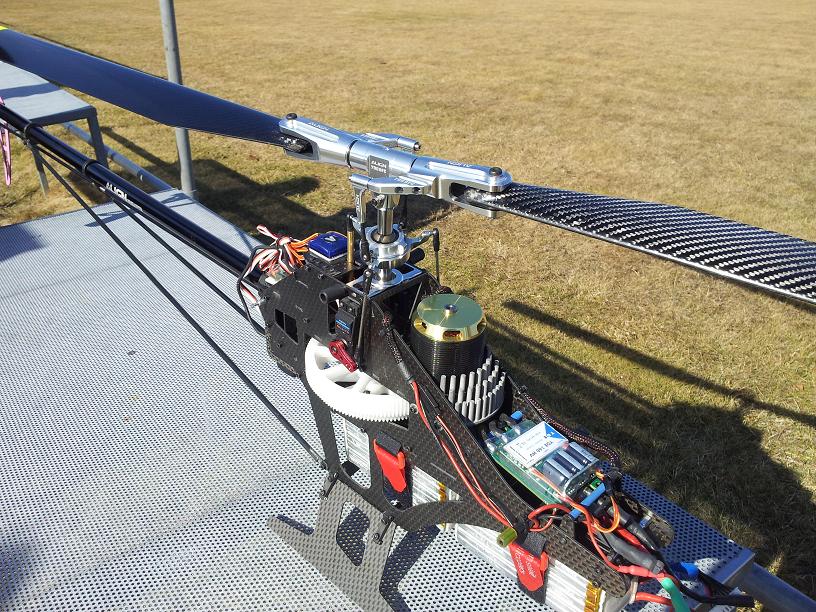
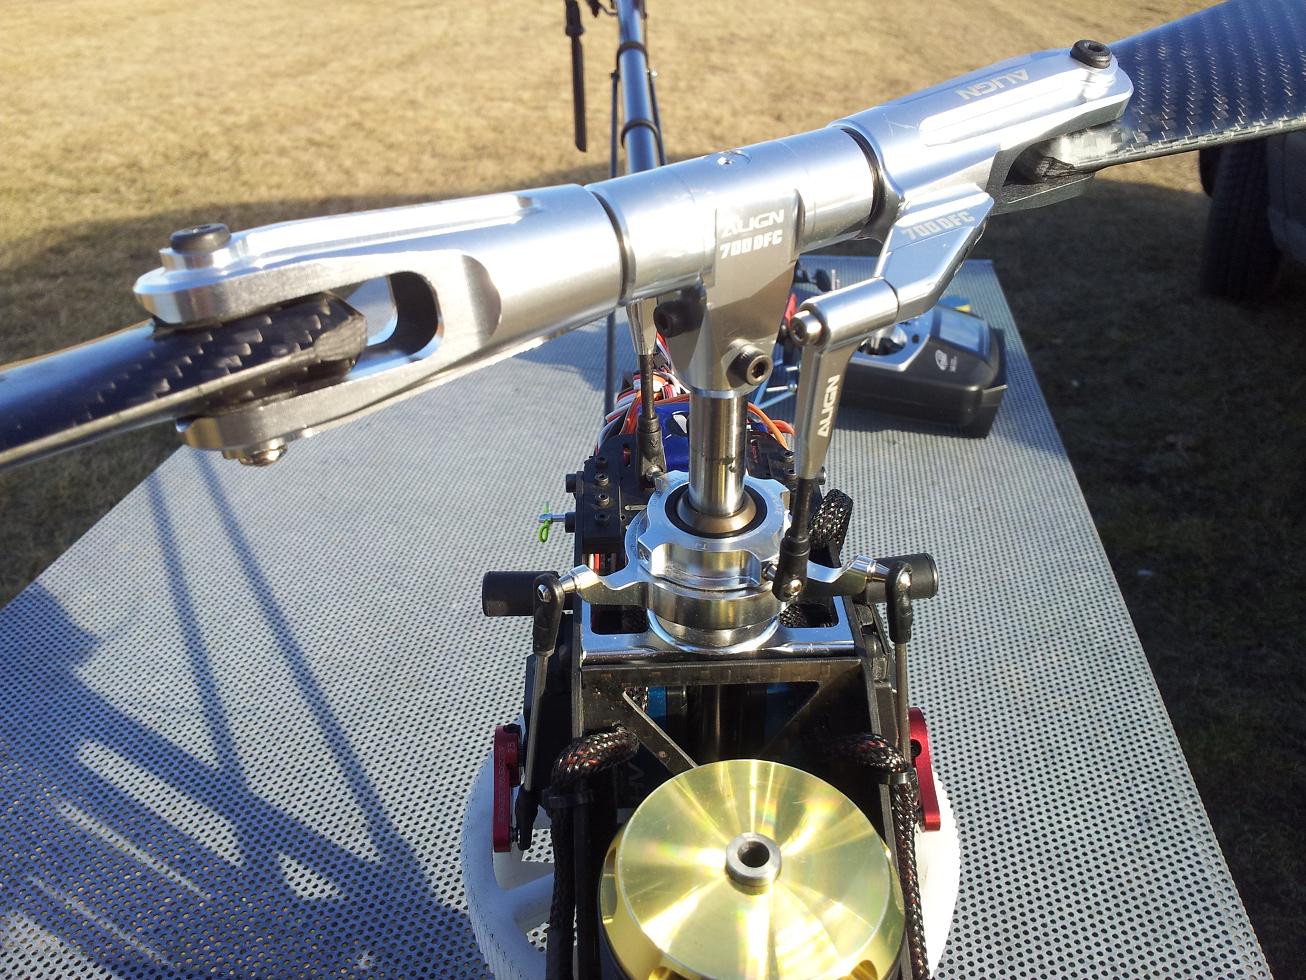
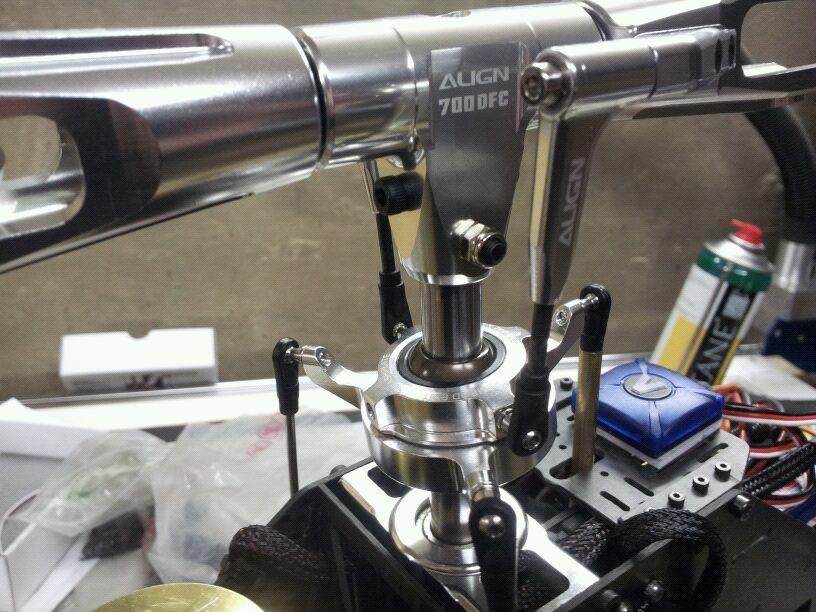
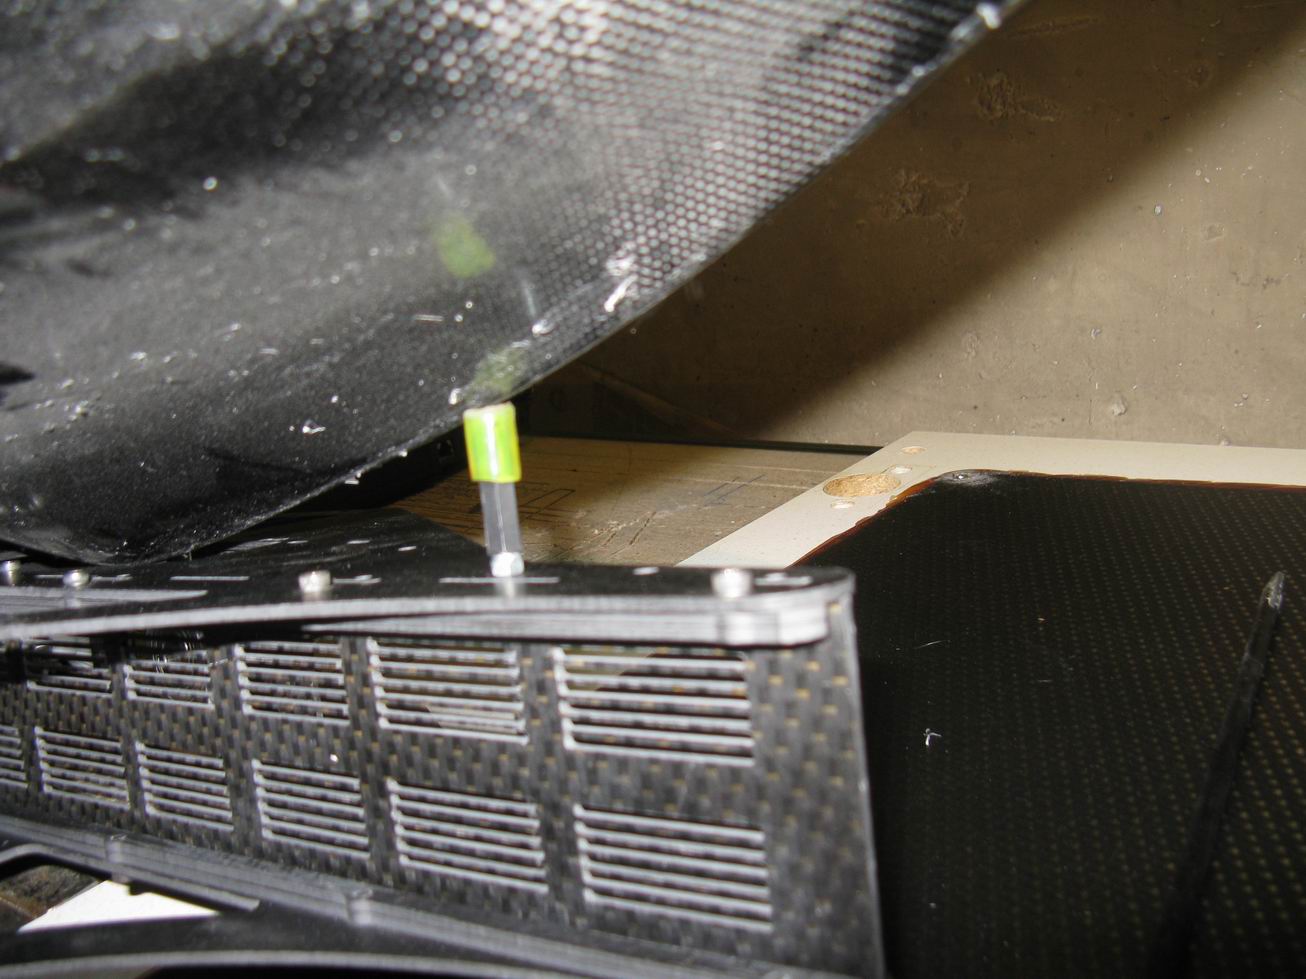
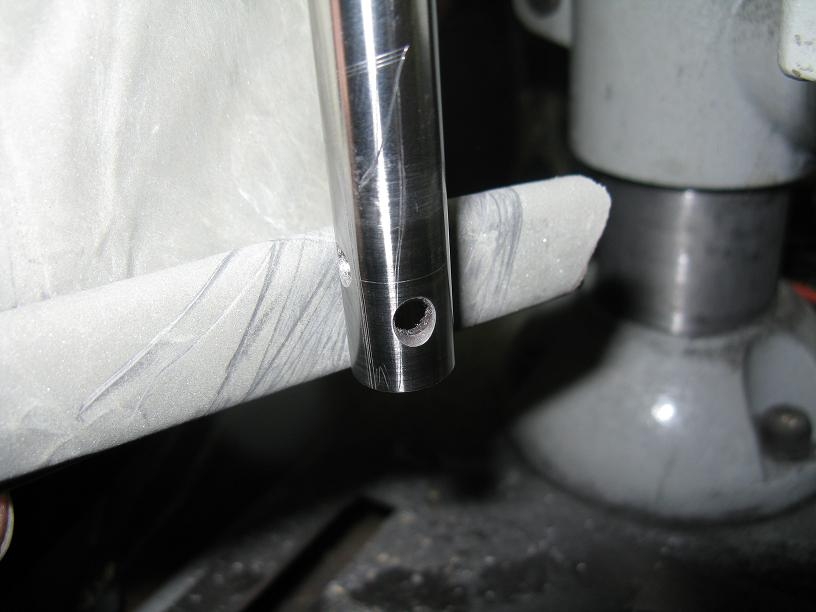
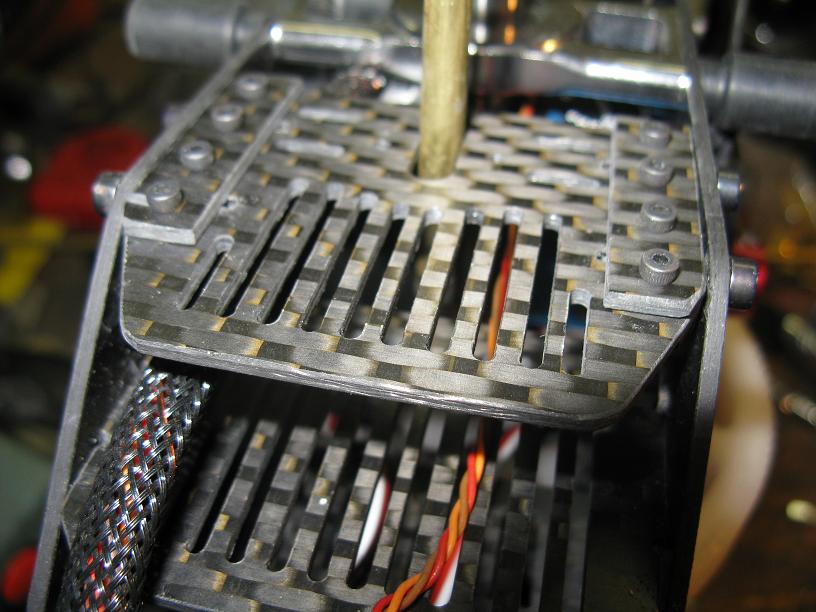
main shaft
for finding the place to drill a 4mm hole in the main shaft I put inside all three bearng blocks
mainshaft and abrasive sleeve
pressed the shaft up to the upper bearing block and the sleeve down to the lower bearing block

made a mark
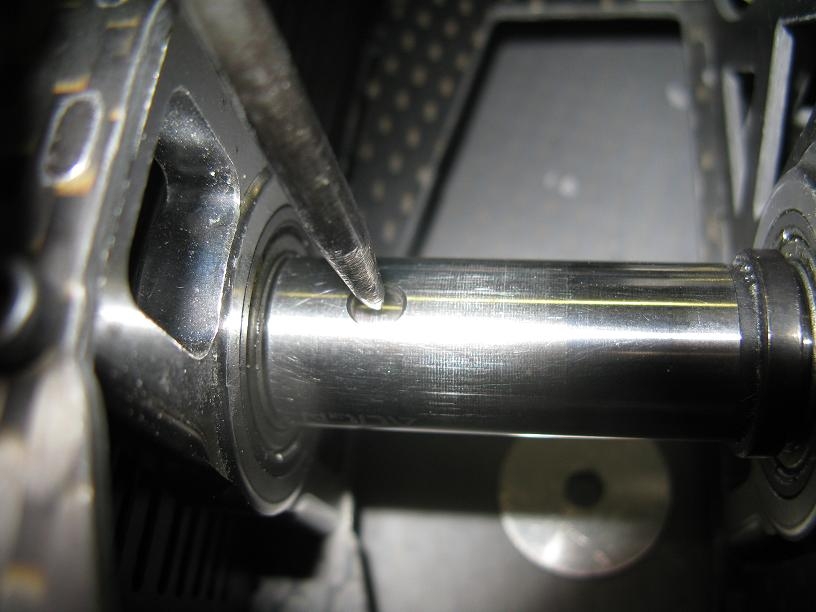
and found out 5,5mm is the right distance
should work for all which are using the mainshaft from 700E
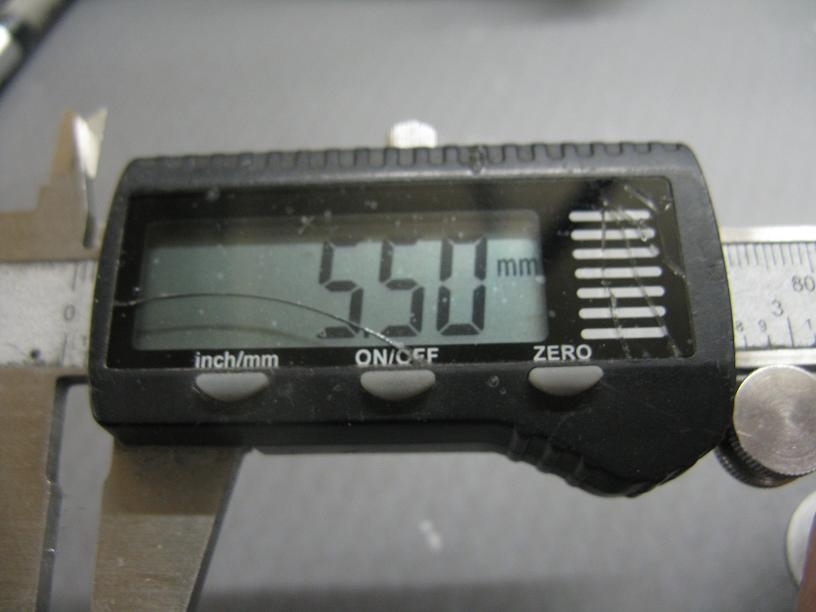
shaft and sleeve will hold well togehter by a little preasure
you see the sleeve 5,5mm up from the end
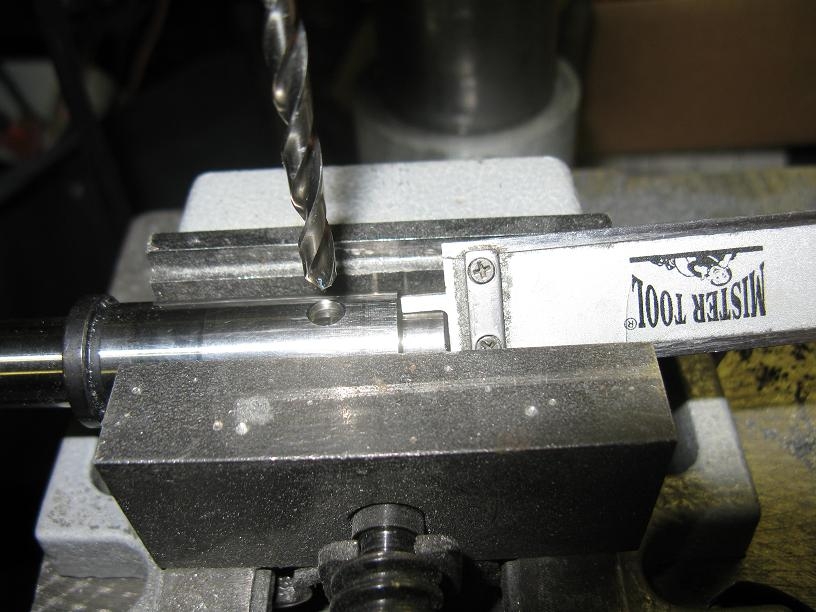
press the sleeve after drilling up on the shaft, clean the edges from the new hole
also polish a little
then the sleeve will went down easy from the shaft
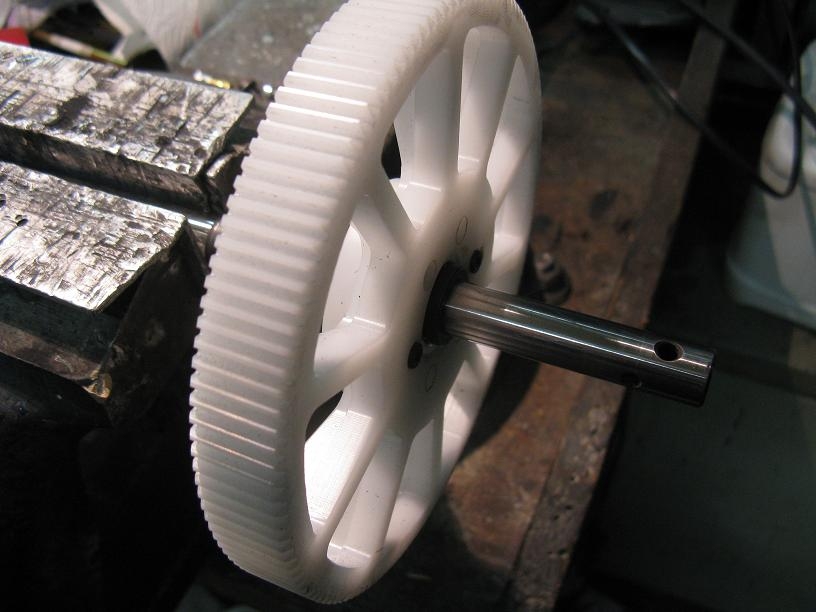
main gear
you have 6 screws which give you the posibility of 6 different position to mount the main gear on the free weel
one position will be the best
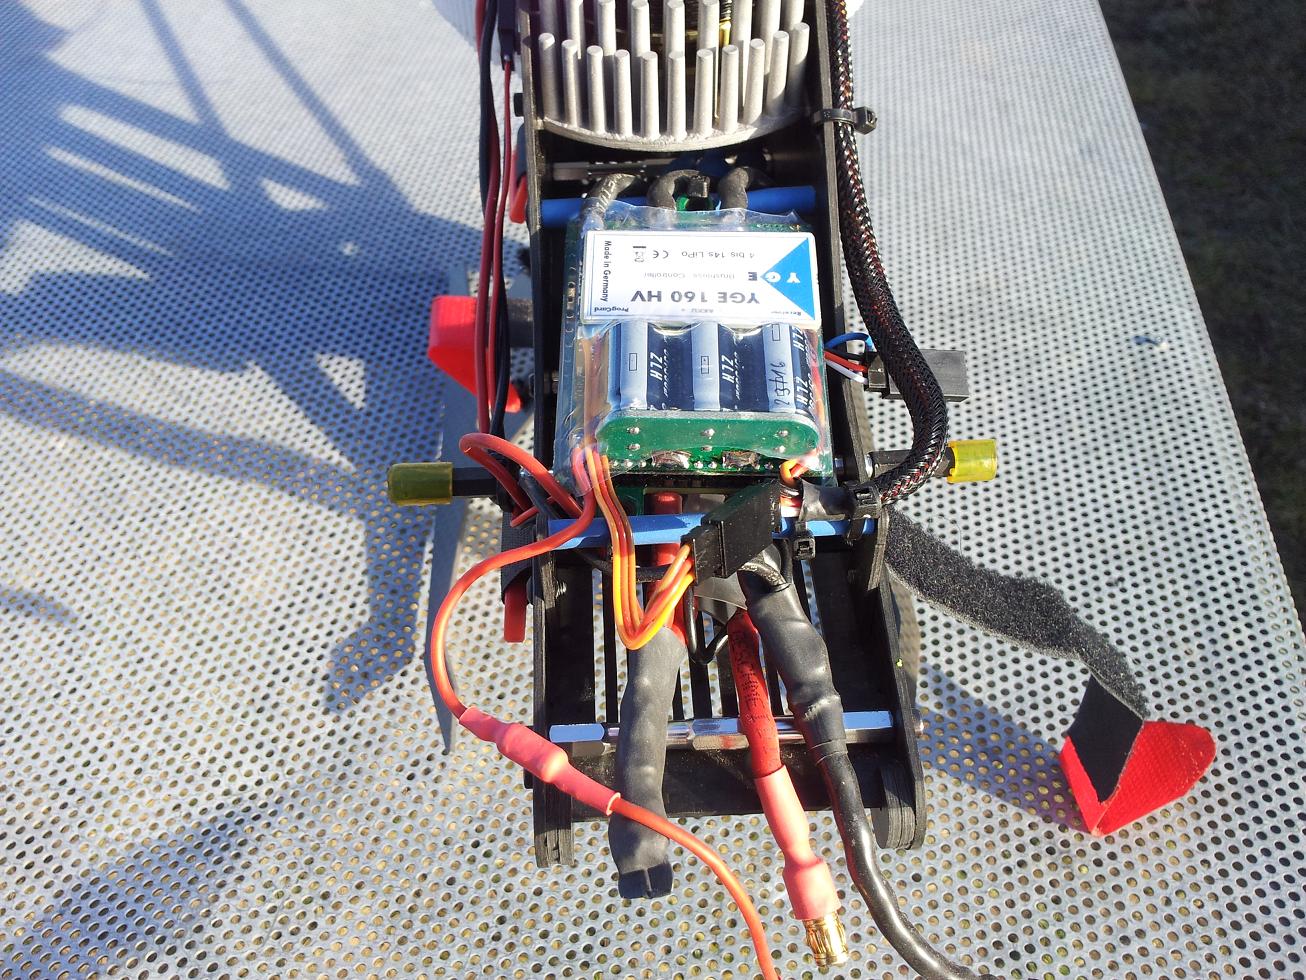
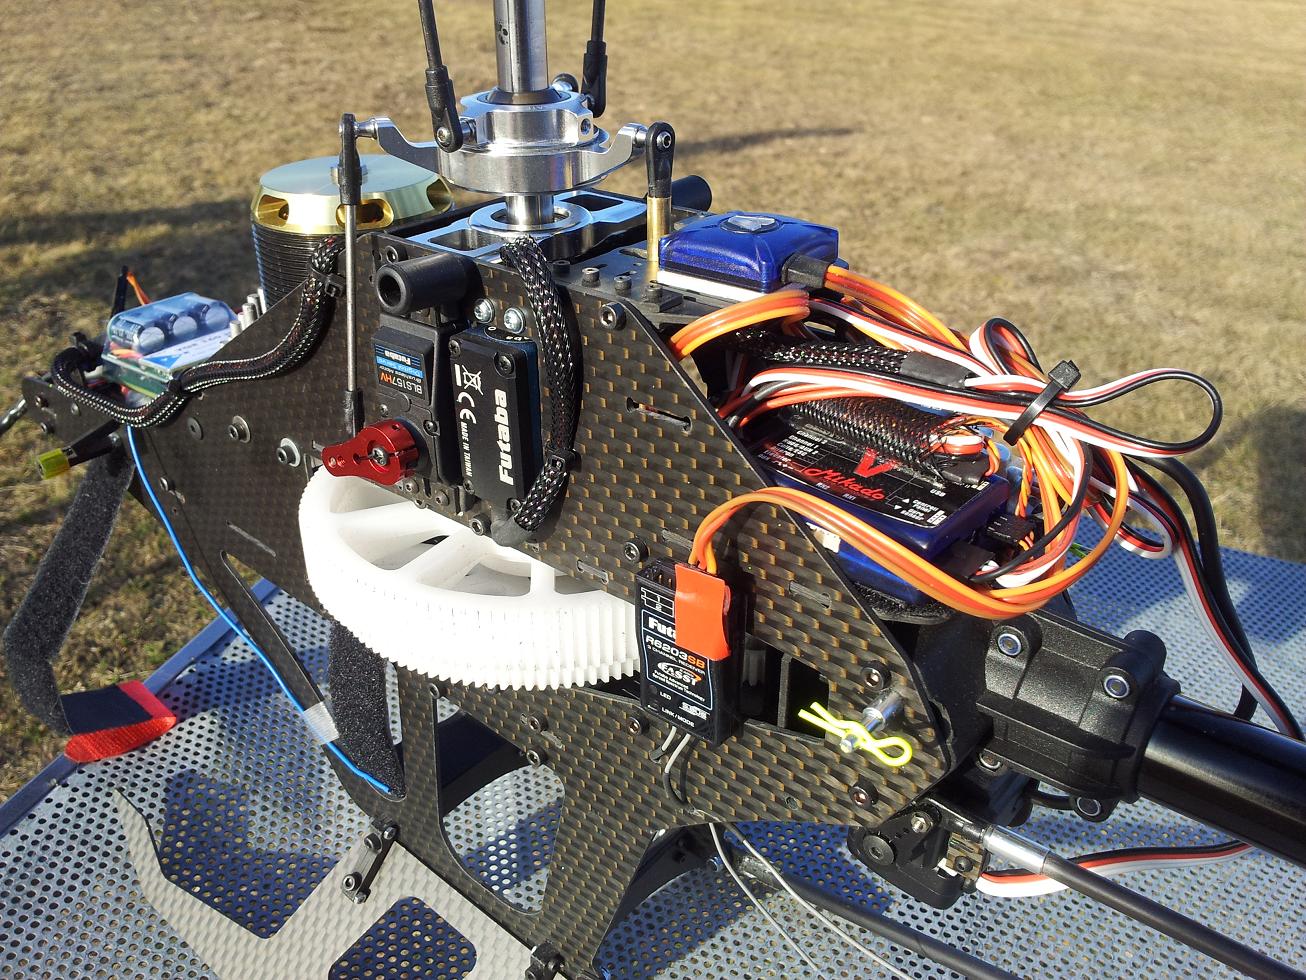
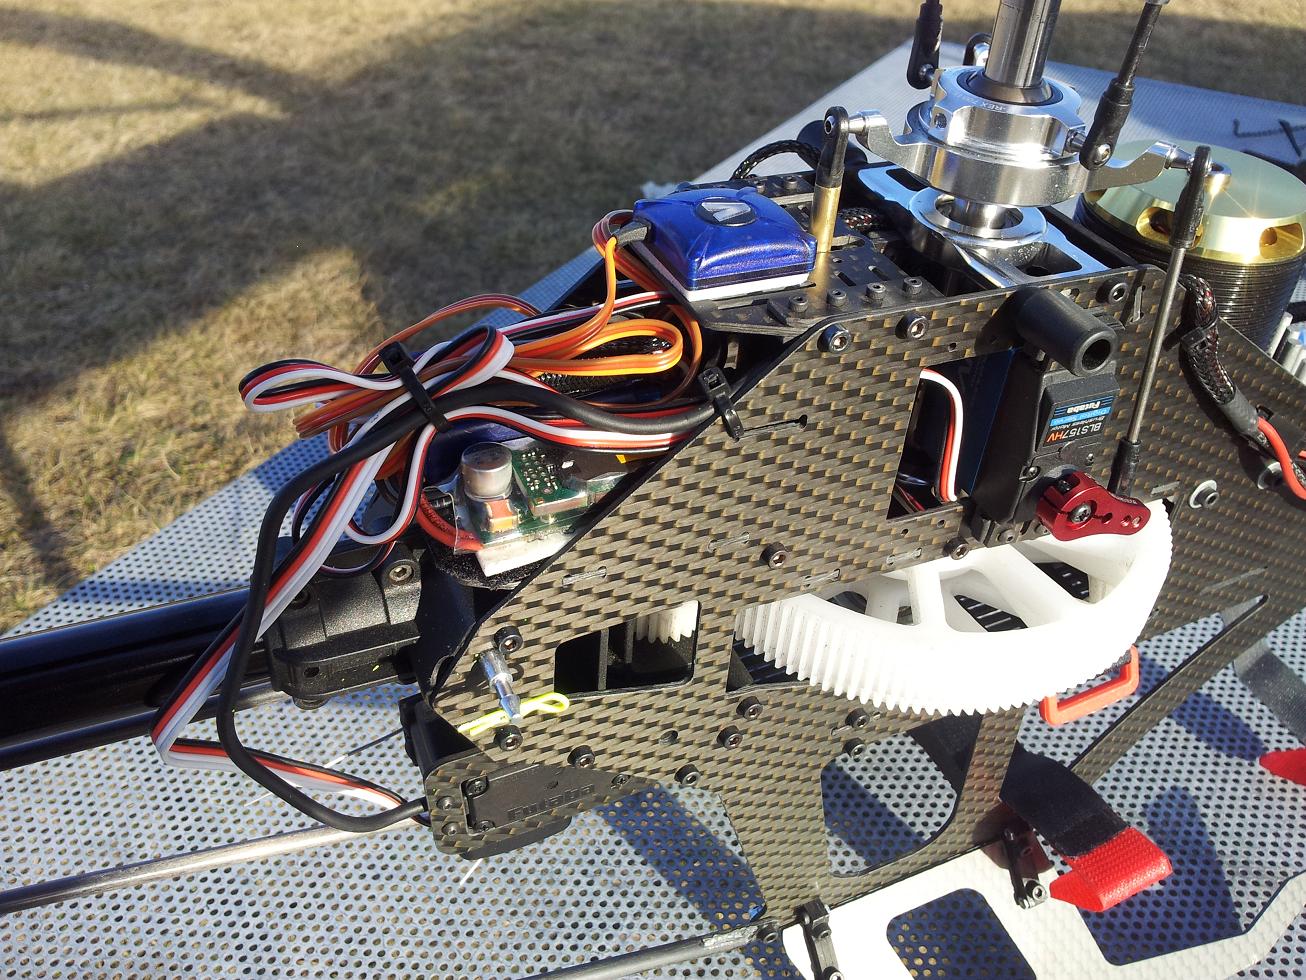
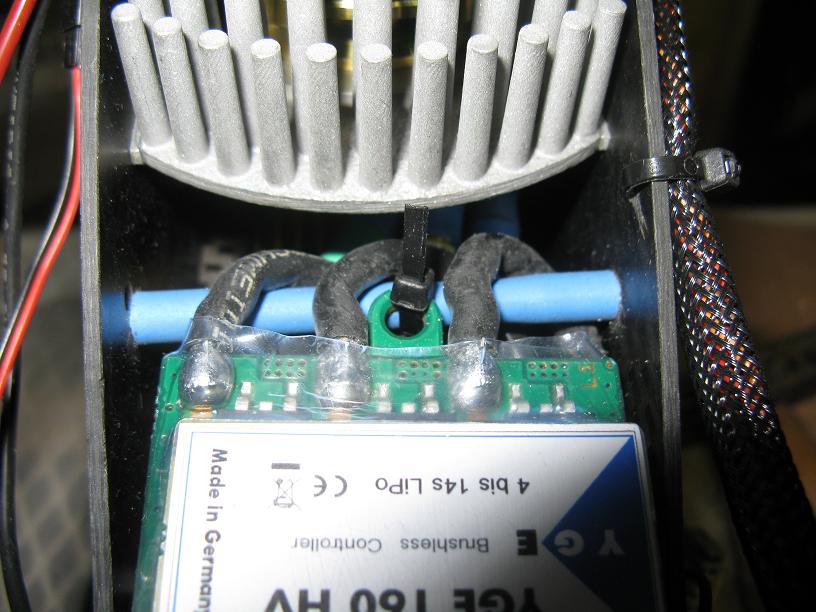
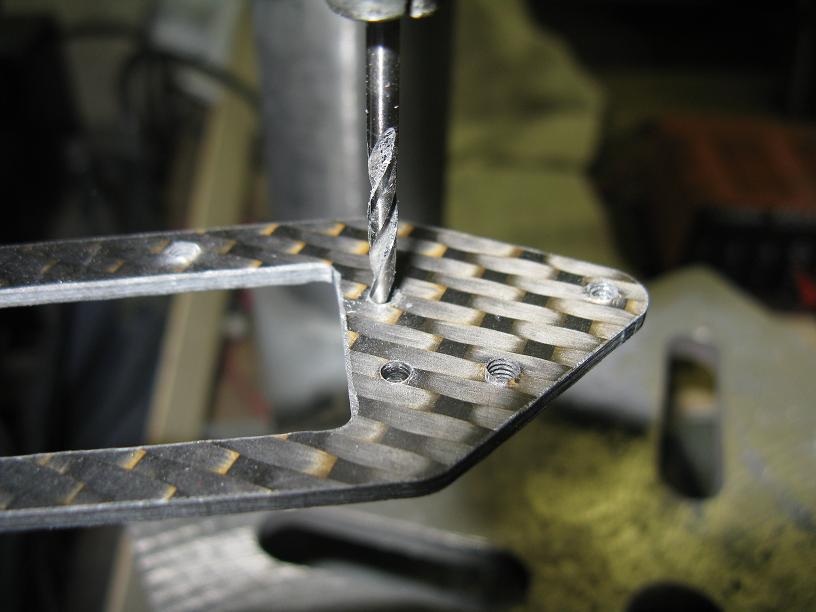
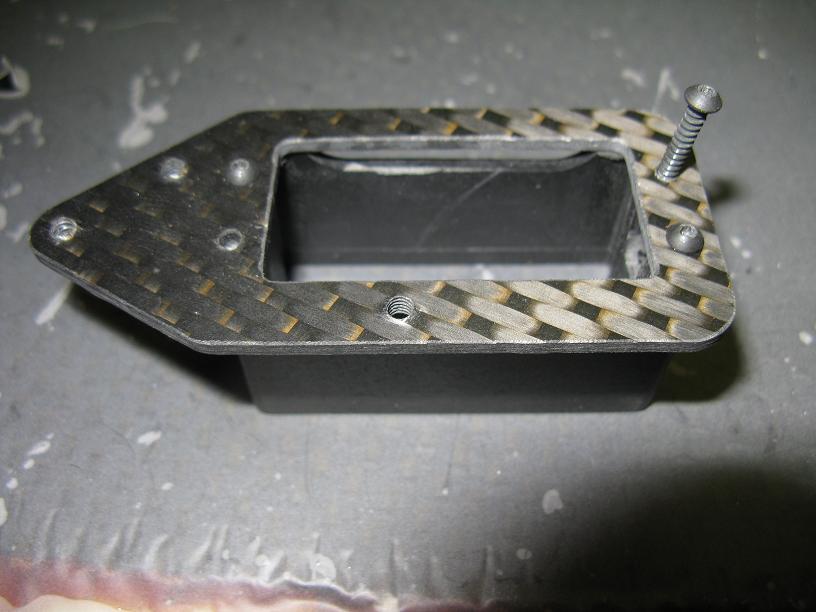
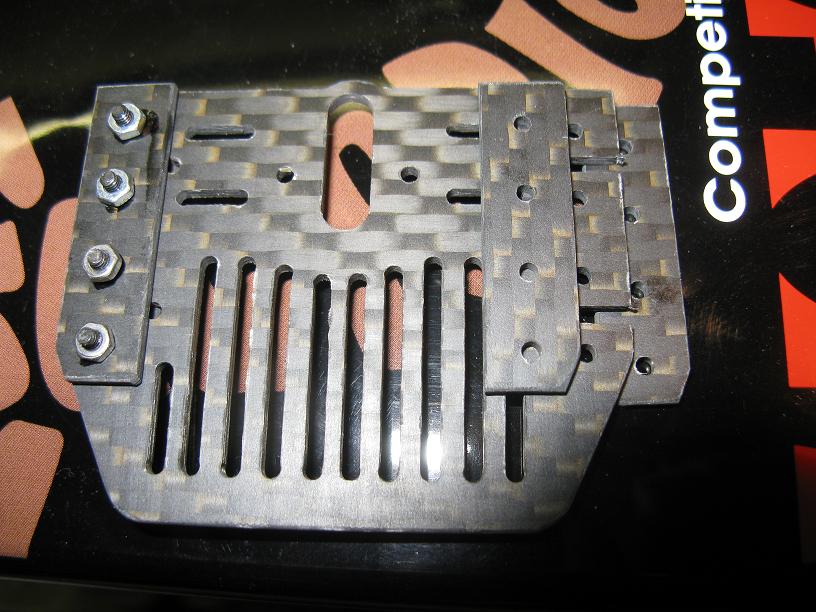
ESC tray
cut thread

srew inside at left and right side
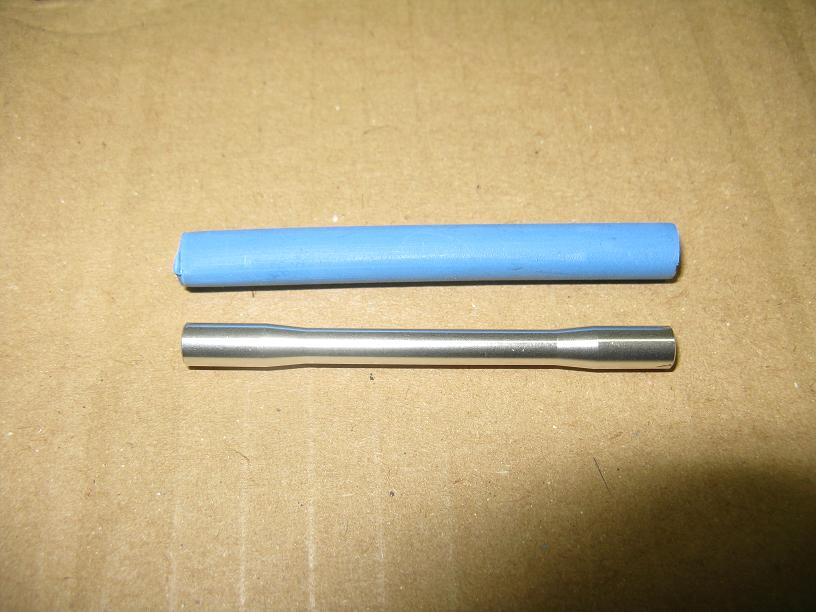
cut right a heat shrunk tube
put inside a 4mm carbon tube or hex spacer, like you want
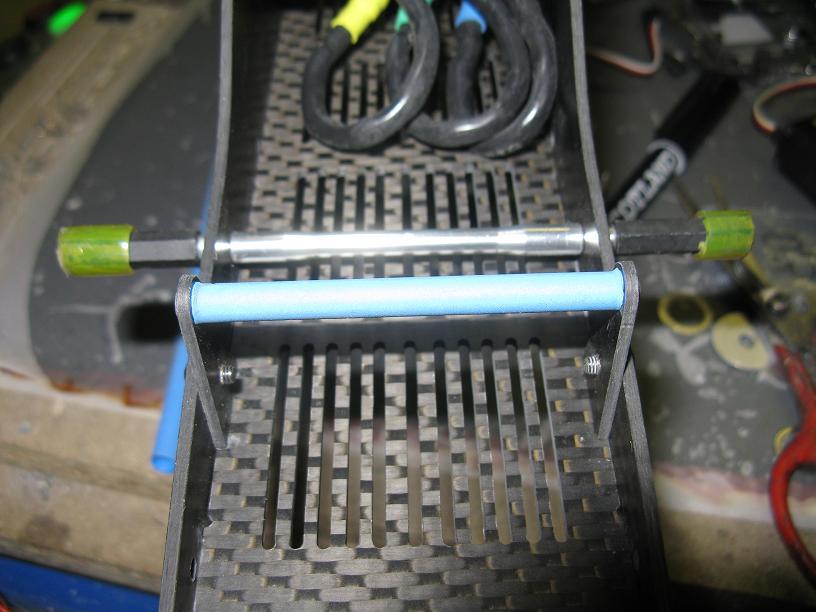
at the back side it is better to use a srewable spacer
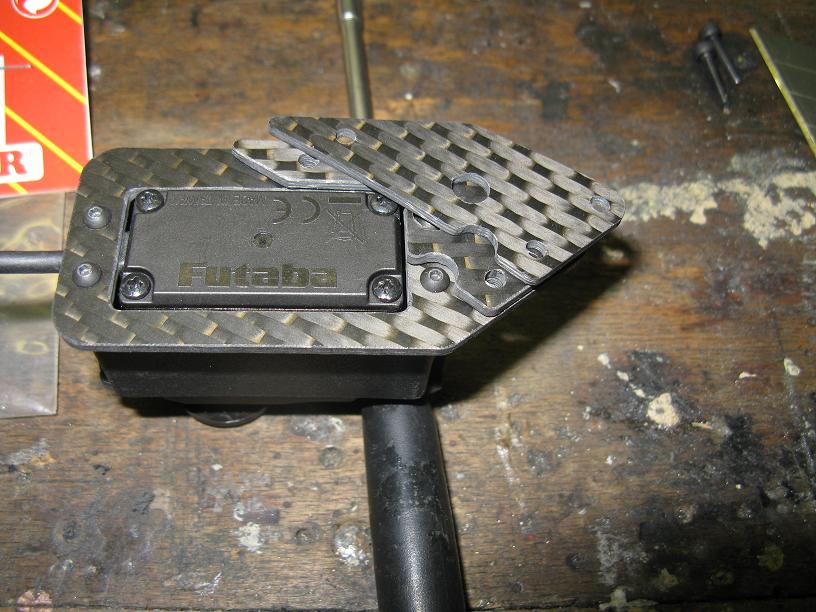
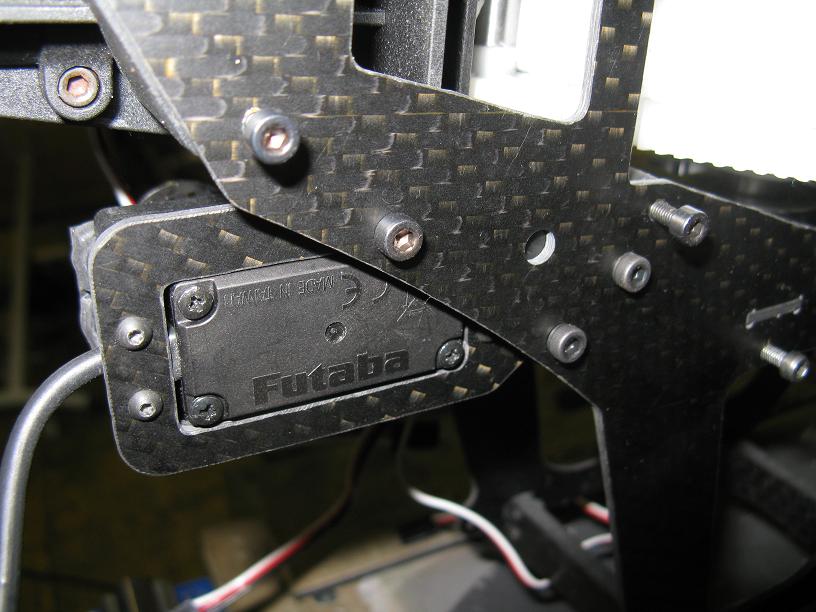
tail servo mount
drill the right holes for your screws
put servo inside the small frame, measure like shown
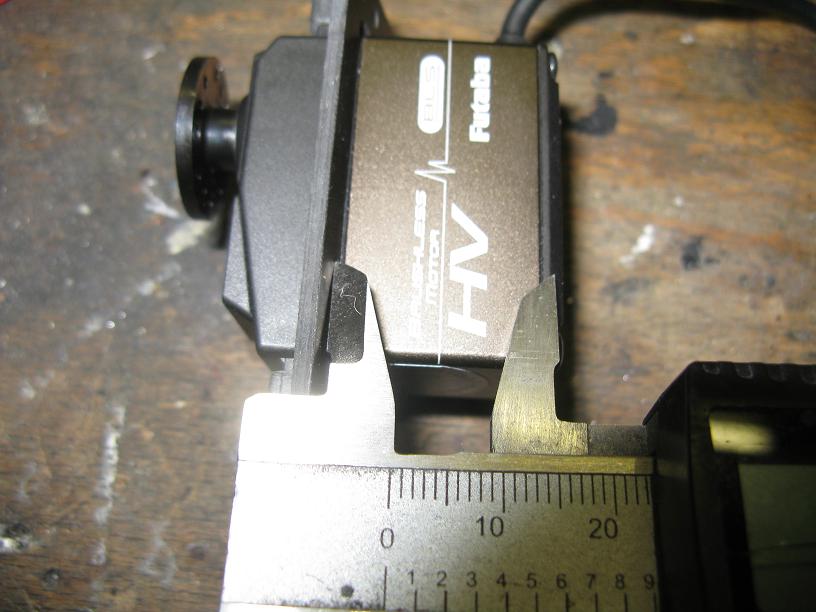
yes it's my proxon table saw, a loved one helper
make right disdance and cut the servo mount
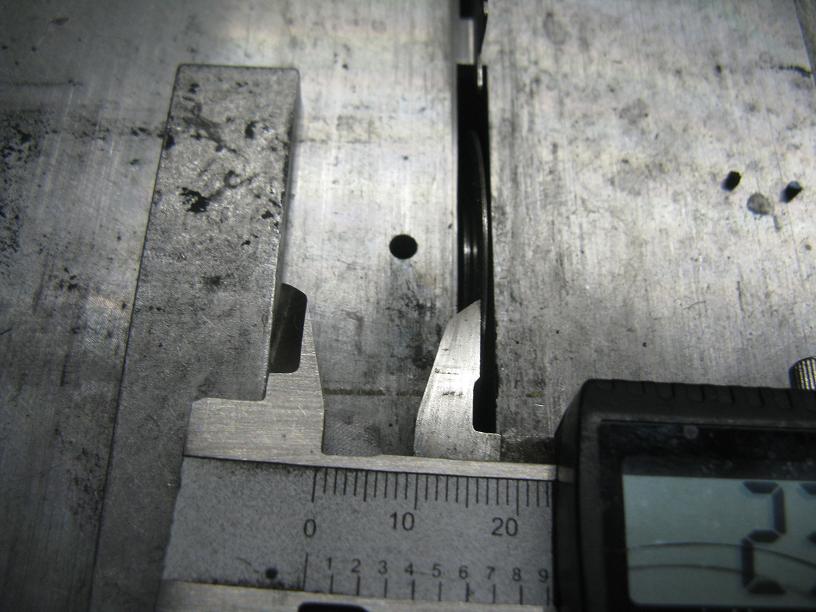
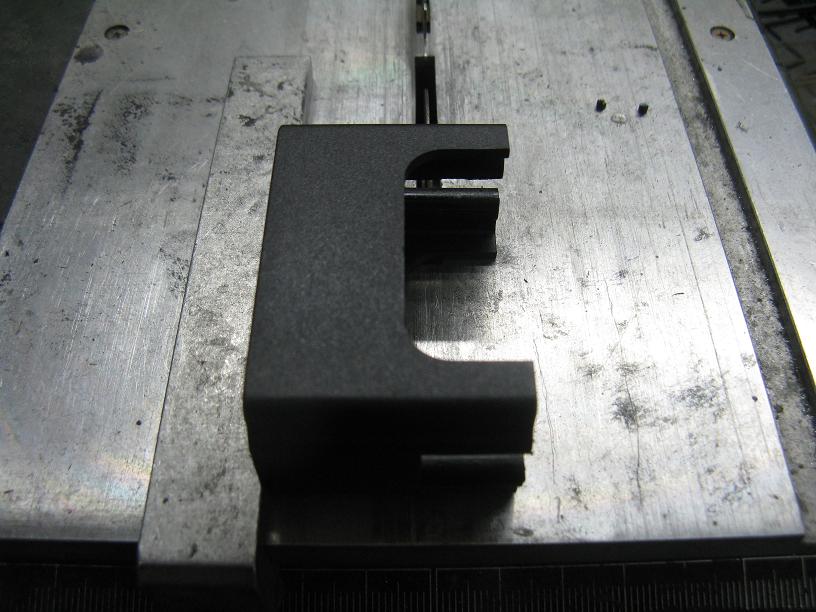
note
screw all in that way together for to mount the servo on the right side of the frame and the wire from the servo looks backward
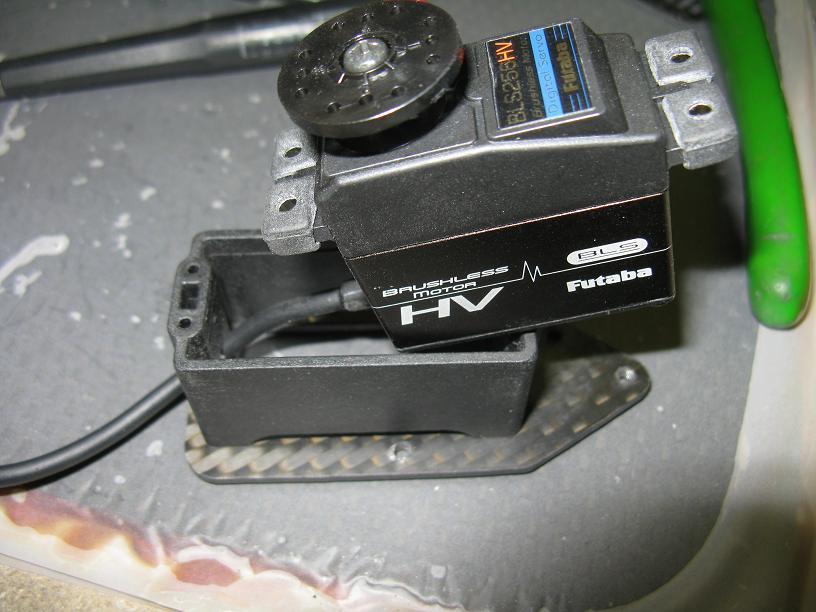
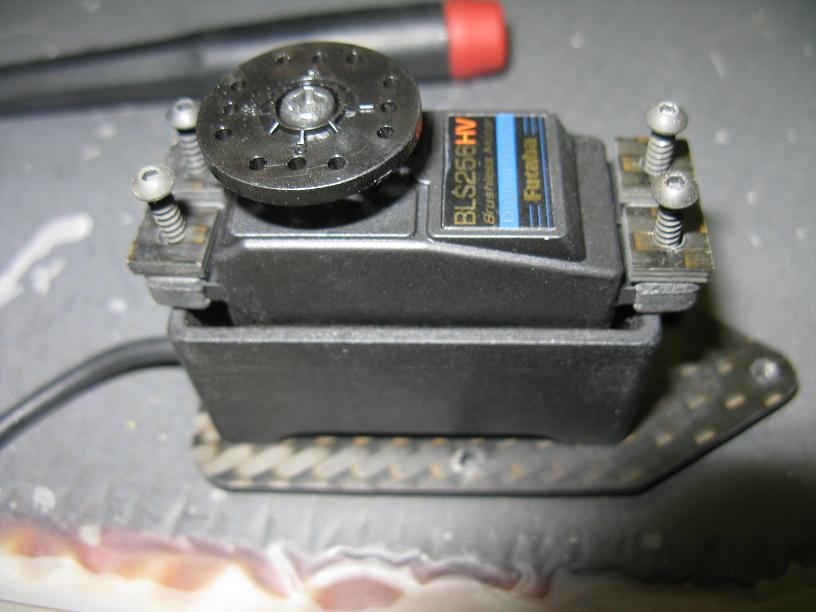
bring on the two distancer as shown
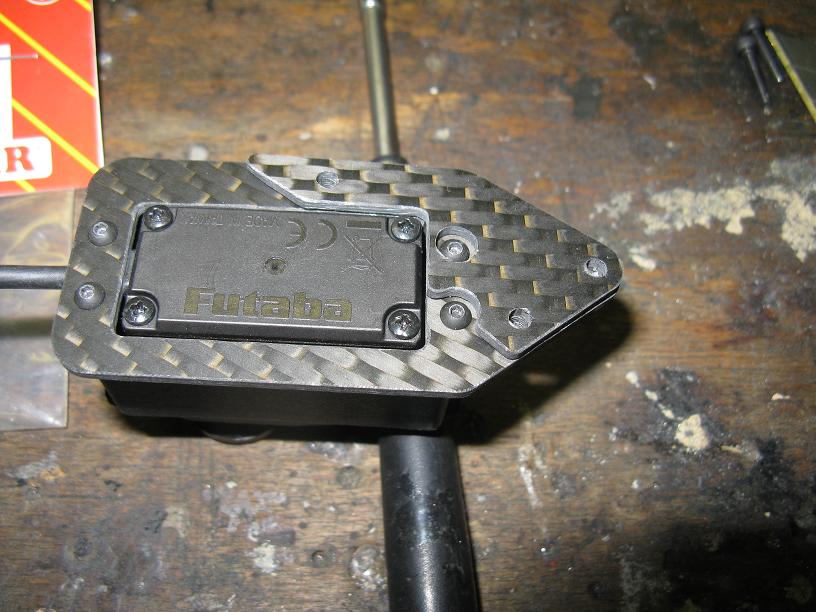
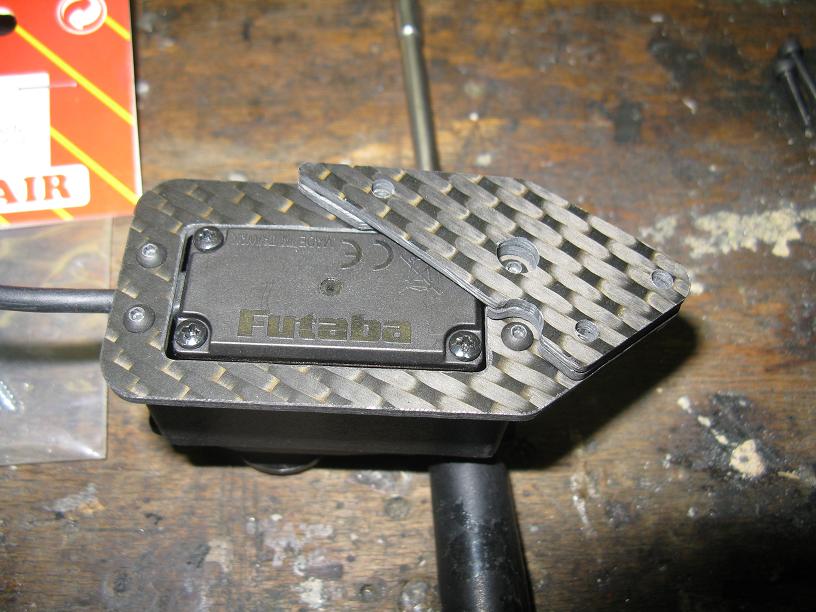
and mount it as told on the right side inside the frame
right side is important, because of the tail rod in this way isn't rubbing on the canopy
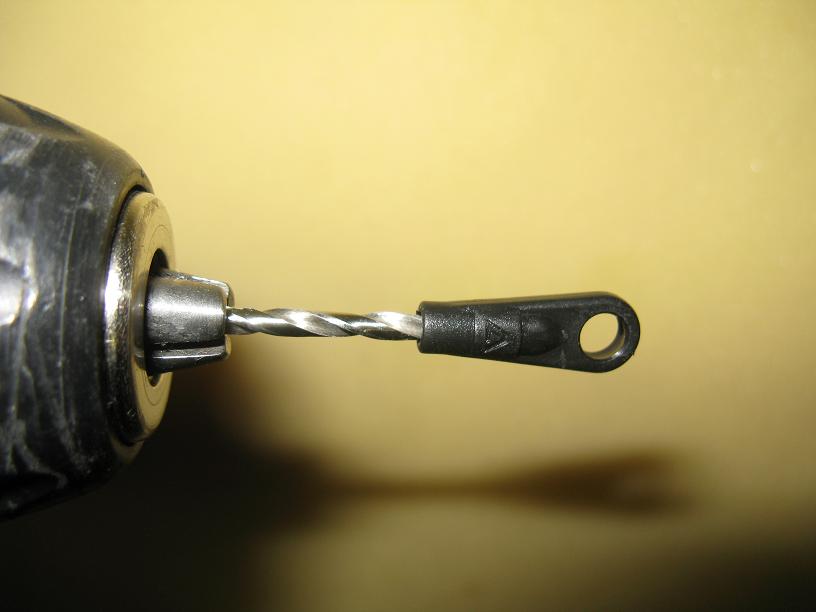
anti swash rotation
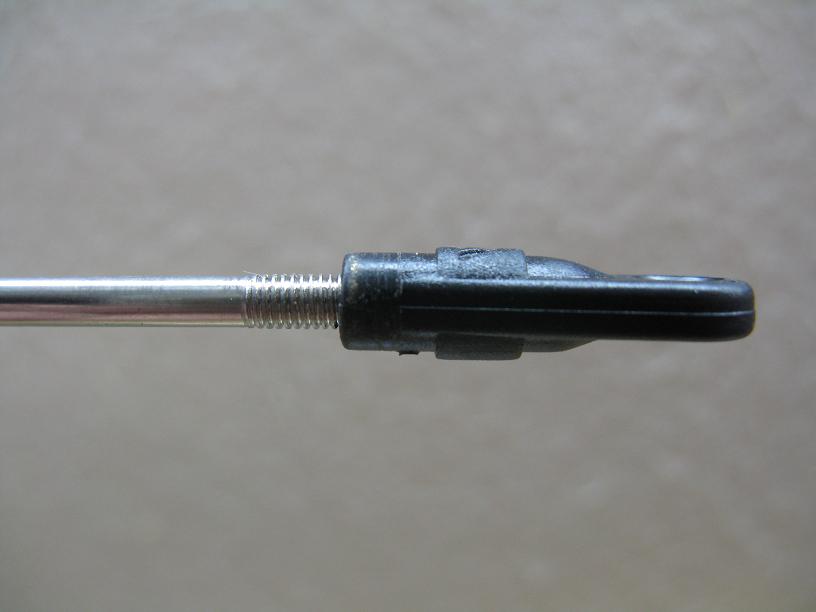
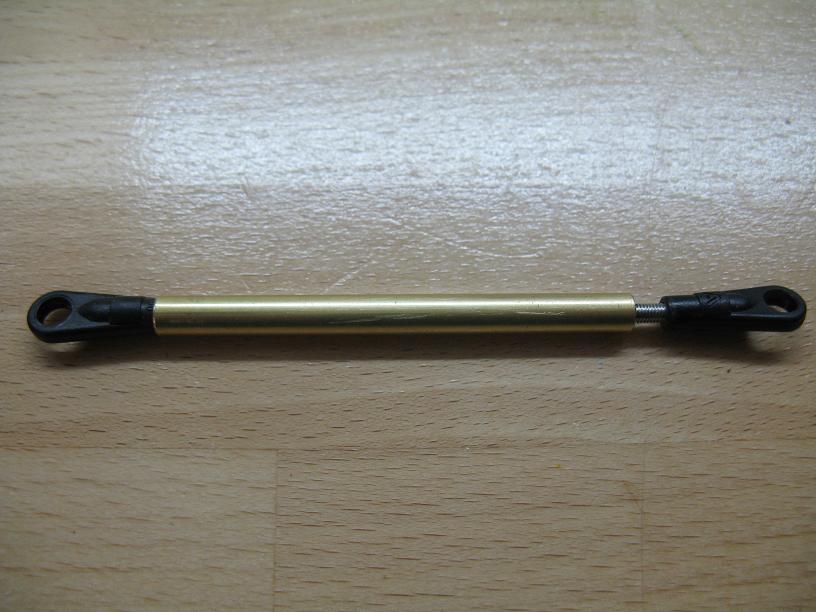
this linkage , is from Align and very well to put on a brass tube 4,6 x 5,4mm
you will find them inside in bag number H70066T
the linkage rod should have a lenght from 65mm and also inside the bag
clean the holes with a 2,5mm drill to get the linkage rod deep inside
clean the edges from the brass tube
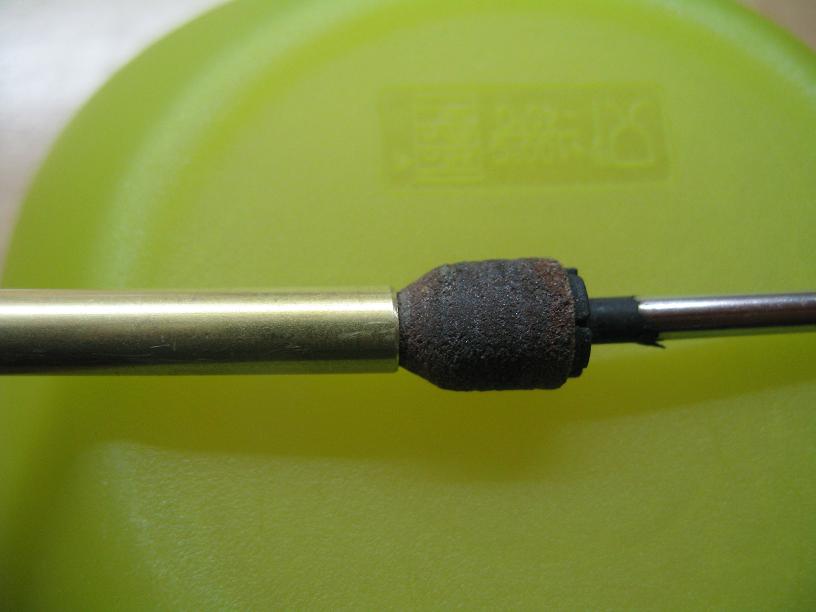
this well enough deep inside, 3mm-3,25mm
if you screw it together, you will get a free rod lenght between the linkage, near by 45mm
make the brass tube 6,5mm longer and it will fit well
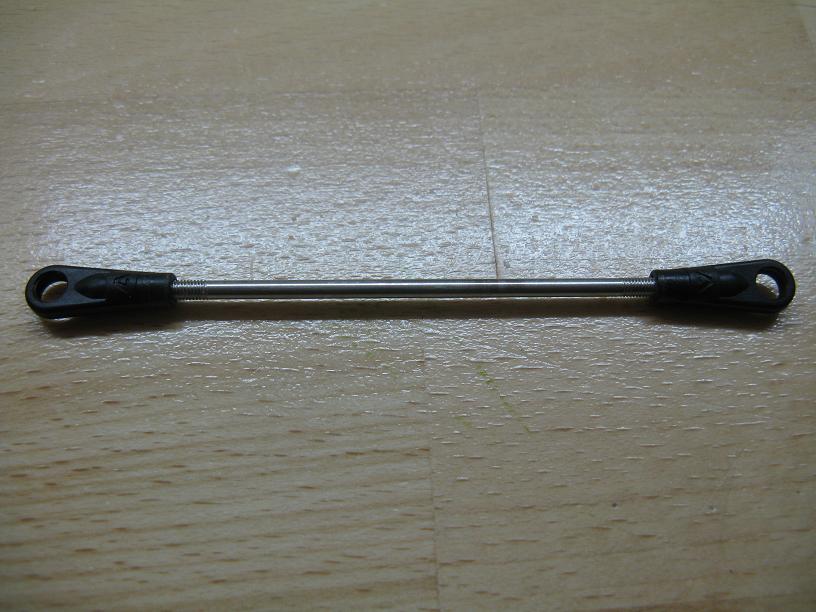
asemble it
may be the brass tube will get a little more diameter on the ends because of the linkage
put it in the drill machine and use sandpaper on a file
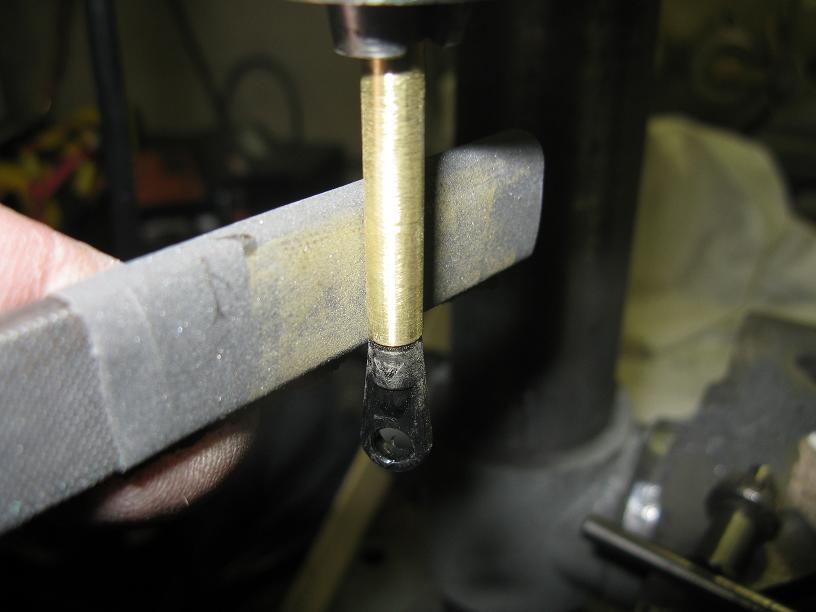
it's easy to control with the anti rotation part
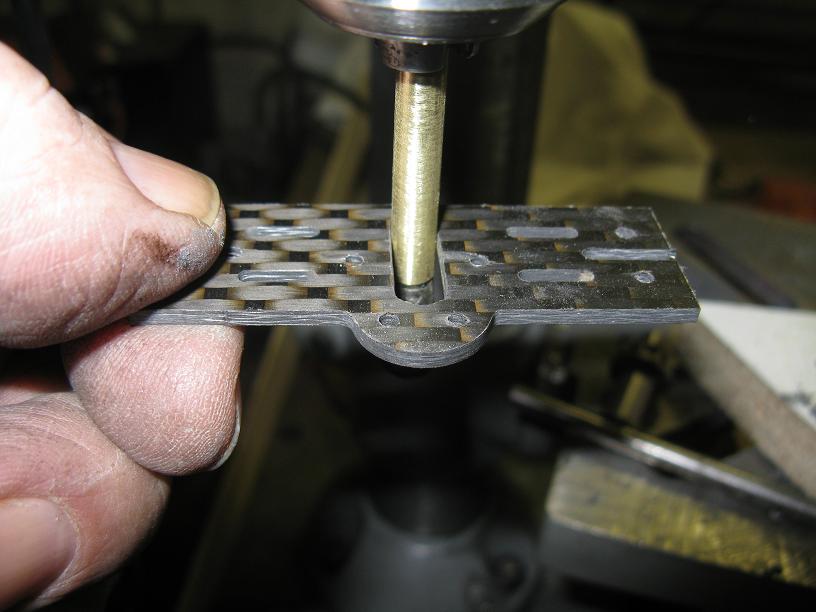
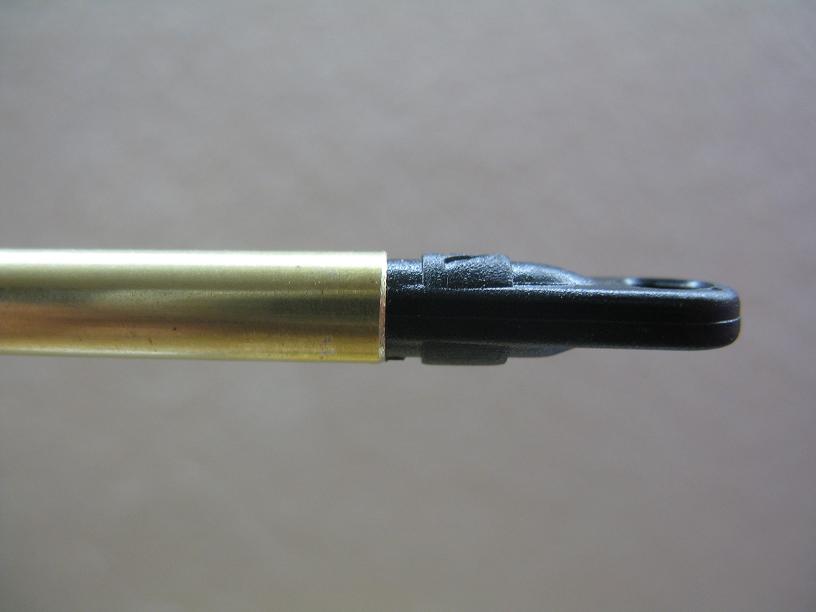
swash anti rotation part
screw it together
drill the 4 holes with a 2.5mm drill
and cut the threads
easy done
use a fine sandpaper to clean the edges where the brass tube is running up and down
guide for the battery slider
use the guides with the bigger holes as distancer
also to do at the front side
also here cut a thread with our selfmade tap if the screws a little to long cut them after mounting with a file or saw
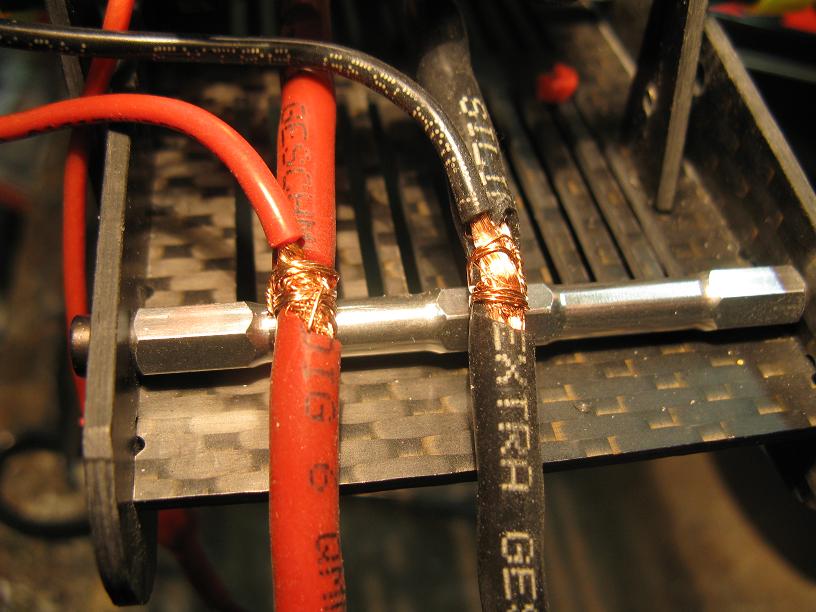
BEC Anschlußkabel Löt-Vorschlag
I'm on the way to an impresive drag race start
http://www.youtube.com/watch?v=kMfccJYT0Rk&feature=youtu.be&fb_source=message